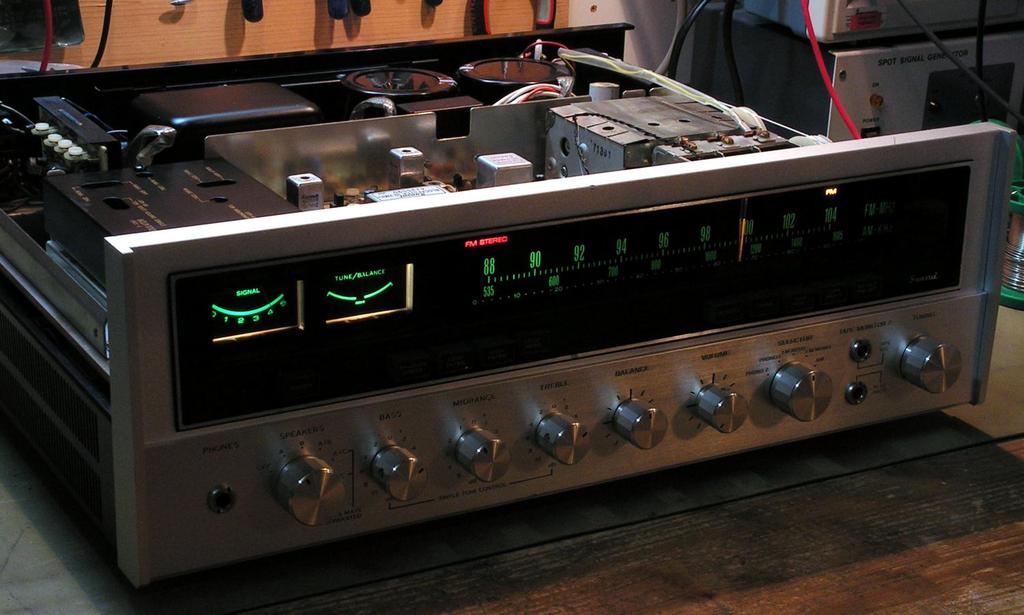
Sansui EIGHT receiver
I decided to show you one restoration job on the Sansui Eight because there are no so many pictures on the internet about that…
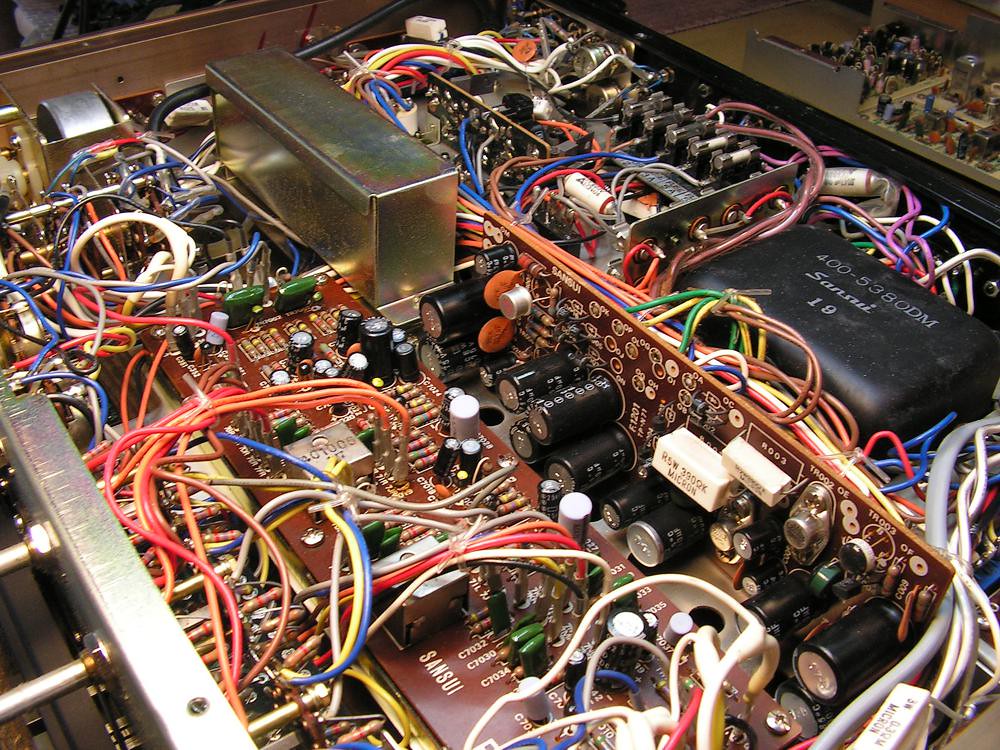
So… first one look at the bottom side of receiver after cleaning…
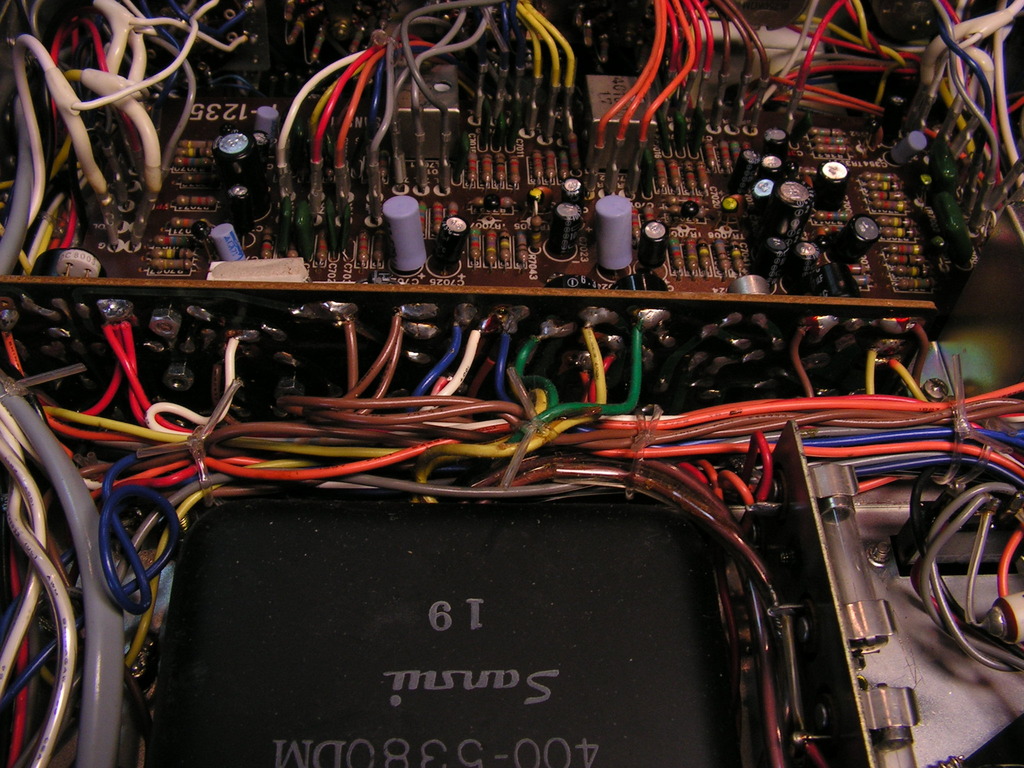
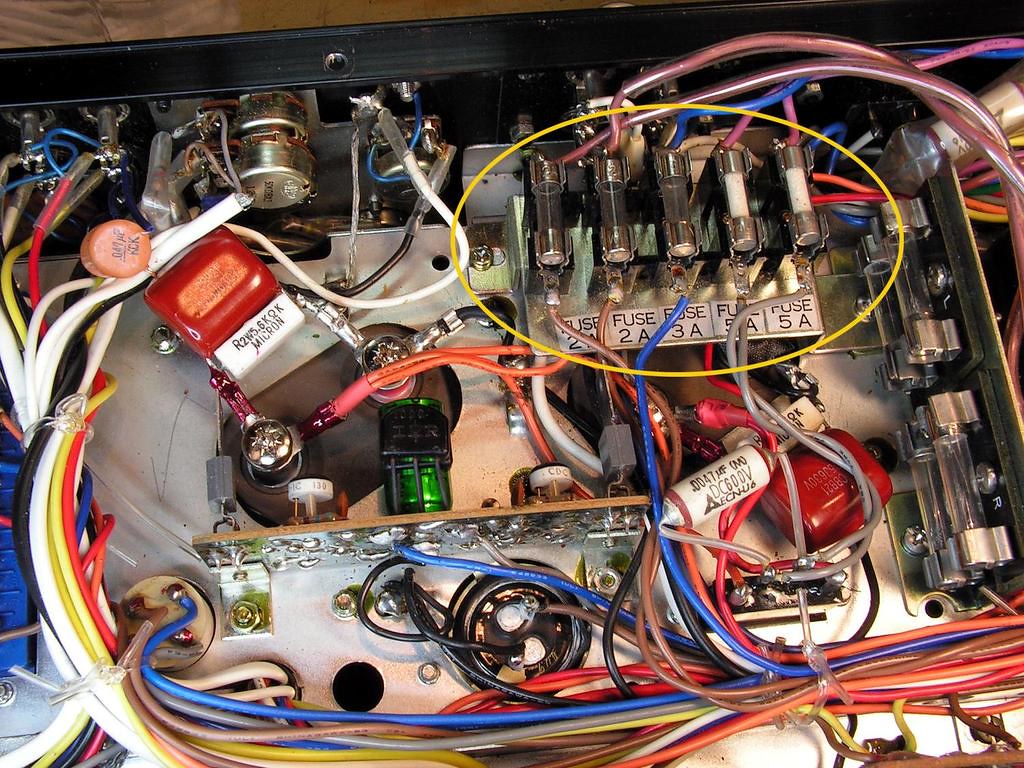
You see, so many wires, lot of cables…. And what is very interesting, the receiver has in total 12 (!) fuses!!
If you wish to remove that power supply board, you should remove (desolder) all those wires
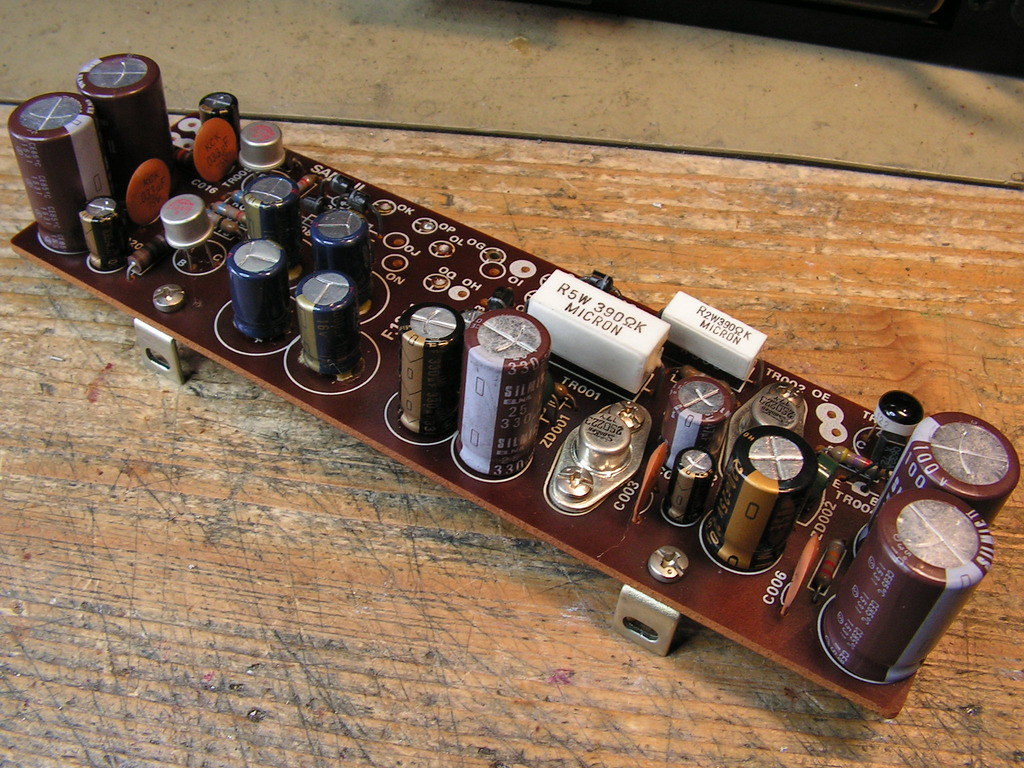
… and here it is, already restored…
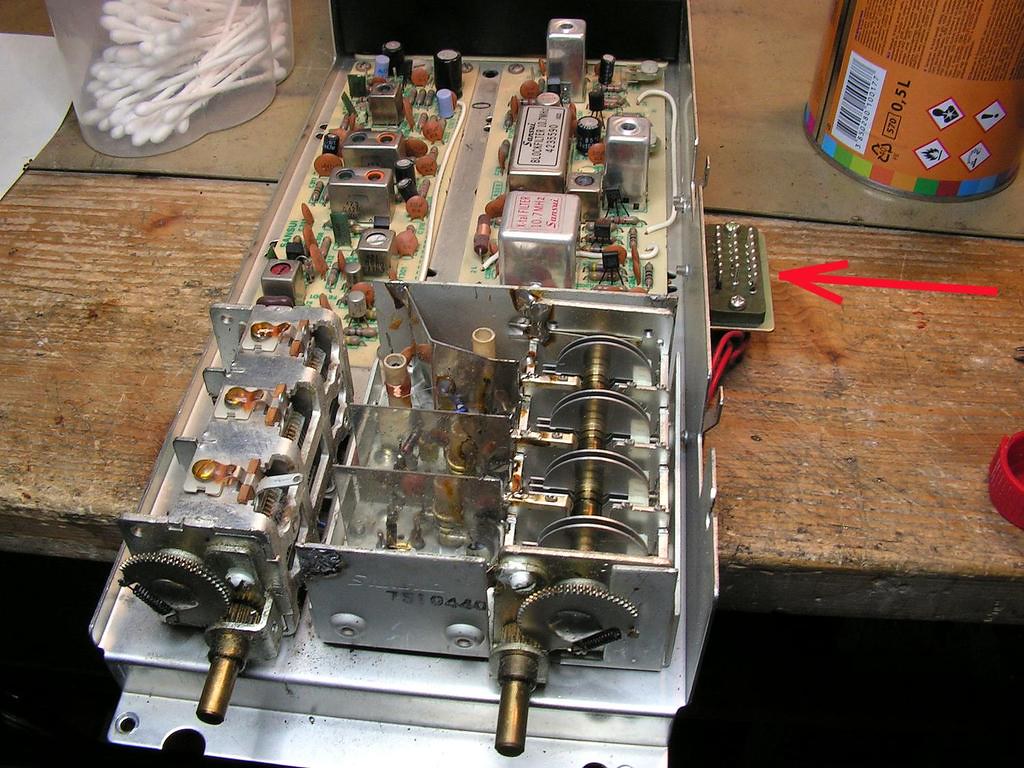
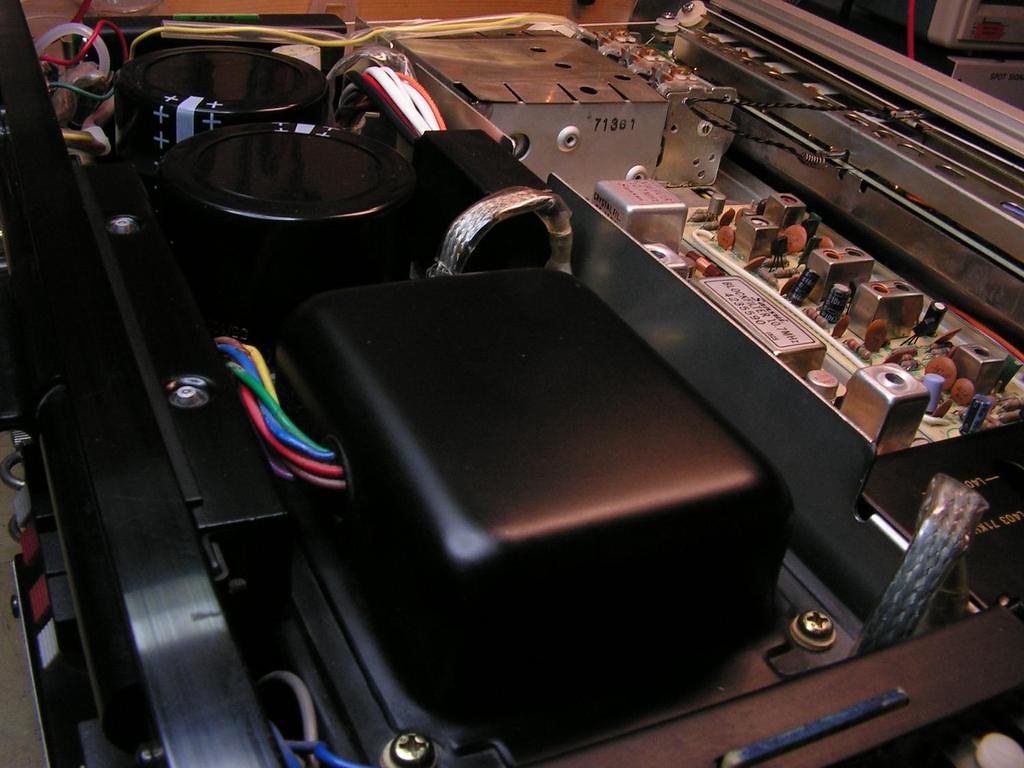
One interesting thing about tuner section… complete tuner section is on the one sub chassis, with two connectors (one multi-pin connector and one coax antenna connector) so you can remove complete tuner section without so much problems…
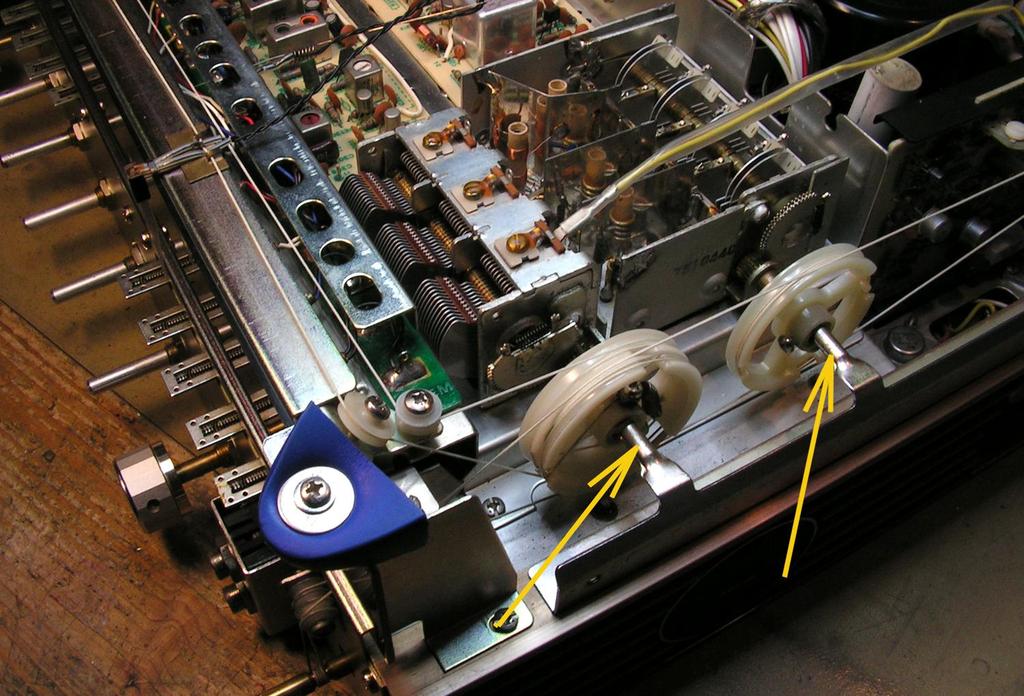
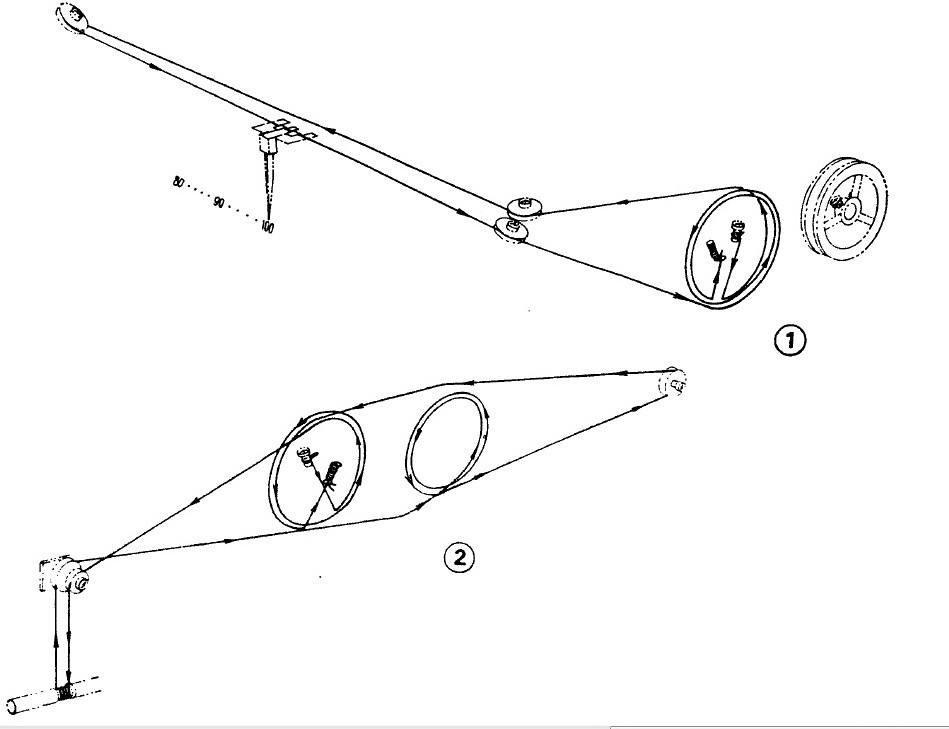
the only difficult thing could be a dial mechanism, but Sansui engineers made solutions for that: parking pins for dialing pulleys
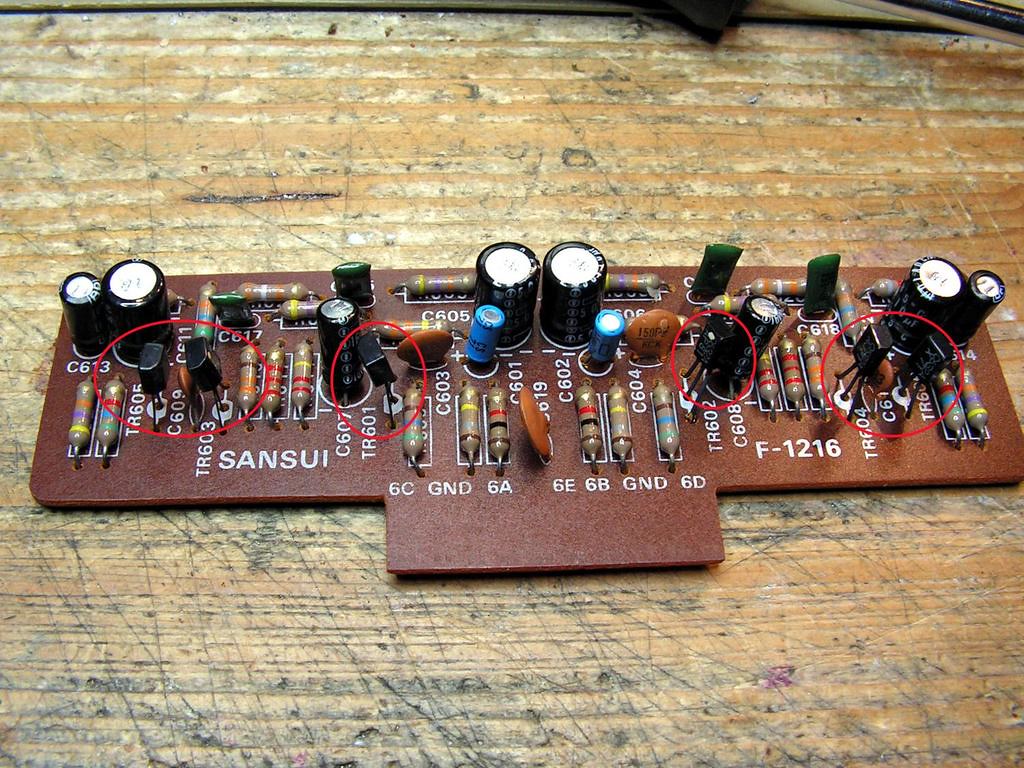
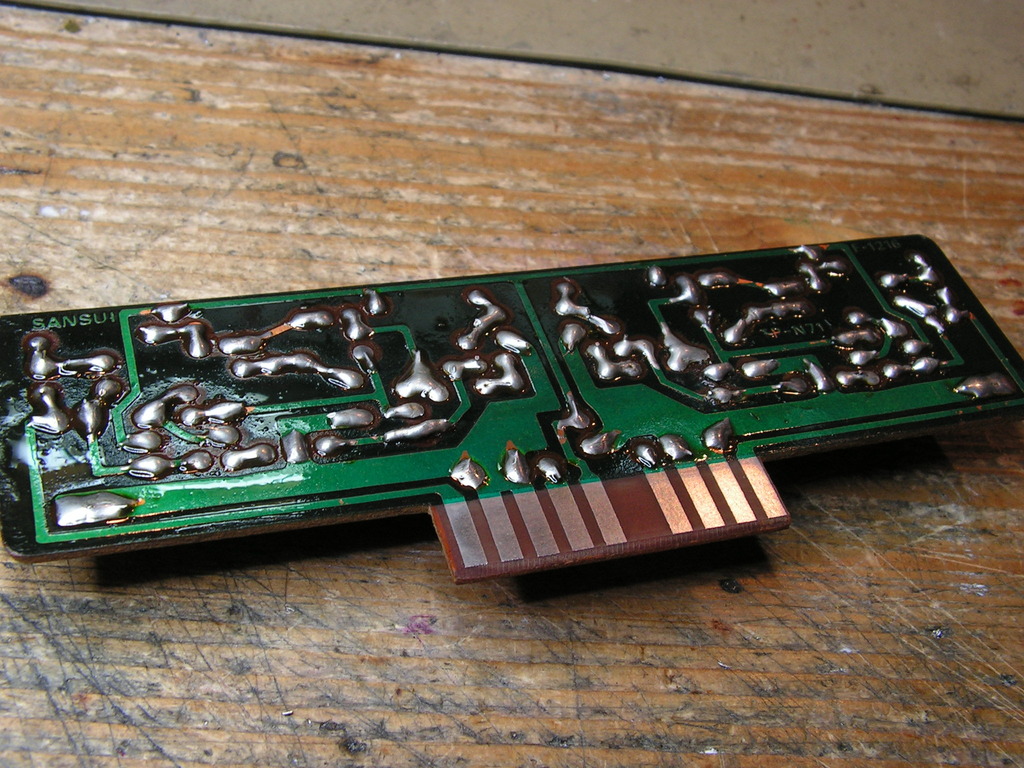
That Head Board is easy-to-remove type, because it is one of three boards with connectors (other two are Driver Boards).
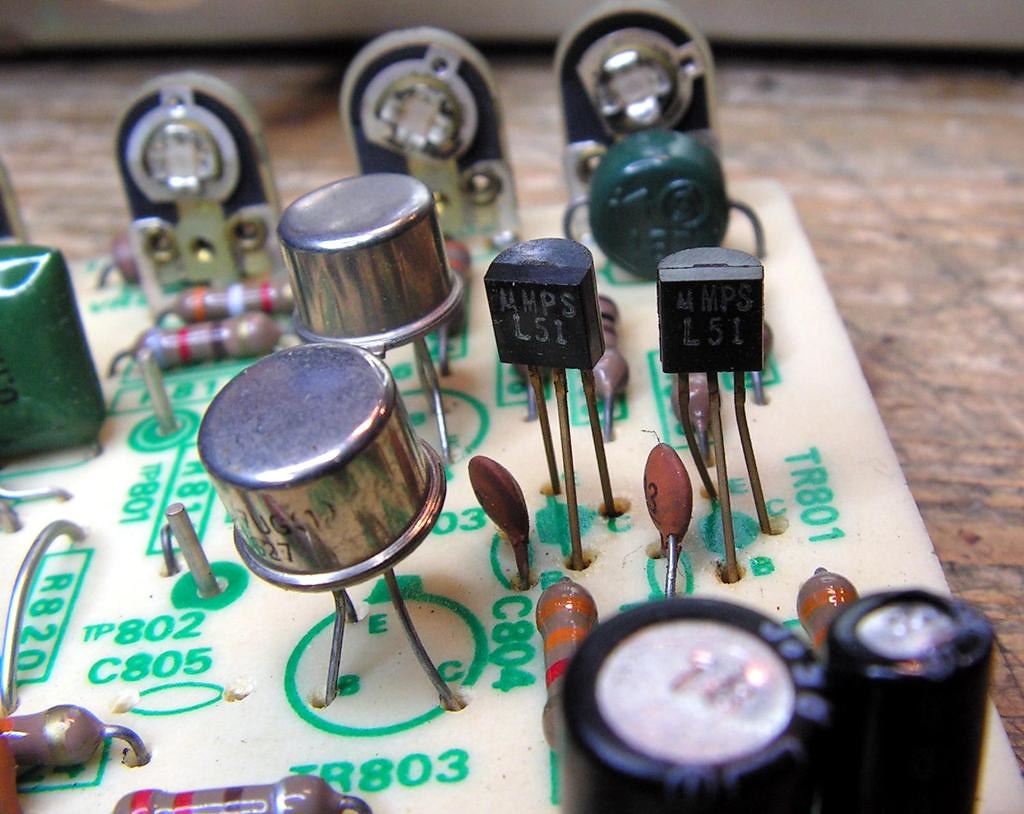
BTW, Head Board is just phono preamp board, because it works with very low voltages signals, i decided to remove all those small signal transistors with new ones, especially what old transistor had very corroded legs…
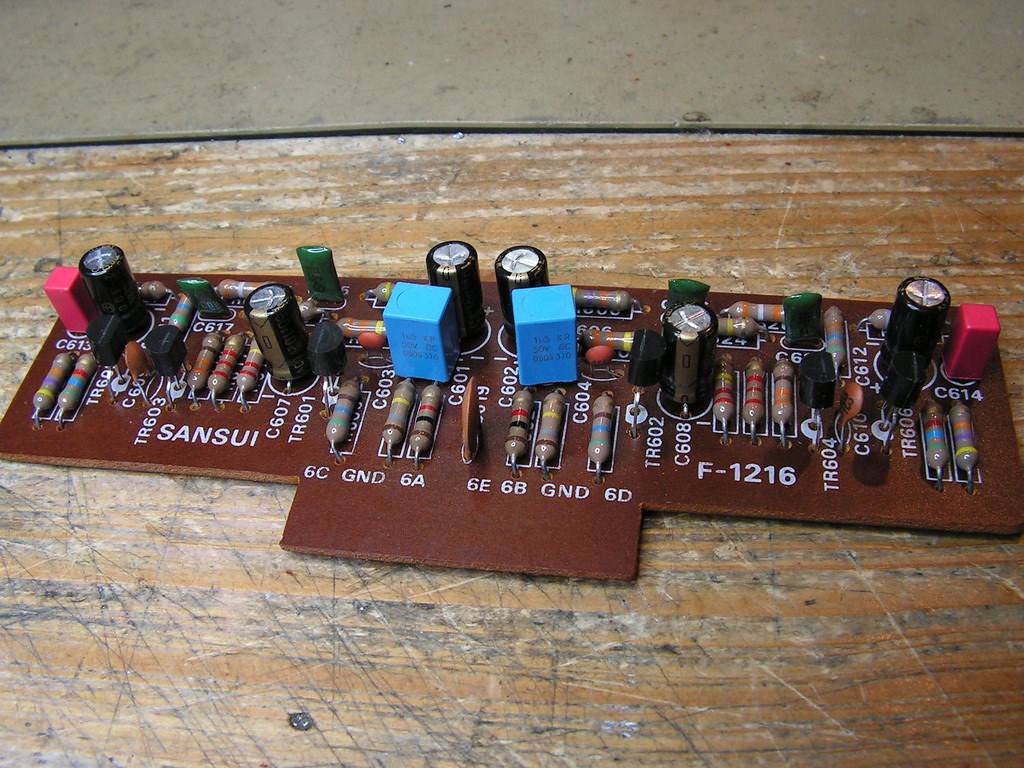
And restored….
Other side…
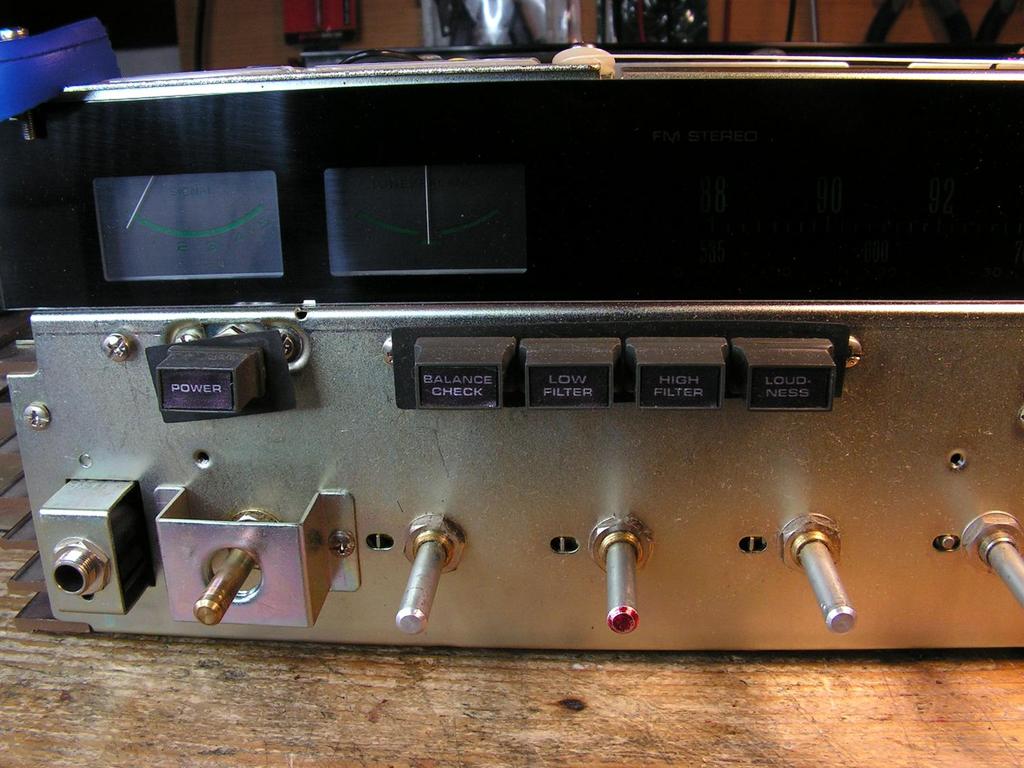
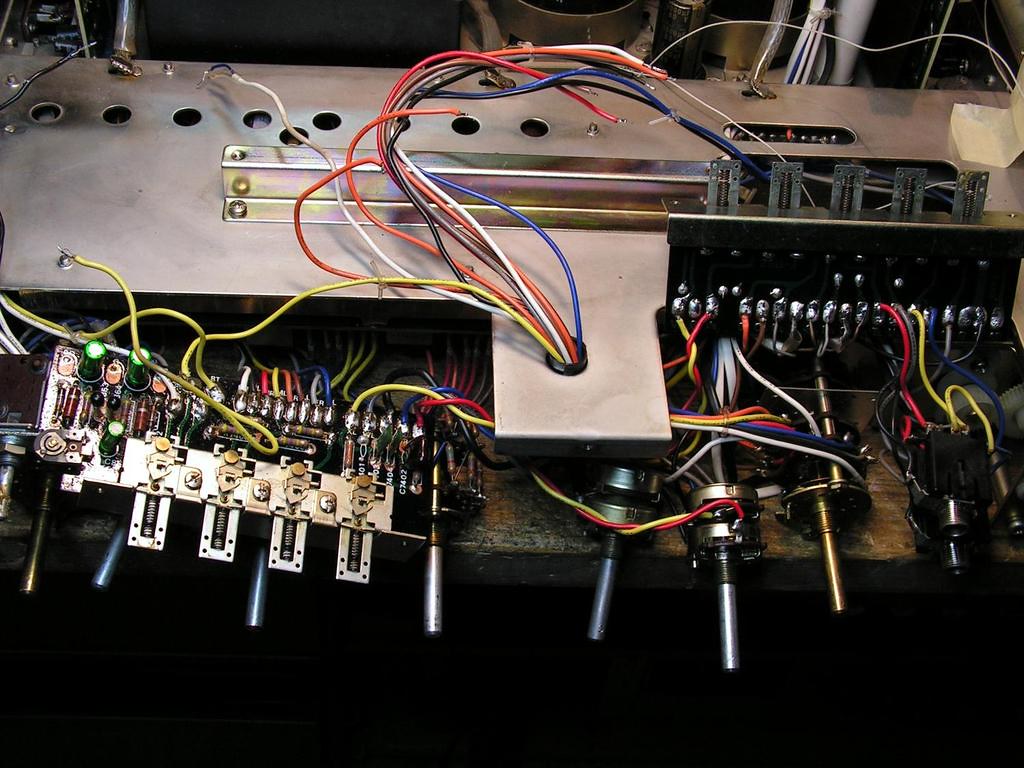
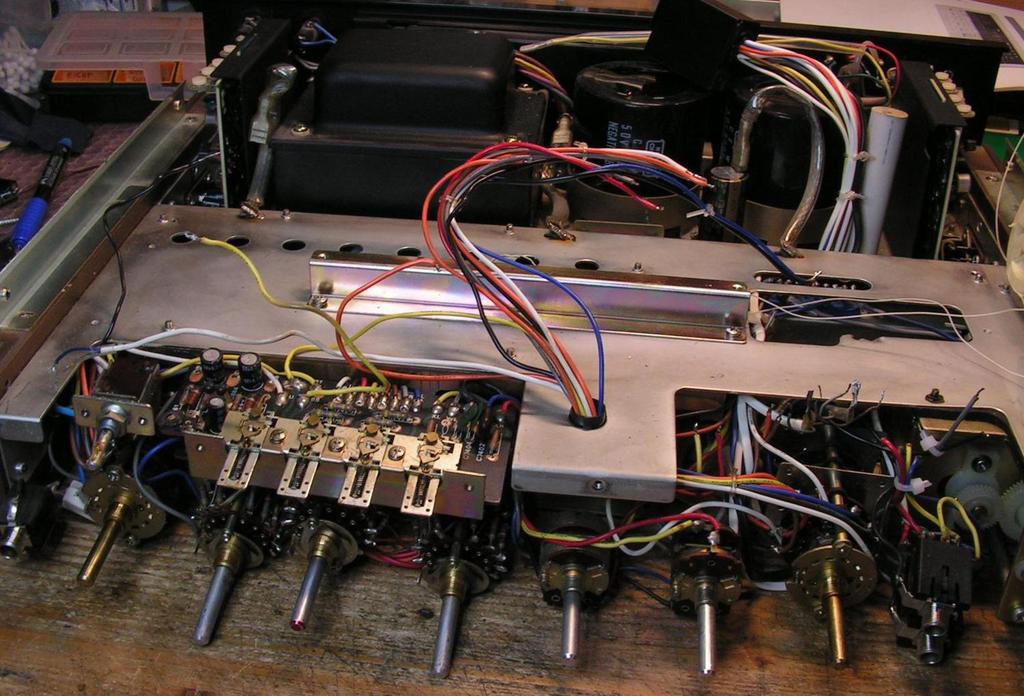
And now hard side of restoration Sansui Eight… cleaning switches and selectors and potentiometers… to do that, you should first remove the front subchassis of receiver…
But… there is one problem…
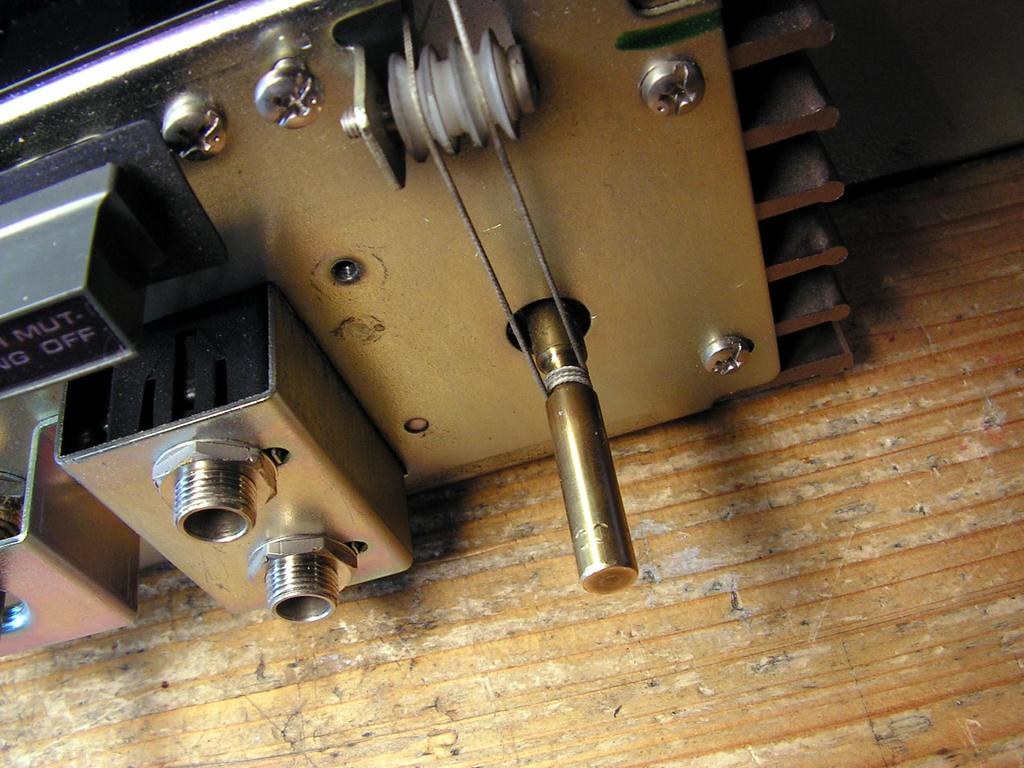
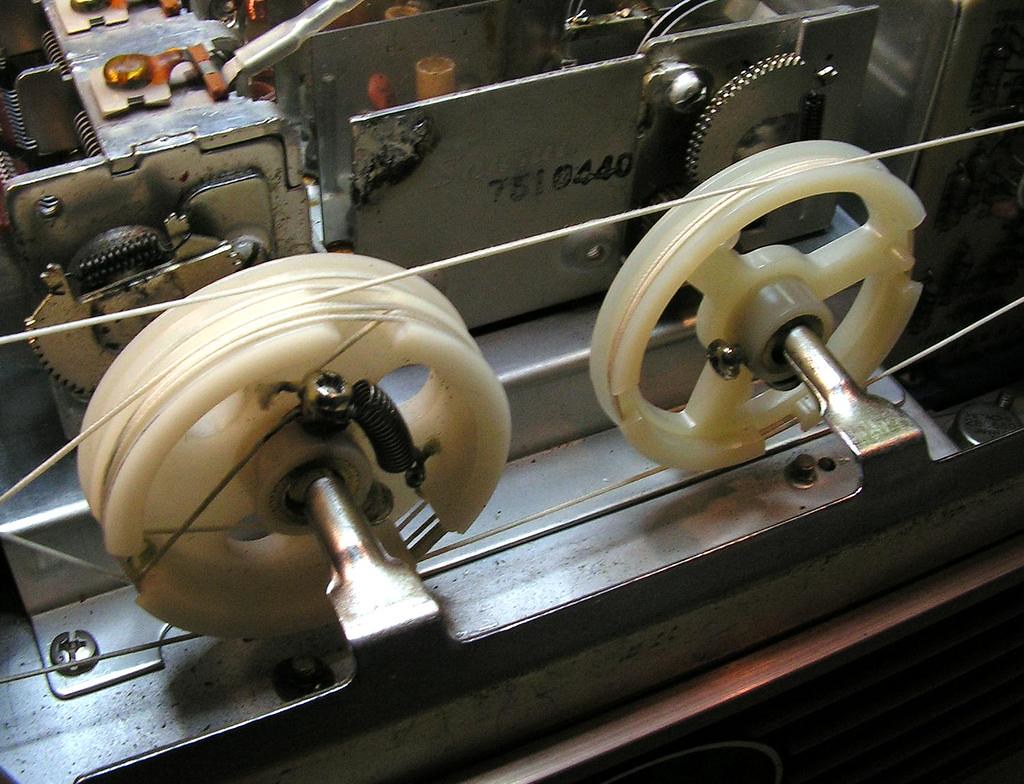
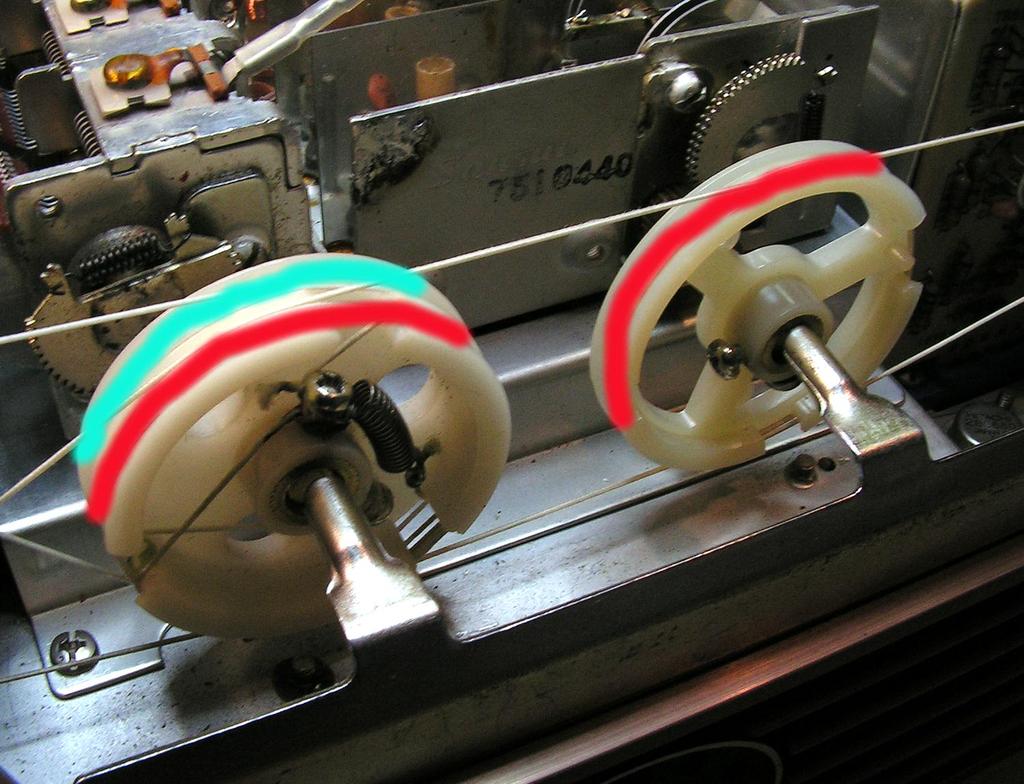
We should to remove that tunning string, but that is very sensitive job, because this receiver has two tuning capacitors (one for AM, and one for FM, something like in TU-X1 for example),
… and two pieces of dialing strings…
The first pulley (AM capacitor) is for both dialing strings, second pulley (FM) is for capacitors dialing string only (red color)
Very sensitive job to do on the right way…
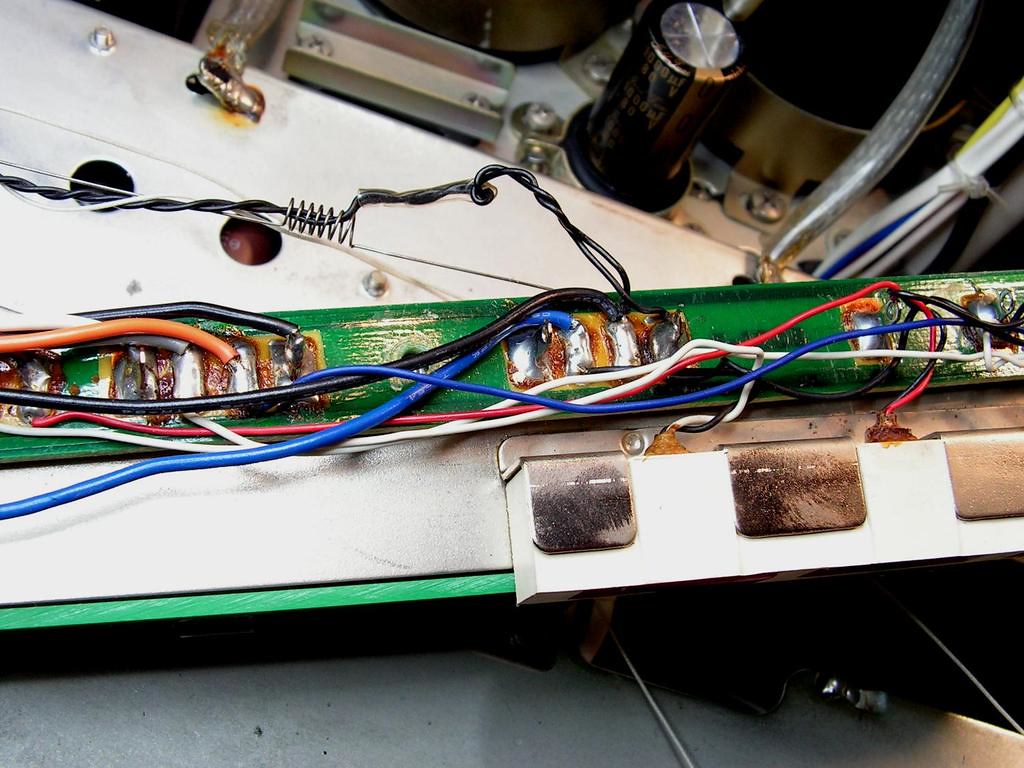
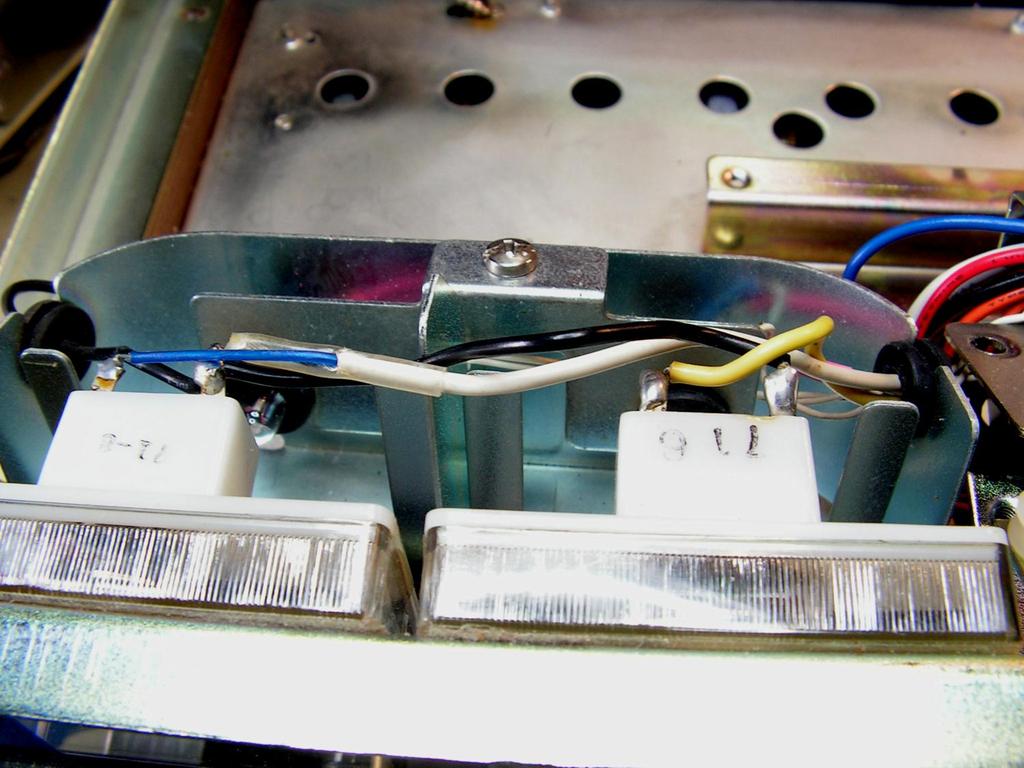
The next step is to remove all wires from dial scale lighting board…
… you should remove all wires from tuner instruments…
And then finally we can remove complete front side of receiver sub chassis…
… but we have something more to do to get switches boards out of receiver, we should remove all wires soldered directly to the boards…
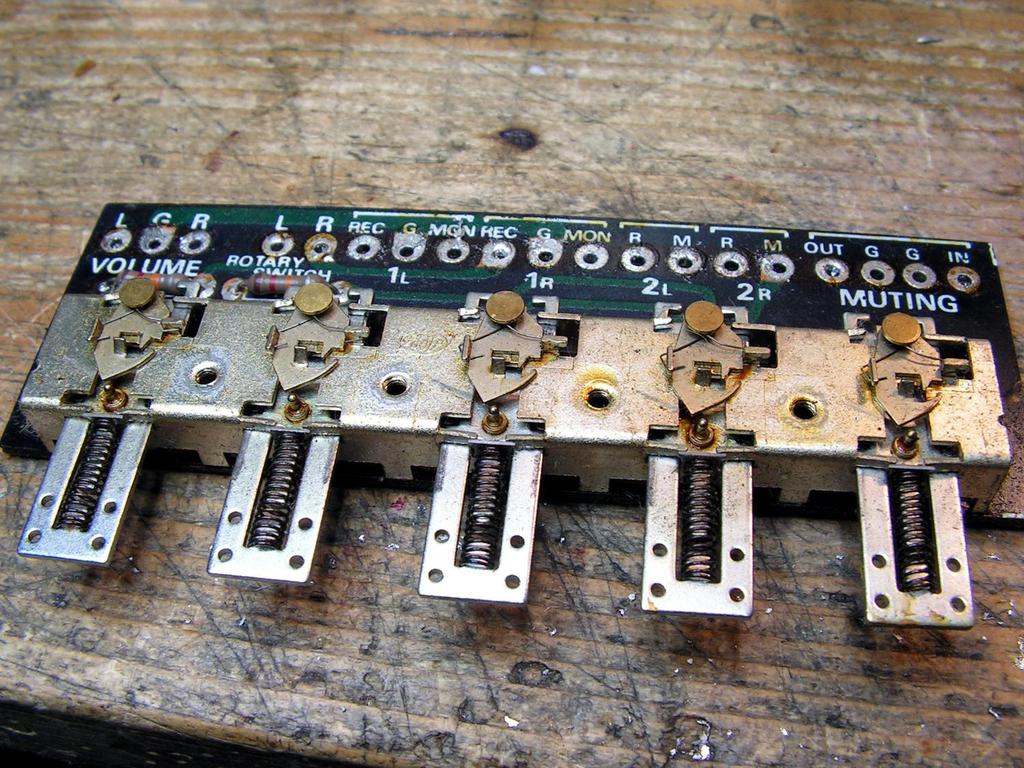
On the next picture, the right board finally removed…
And, here it is…
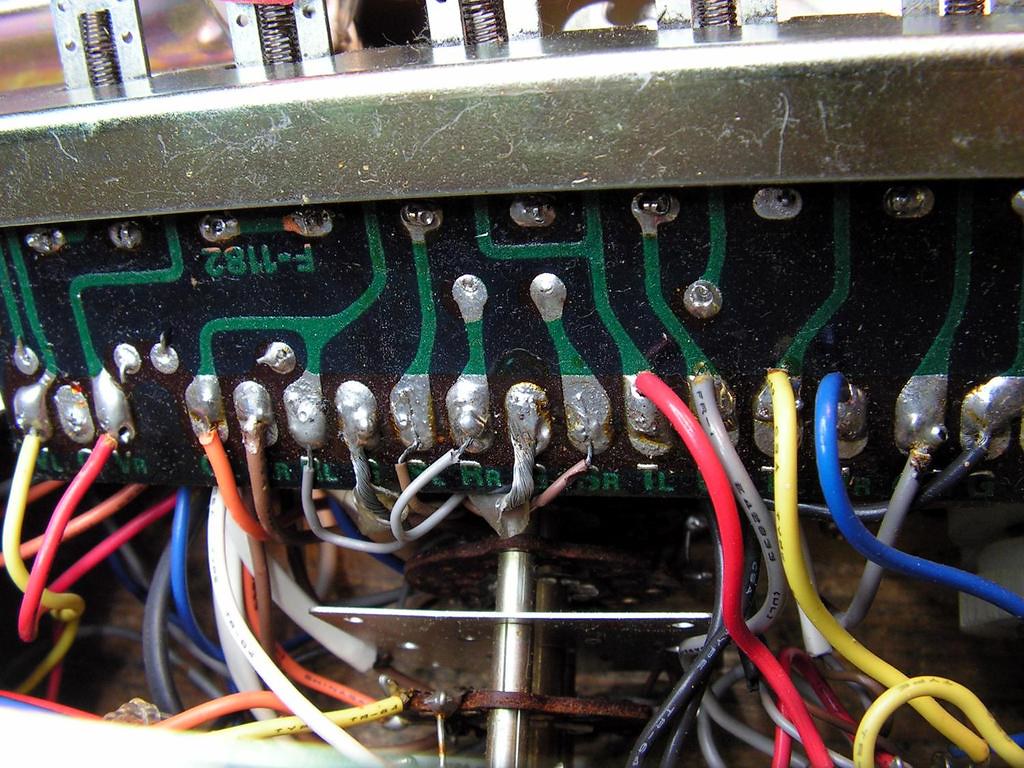
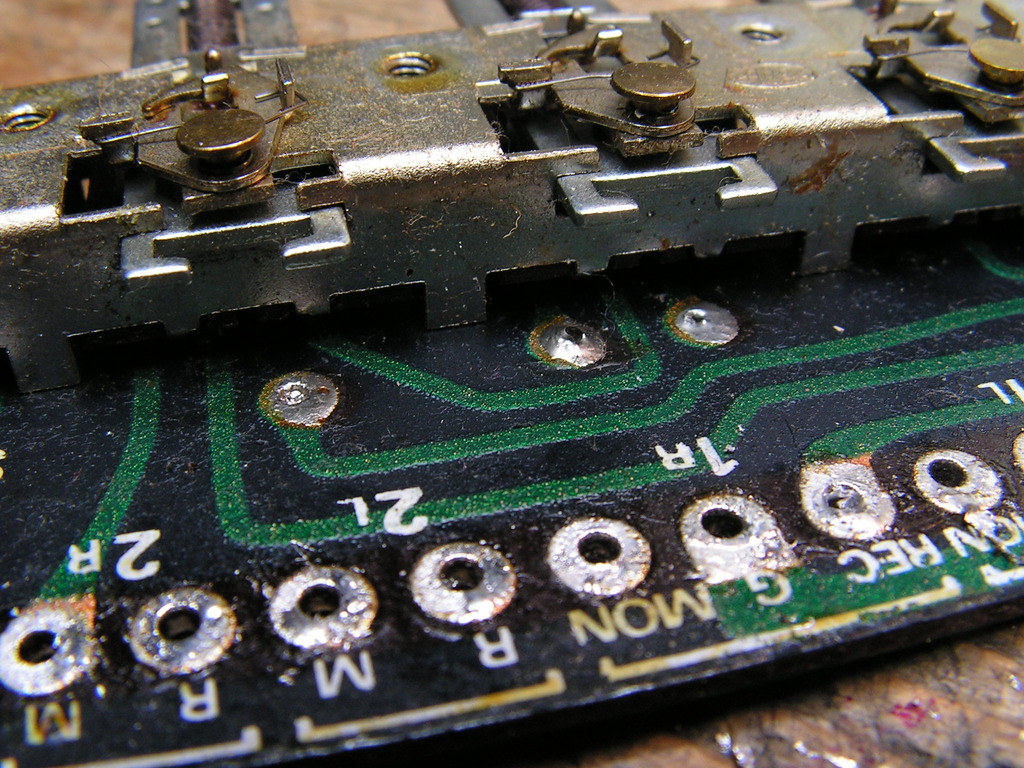
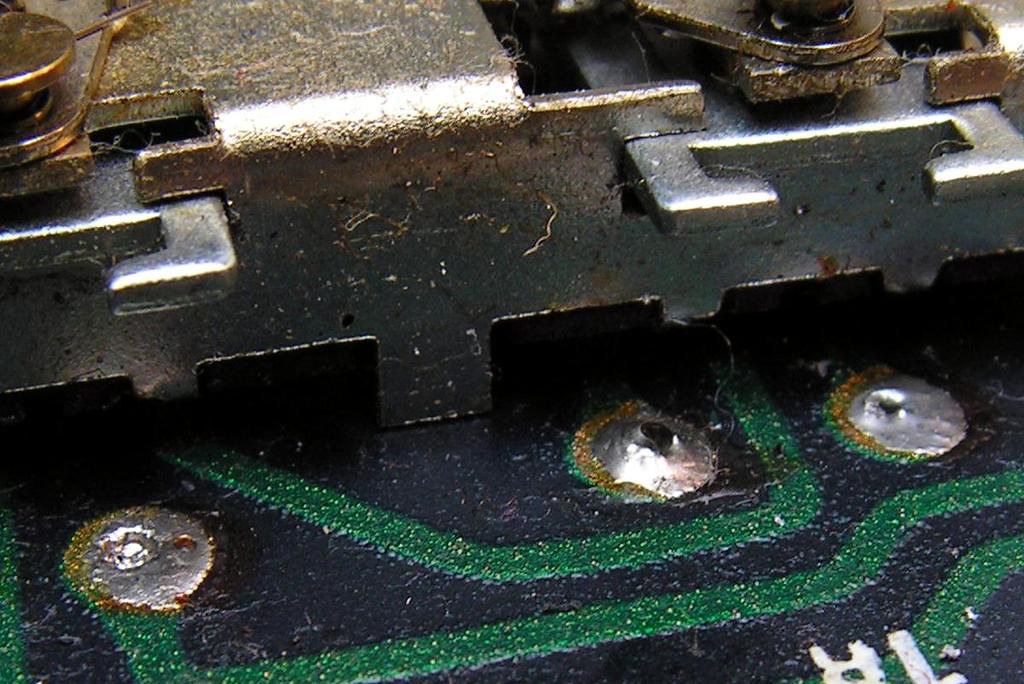
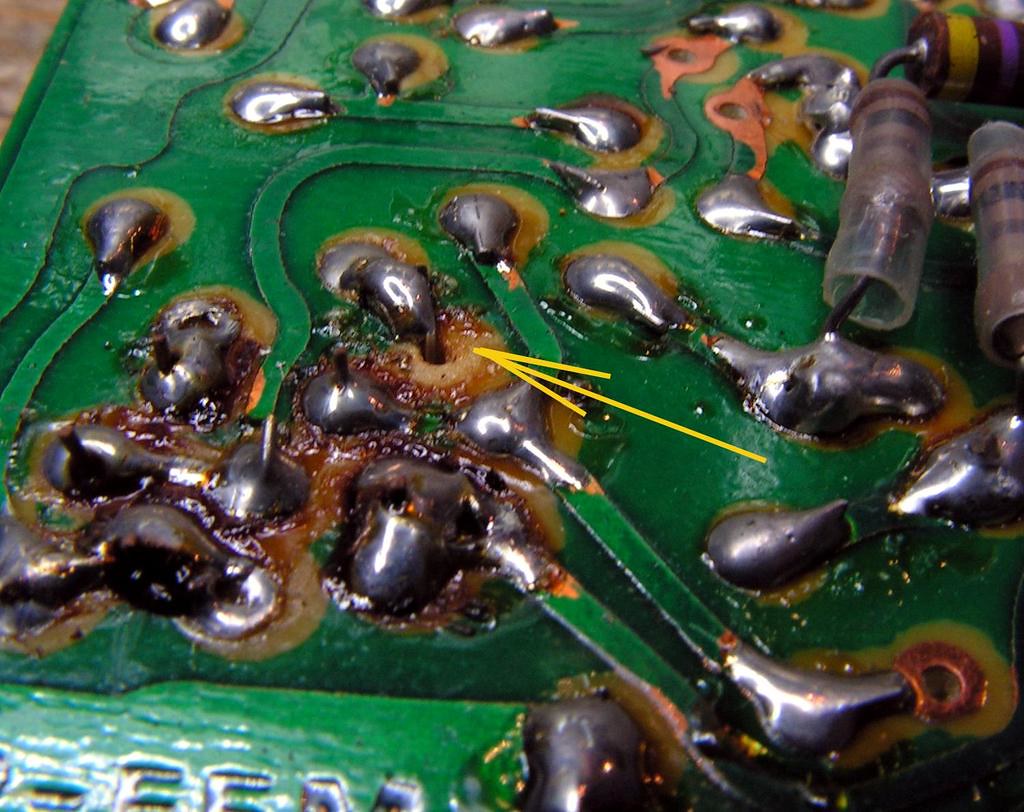
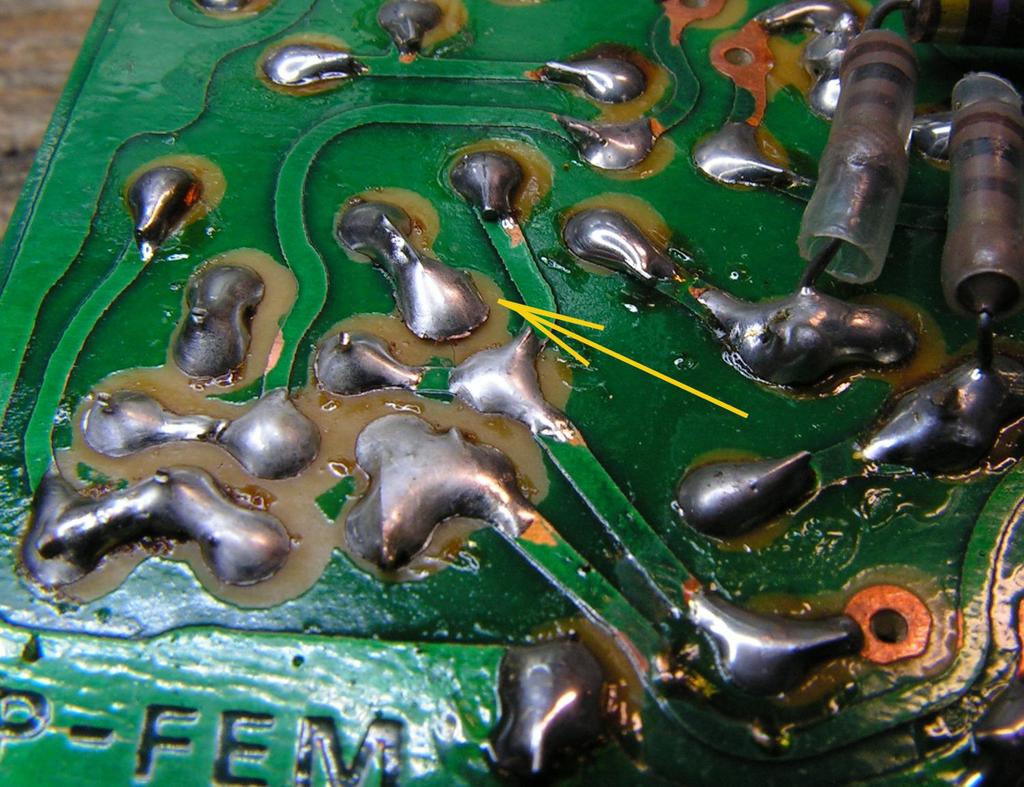
The one detail is something what I wish to say you… Sansui Eight is from beginning of 1970… and at that time, Sansui made two side (!) electronic printed circuit boards with metalized holes!!
But, again, after all those years, you should repair pass through connections points…
Better view …
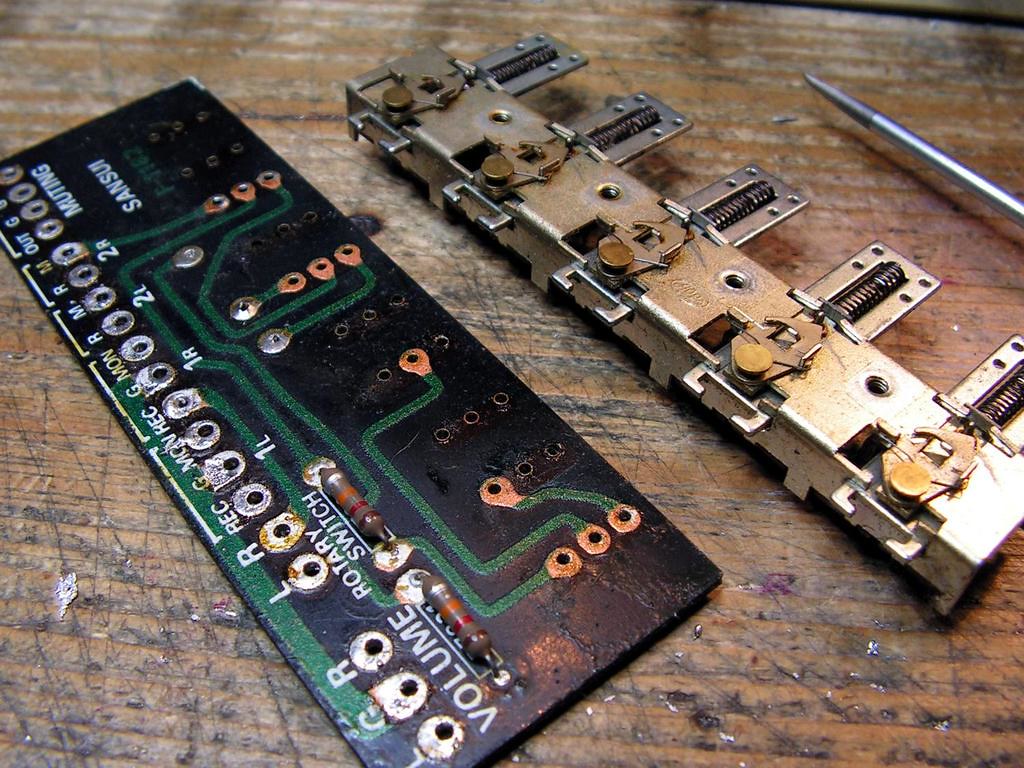
And finally removed from the board…
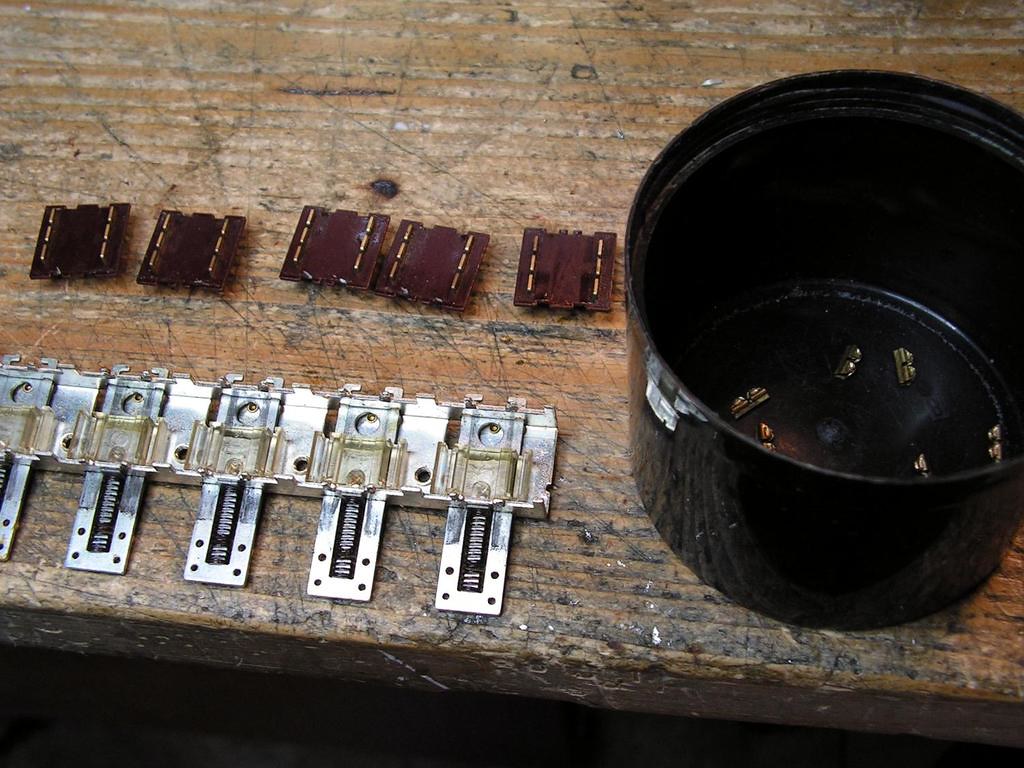
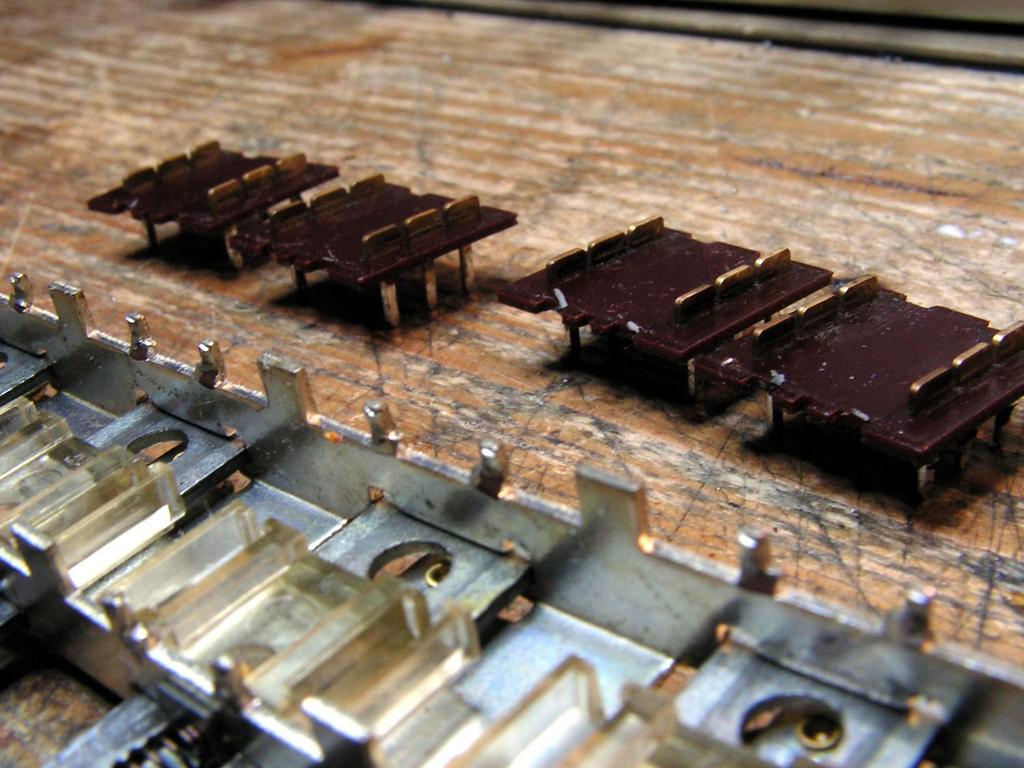
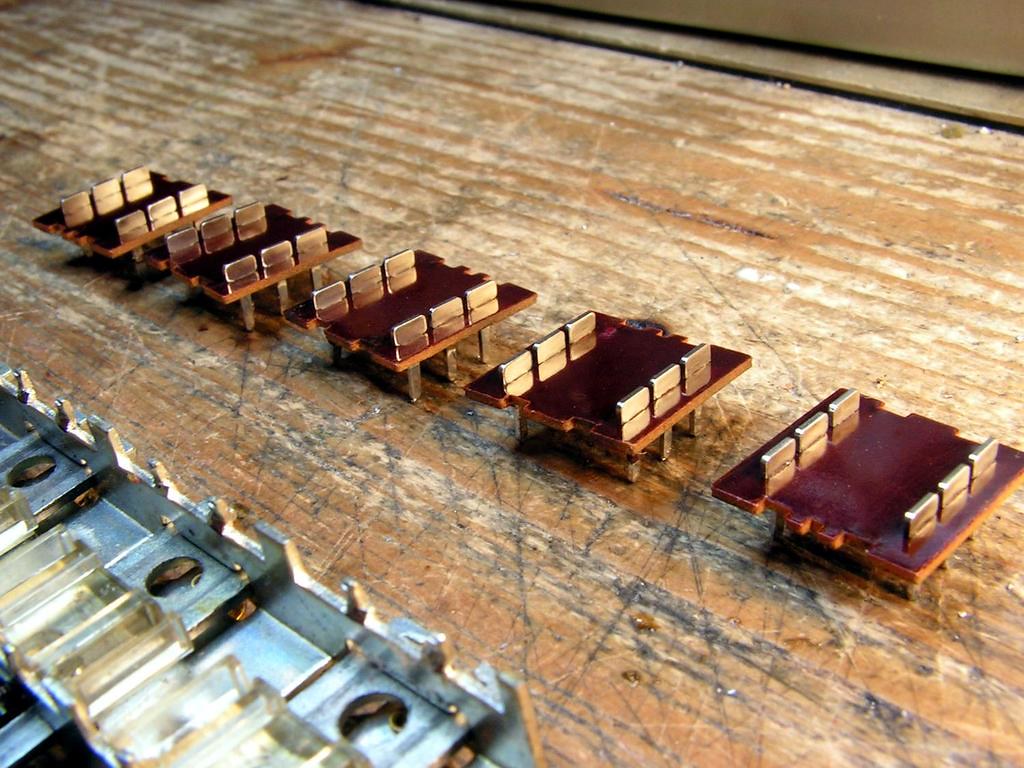
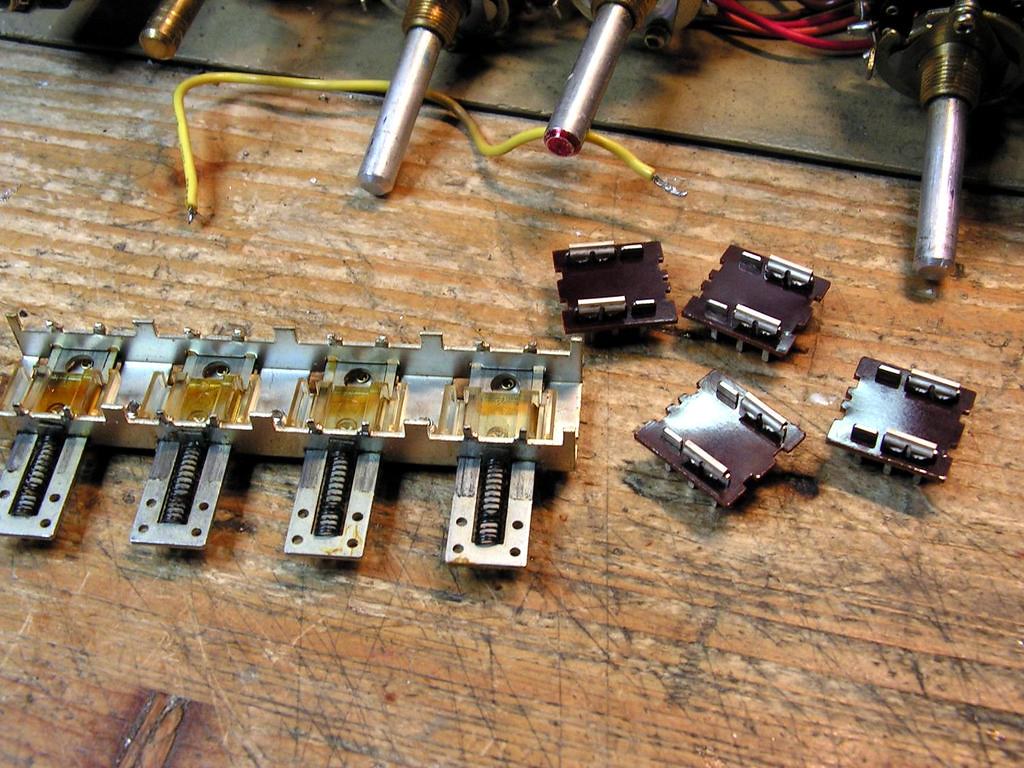
Now, I can clean all switches contacts…
… how it was…
… and how it is now…
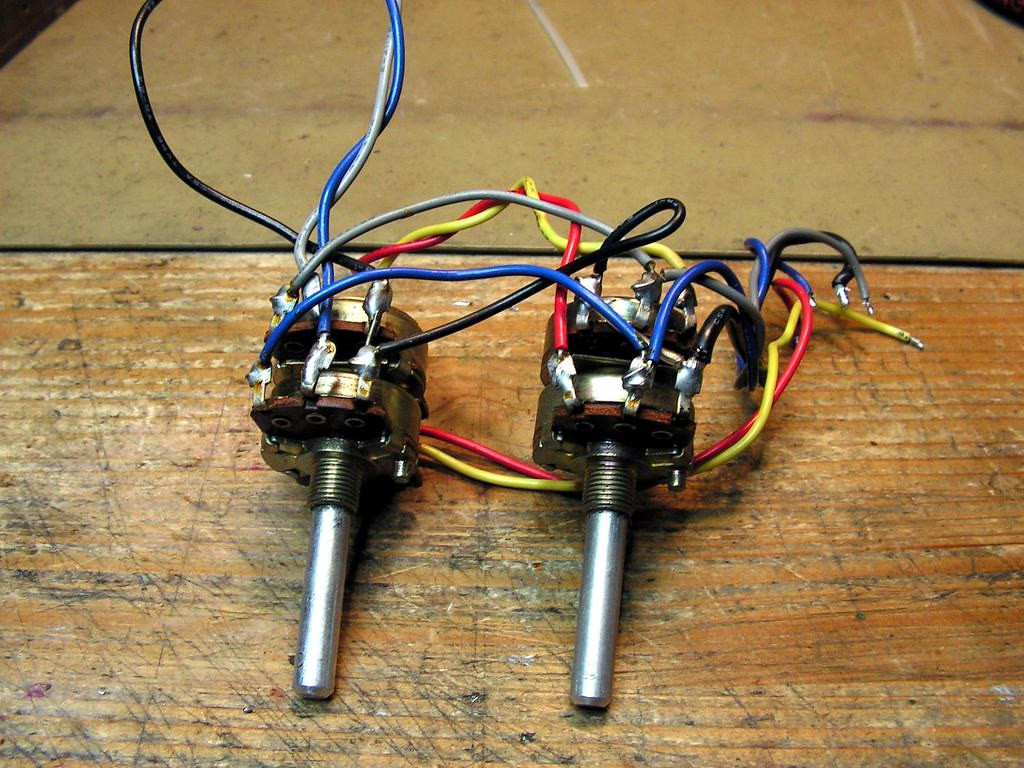
Balance and volume pot after cleaning (sorry I forgot to take a photo of cleaning process)…
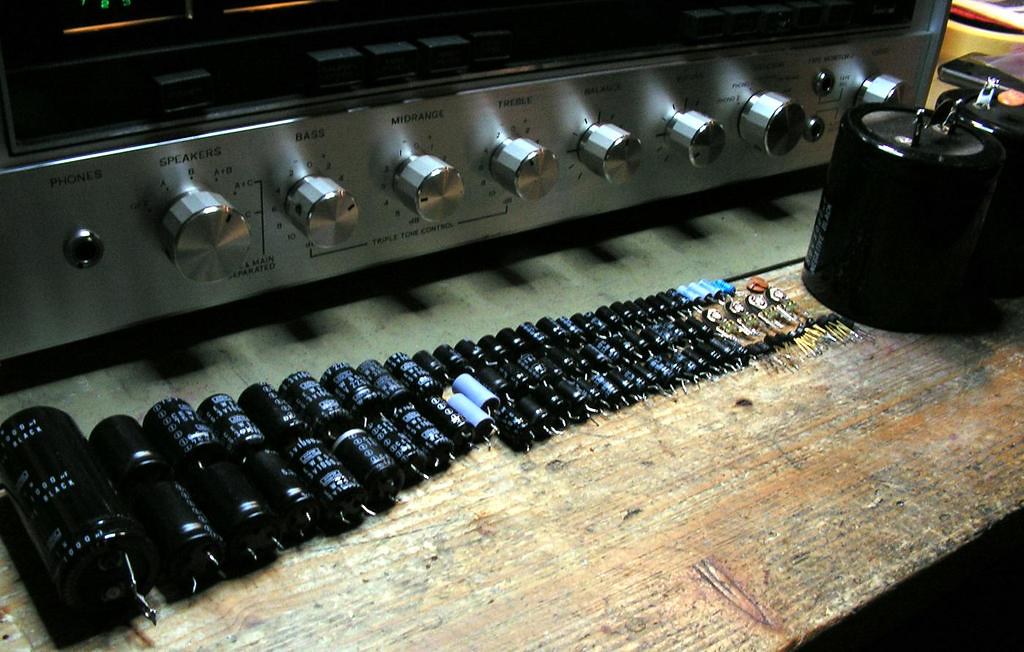
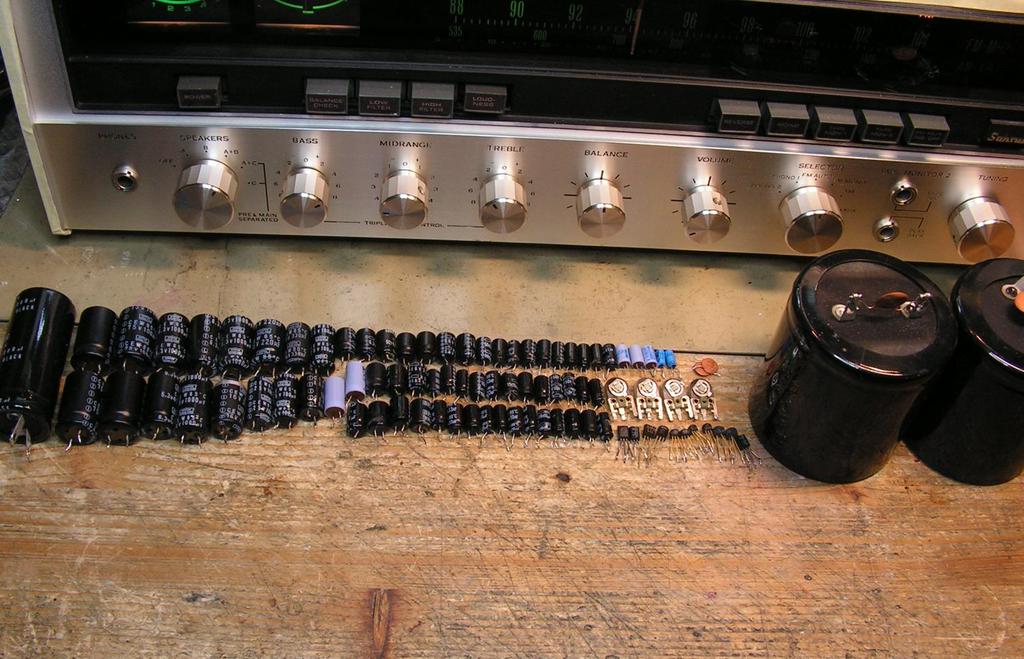
And now about power supply capacitors…
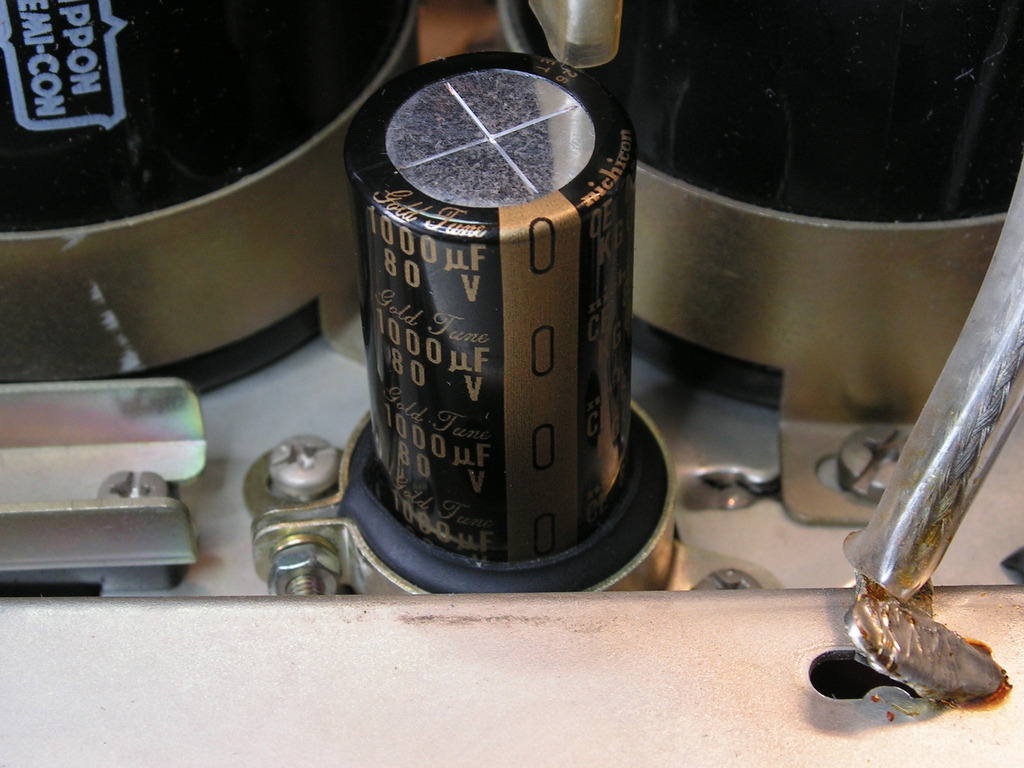
First I have to adopt that new Nichicon Gold Tune 1000uF capacitor to old capacitor clamp….
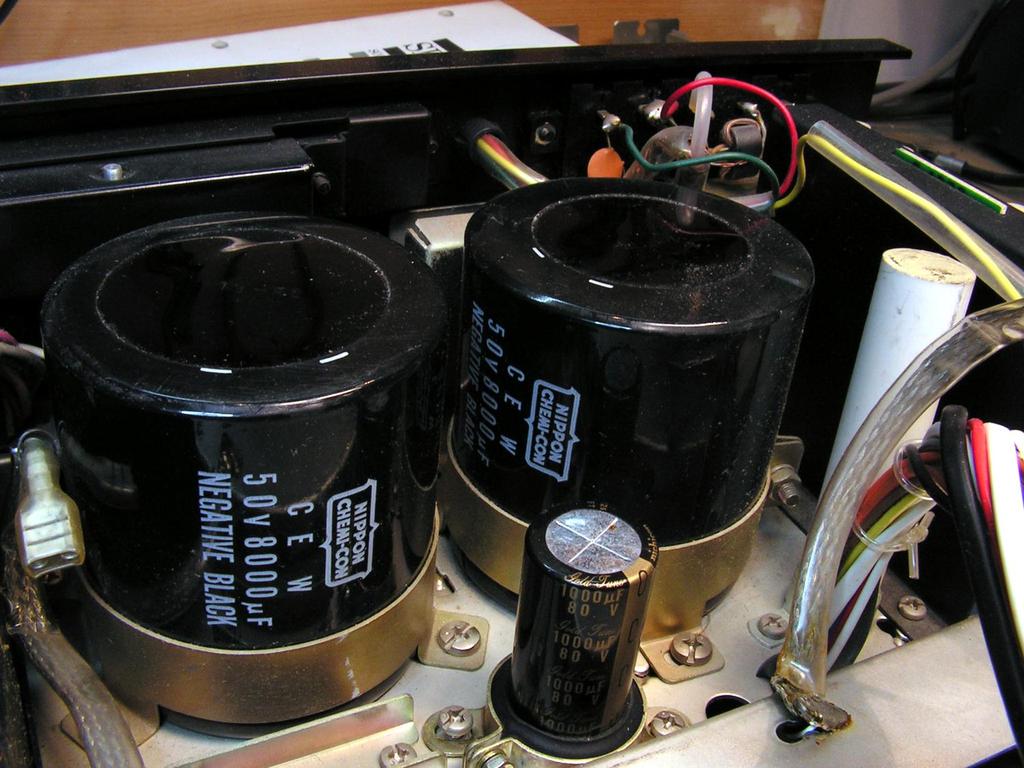
After that… the main power capacitors…
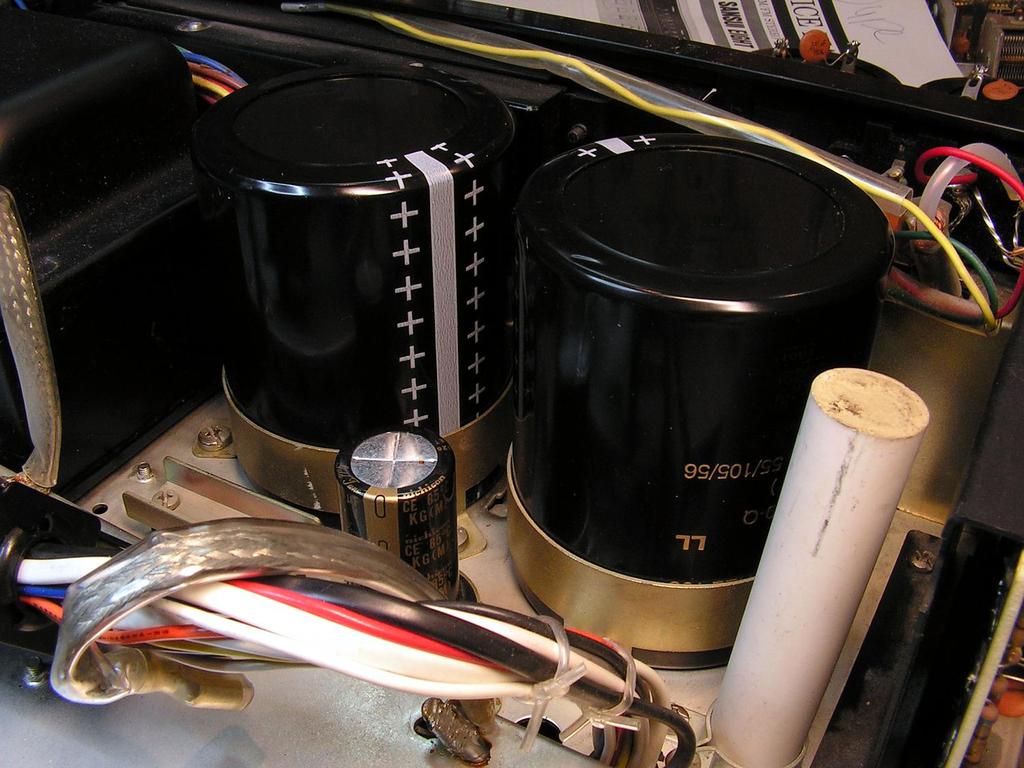
As you can see, they are with diameter 64mm but only 70mm tall!
I decided to find a new ones which must have:
– The same diameter
– up to 83 mm height
– The same or little more capacitance
– they should be brand name
– and finally not so important, but it would be good if they are black
After so much searching on the internet, I have found that:
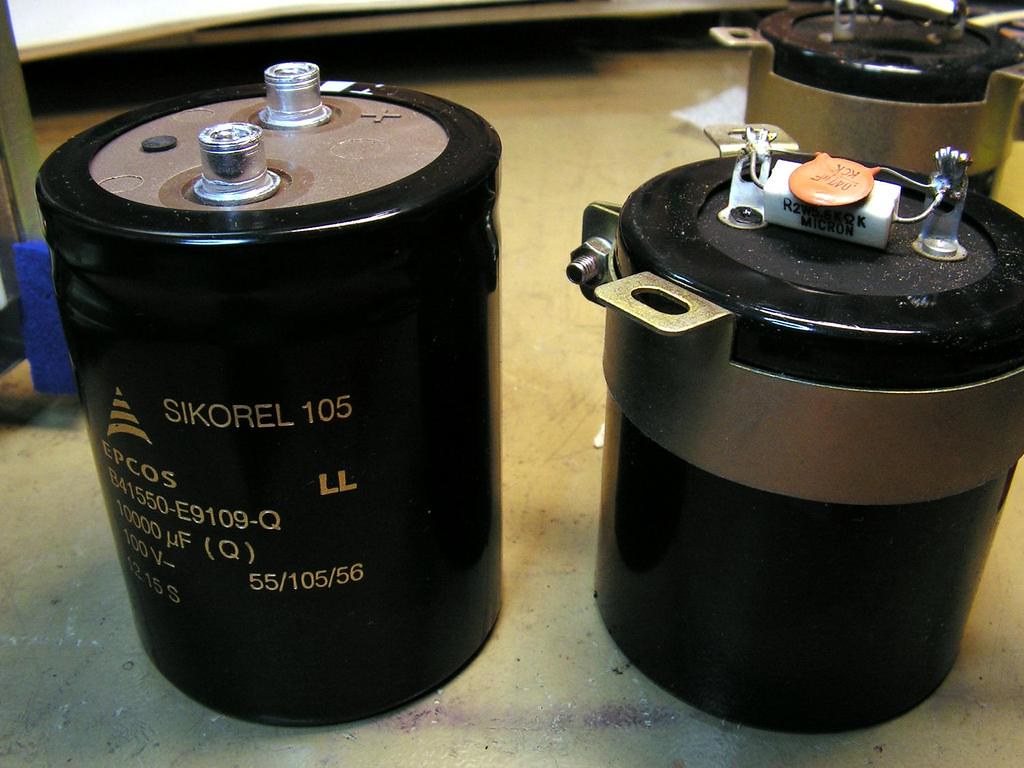
On the right side is old main capacitor, the left side is a new… EPCOS Sikorel 10000uF 100V, fantastic capacitor, expensive but really HighQ!
The old capacitors had a solder lug contacts, but those new are with Screw Terminal… and here it is the result:
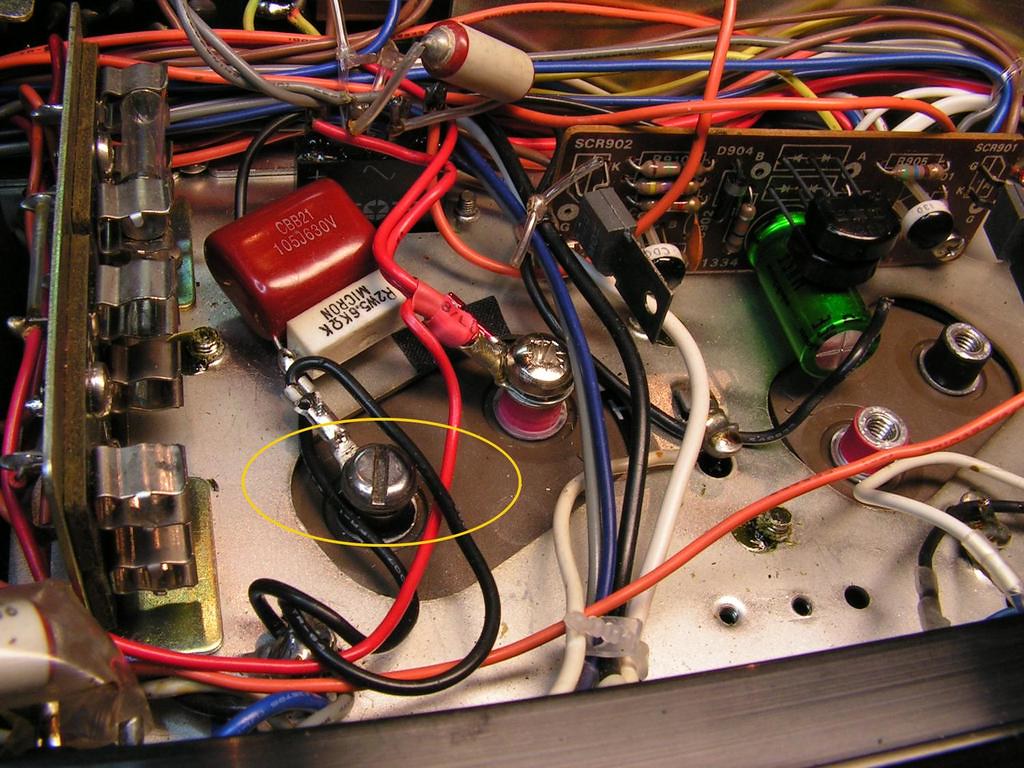
That slotted screw is because it had smaller height than original philips screws, and why is that important, you will see on the next picture:
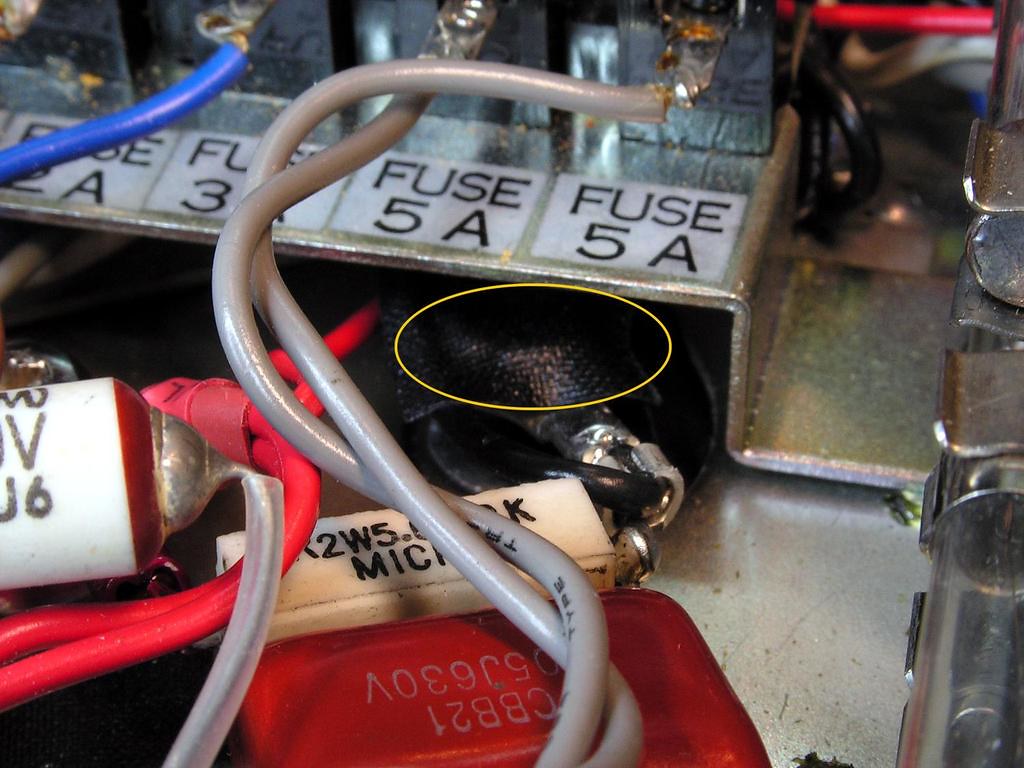
You see that fuse block, it is located over that capacitor contact with slotted screw, and I don’t want some dangerous contact (or very small distance) with some fuse…
And the final result is:
I have some troubles during working on this receiver, the first was some of small signal transistors on the right channel were out of specifications, and because of that the sound on that channel was distorted but after replacing input transistors with new ones, everything was OK…
The next problem was very specific… because power supply wires connected to the main capacitors are solid core wires, and during crimping those wires to the O ring terminals, one + supply wire was broken, but insolation of that wire still keeping wire fixed to the O-ring terminal, but without electrical contact, you might know what I checked all before I check this….
I made a short video about dual function of Tuning meter; I was wondering why balance potentiometer doesnt has central click, but now… really I like this how Sansui made that balance channel check… look:
One more interesting thing… not so good… if you are using Loudness Control on high levels, because volume potentiometer doesn’t has Loudness control pin, that function could be very dangerous for yours speakers (especially tweeters), because over 10kHz Loudness filter boost very high frequencies, look what I have measured at speakers output at the same volume position:
10kHz -> 5V
20kHz -> 7V
40kHz -> 8.5V
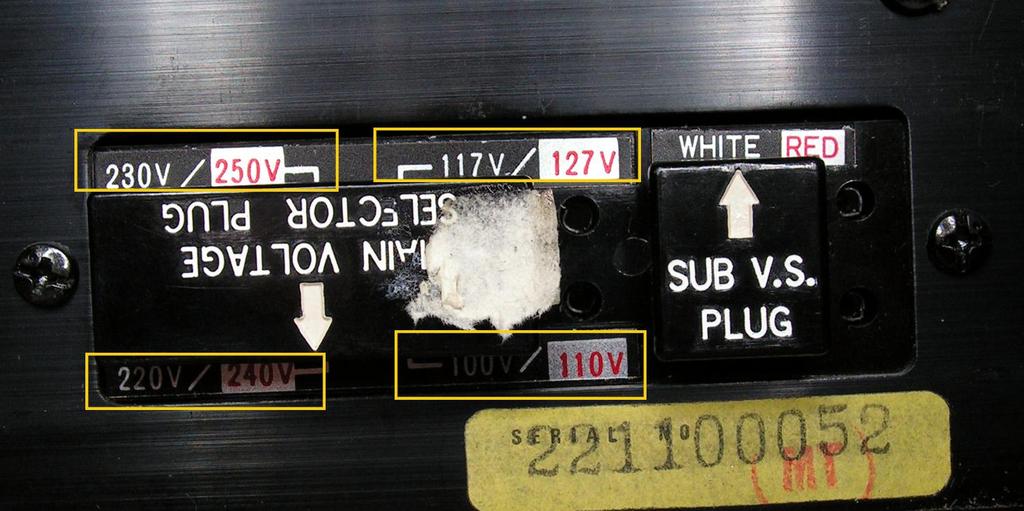
Another thing what I like on this receiver is voltage selector!
In the most Sansui models you can find multivoltage main transformers, so because of that Sansui units were imported from States to Europe so much times (you don’t need step-down transformer from 110V AC to Europe 230V AC), but here on Sansui Eight we have better solution!
You can chose from voltages, 100V AC – 110V AC – 117V AC – 127V AC – 220V AC – 230V AC – 240V AC – 250V AC , 8 specific primary voltages!!!!
Really fantastic!!!
Someone has changed those input transistors just on this driver board
But he did that job not so nice….
I replaced those input transistors on the both channels with Toshiba 2SA970 and fixed this
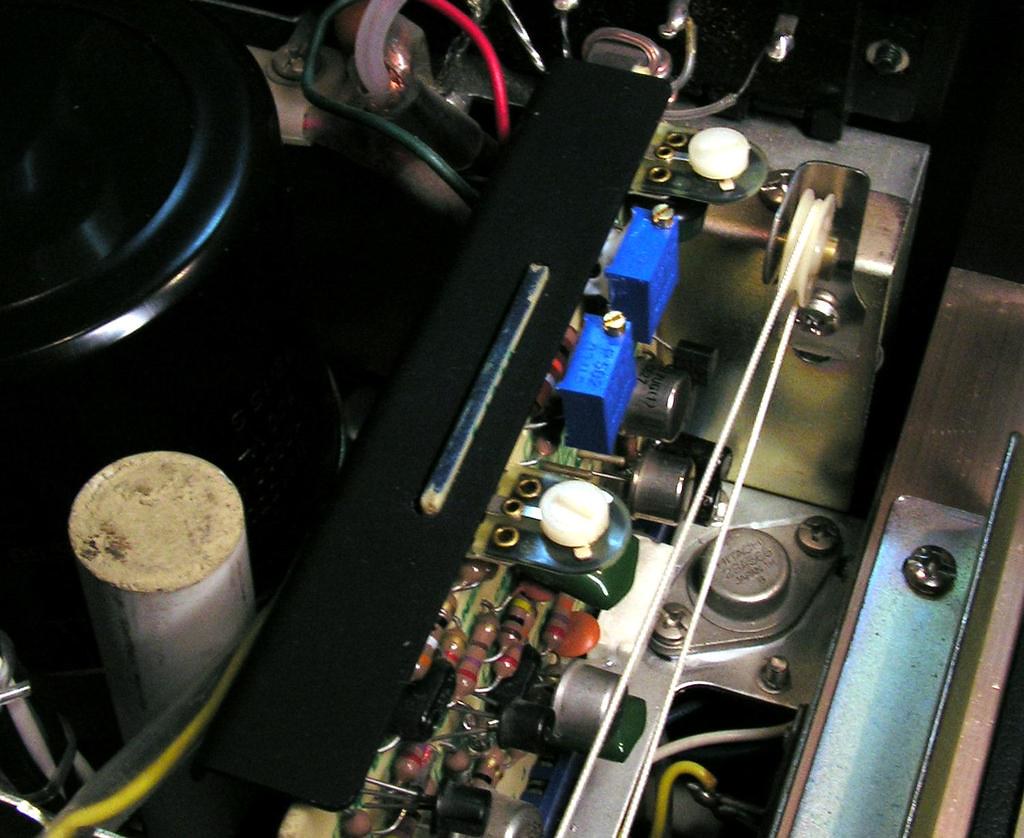
I decided to change those two trimmers on Driver boards
other two, I cleaned at ultrasonic cleaner, but those two replaced, after cleaning in ultrasonic cleaner was not in specification range, so I replaced them by Bourns muliturn trimmers.
and some final pictures….
