Sansui BA3000 restoration
I am going to write a few words about restoration on BA3000 which I imported from Japan in January 2012.
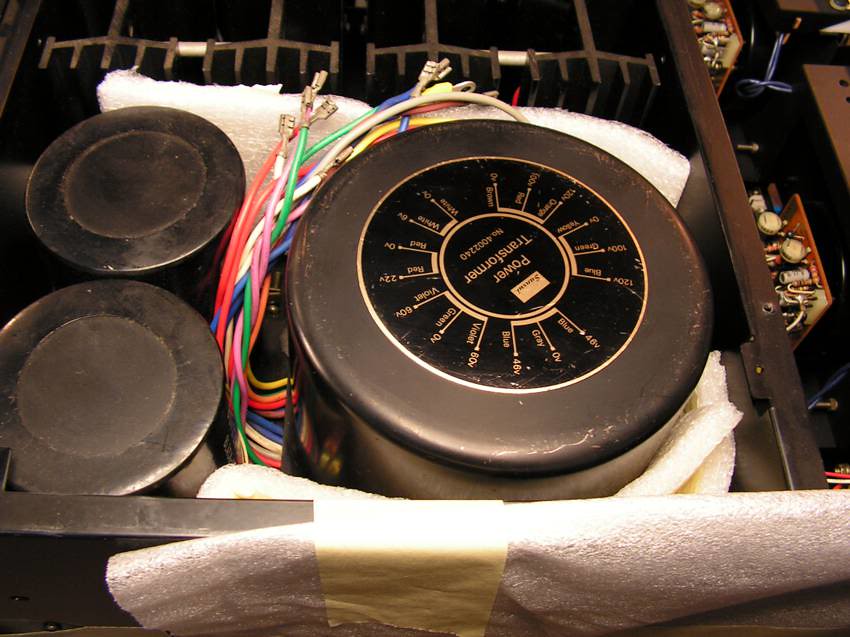
How it was model for the Japanese market, the transformer was removed to reduce weight for transport.
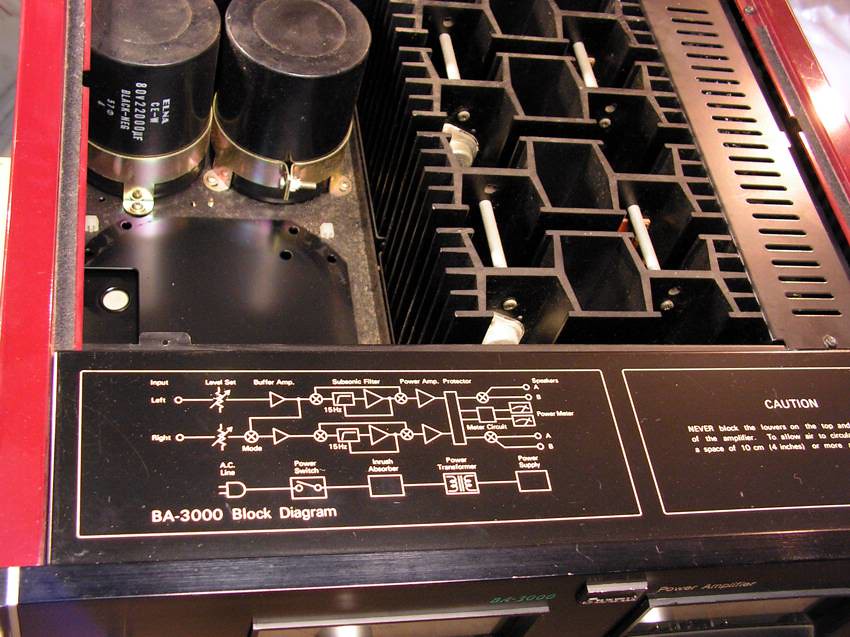
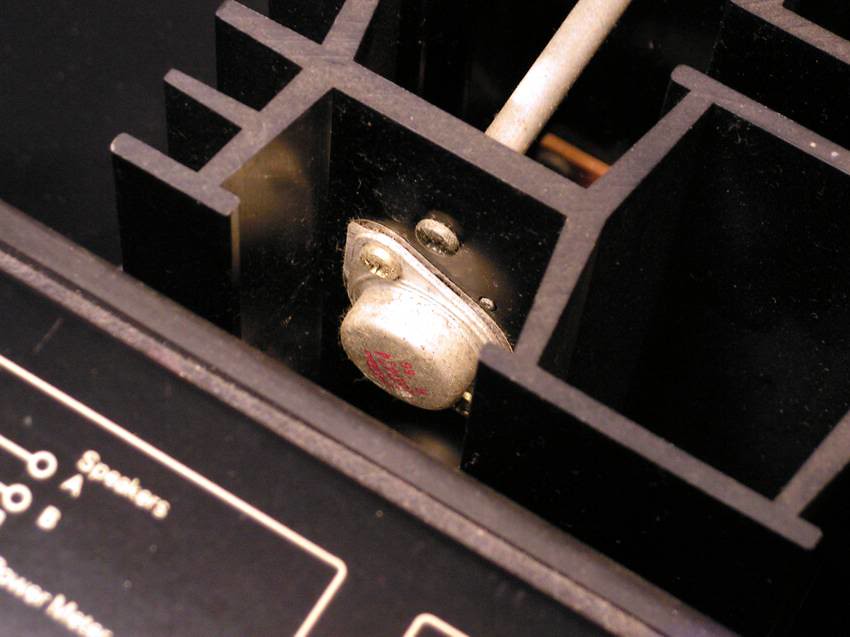
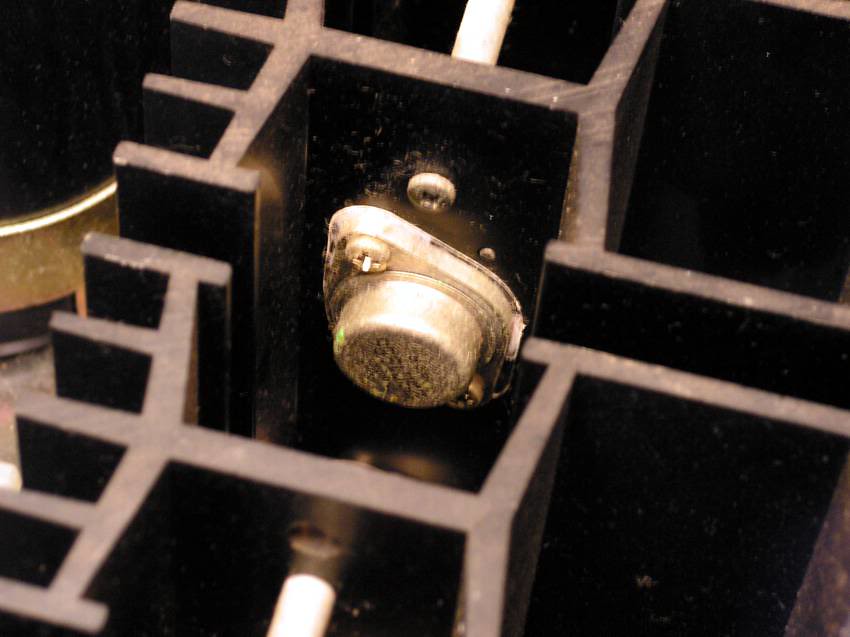
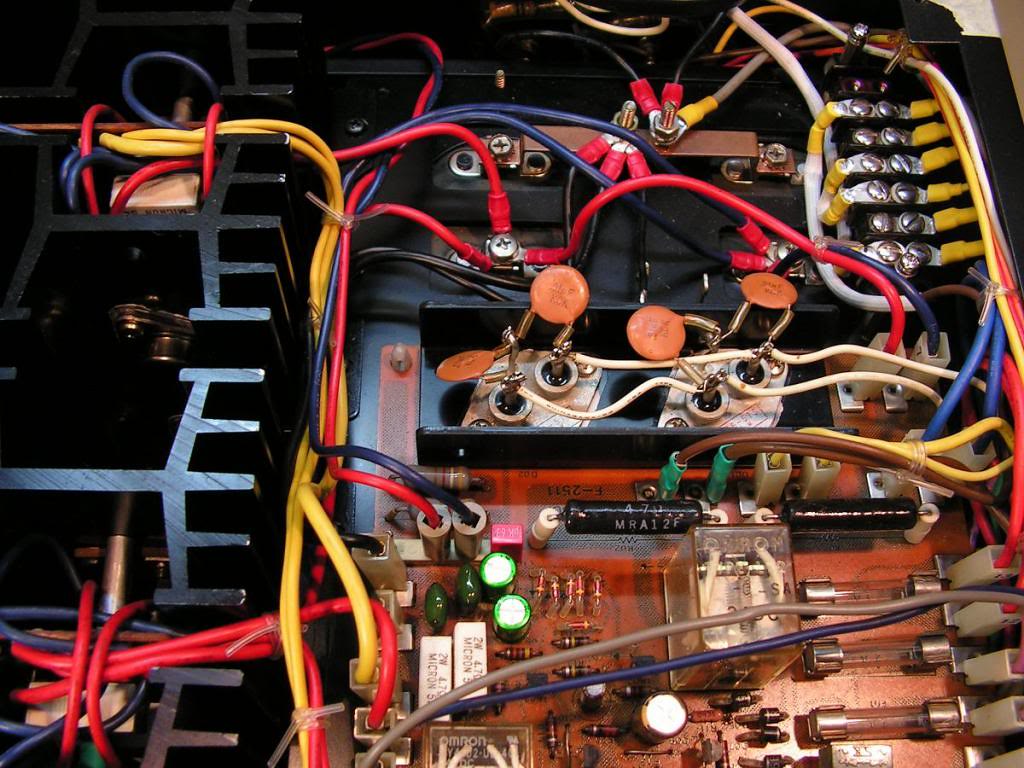
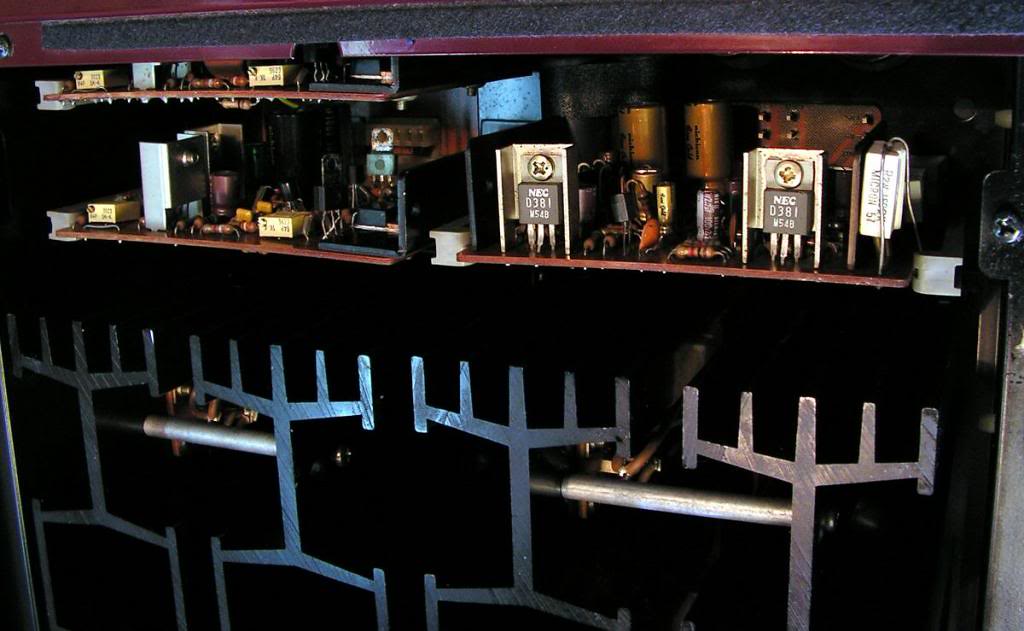
That power amp was with one interesting thing; one channel had as output transistors Toshiba 2SB554 2SD424 transistors, and other channel had Sankens 2SC1585 2SA908! And the both combinations are possible if you look at the service manual.
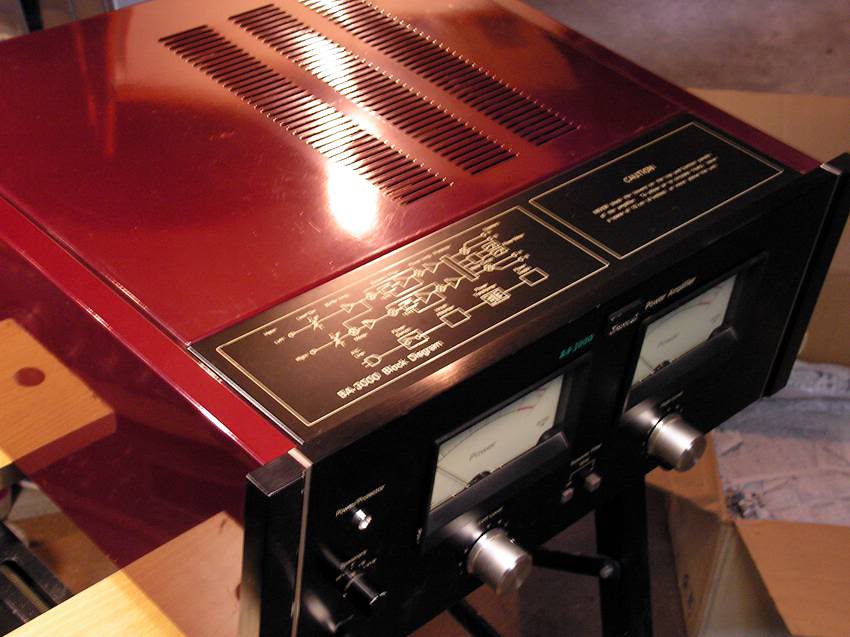
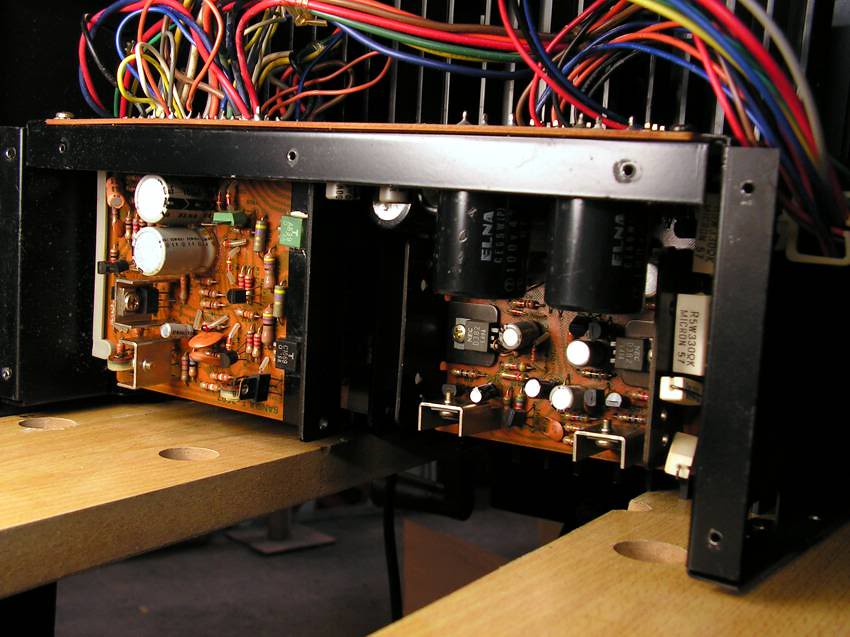
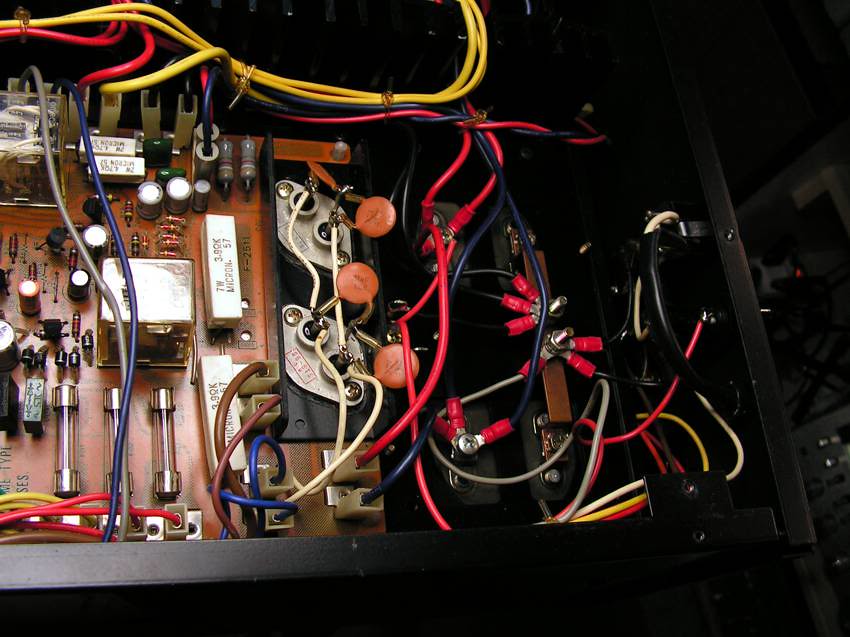
On the next pictures you can see, that amplifier is at original state, so it was never fixed during all those years
And the most important thing for that restoration, I have bought a GENUINE Sansui multivoltage transformer for AU20000 / BA3000
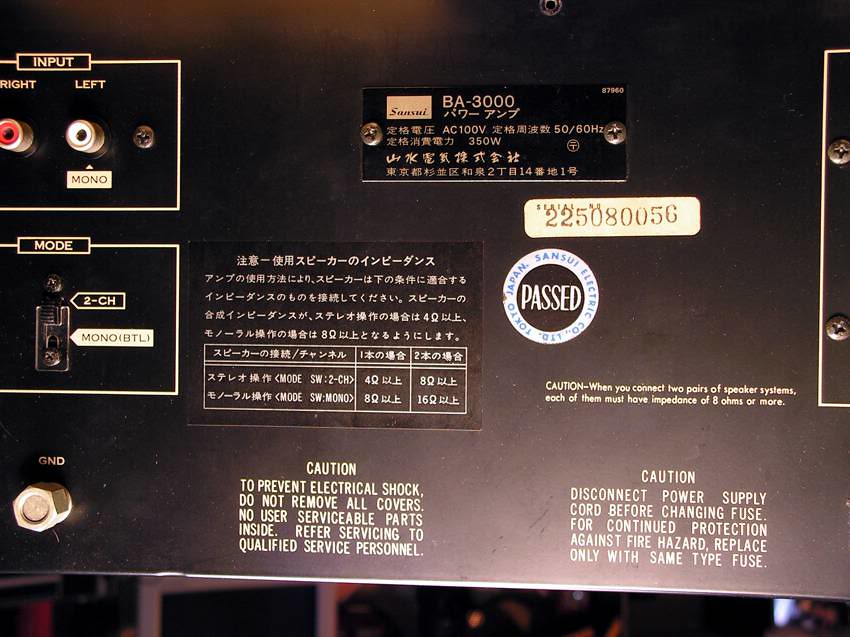
look at the back side of the amplifier
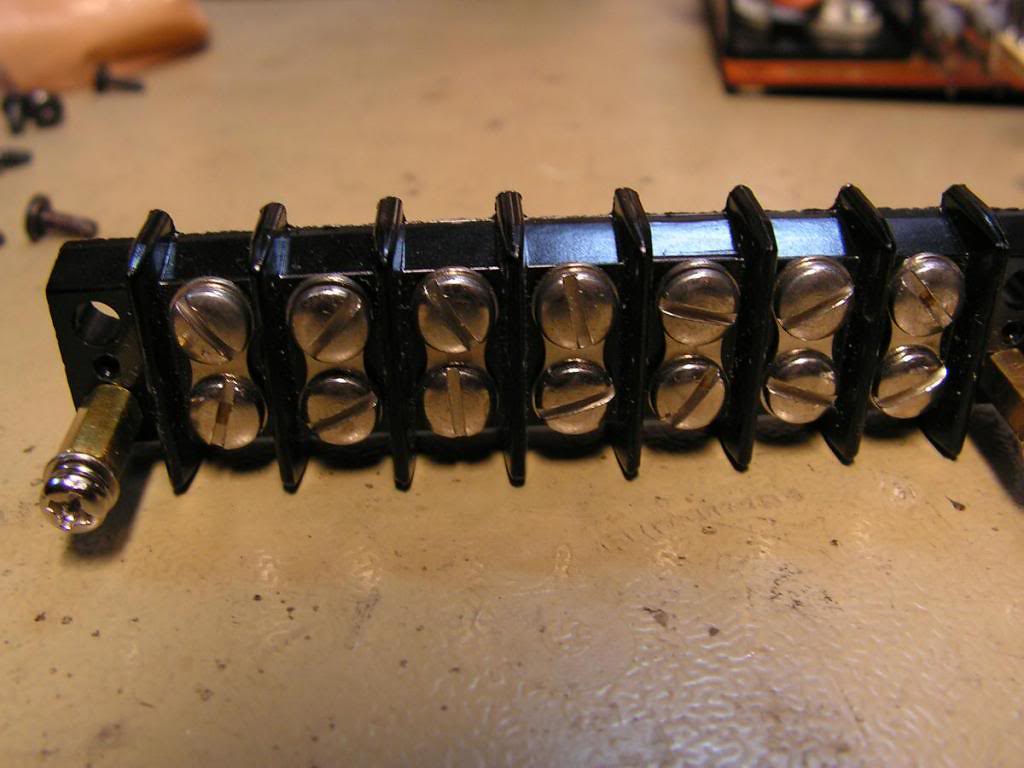
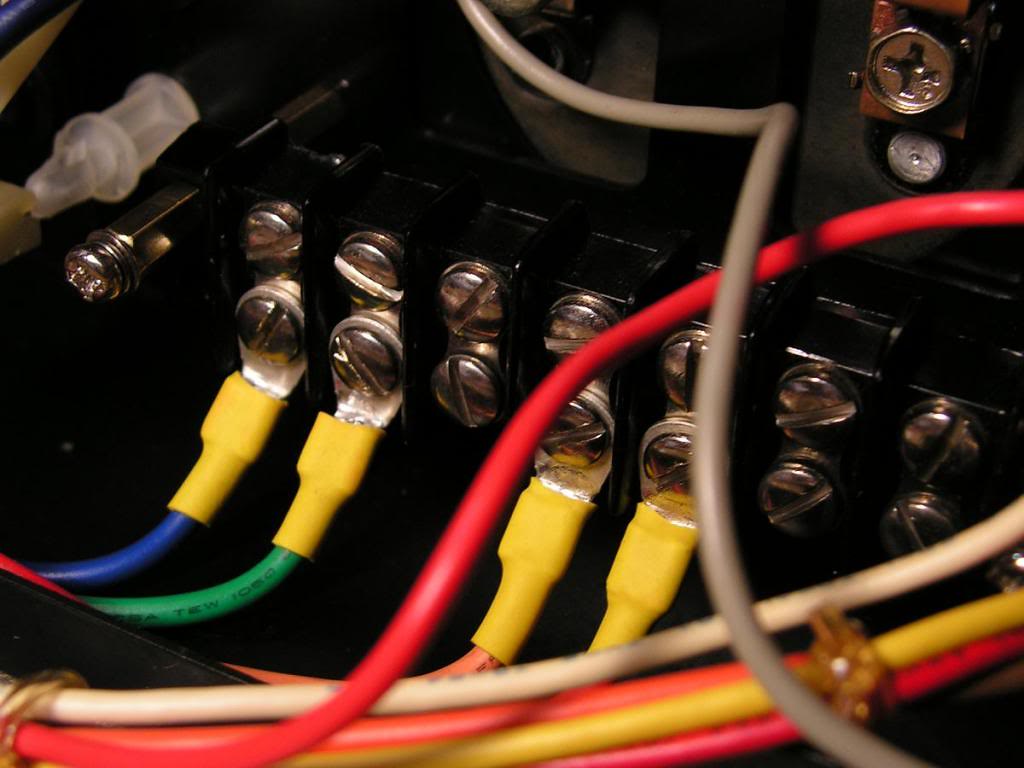
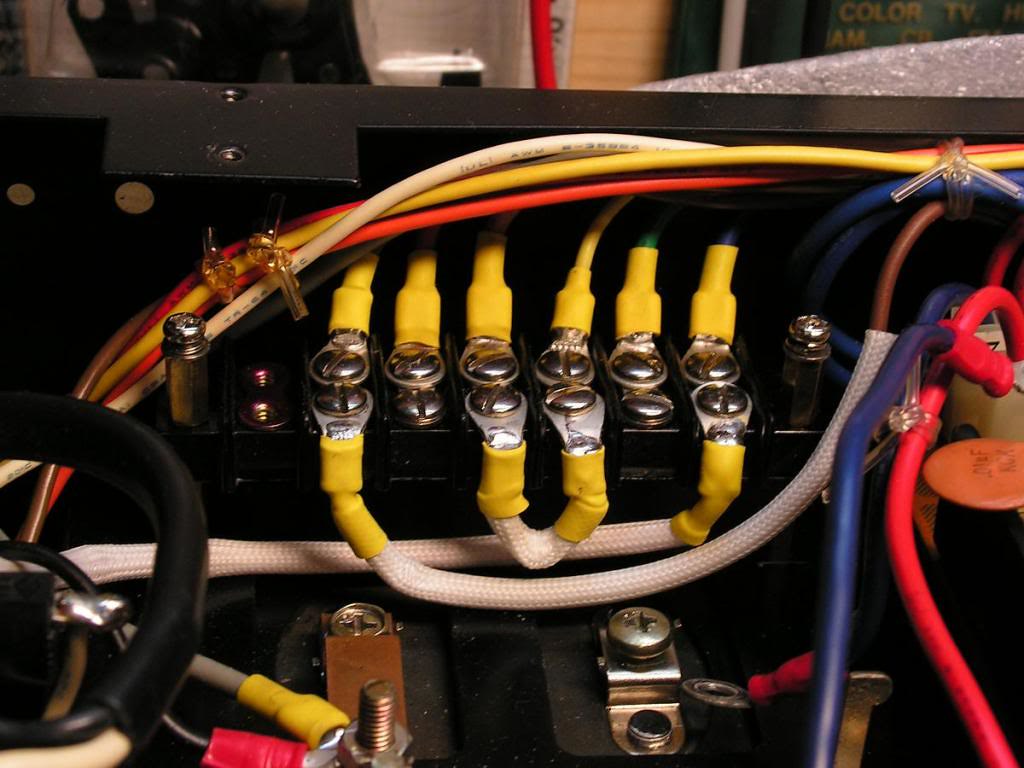
First I had to do is to install multivoltage Sansui transformer in the 100 V AC model BA3000, and it was not so easy. I had to have terminal block as close to the original, by which you can switch primary voltage (depending on the mains voltage).
And I was lucky, I got almost completely the same Terminal block:
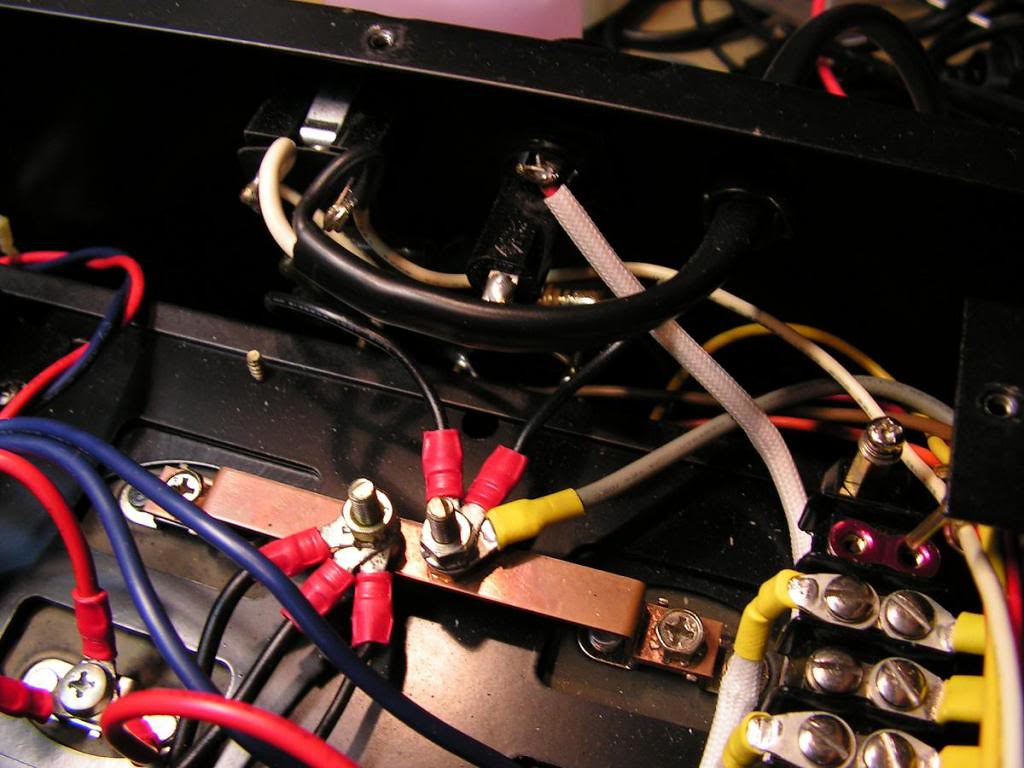
The primary windings of transformer were connected…
and adjusted for 240V AC because in Croatia mains voltage is 230V AC
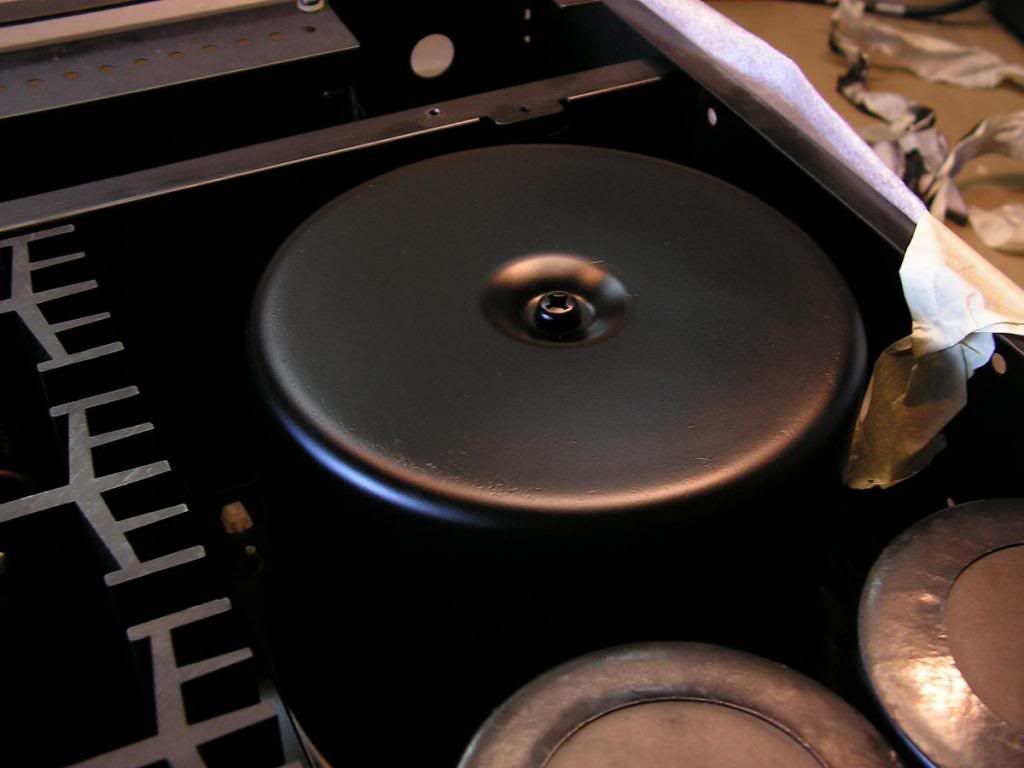
and here it is transformer….
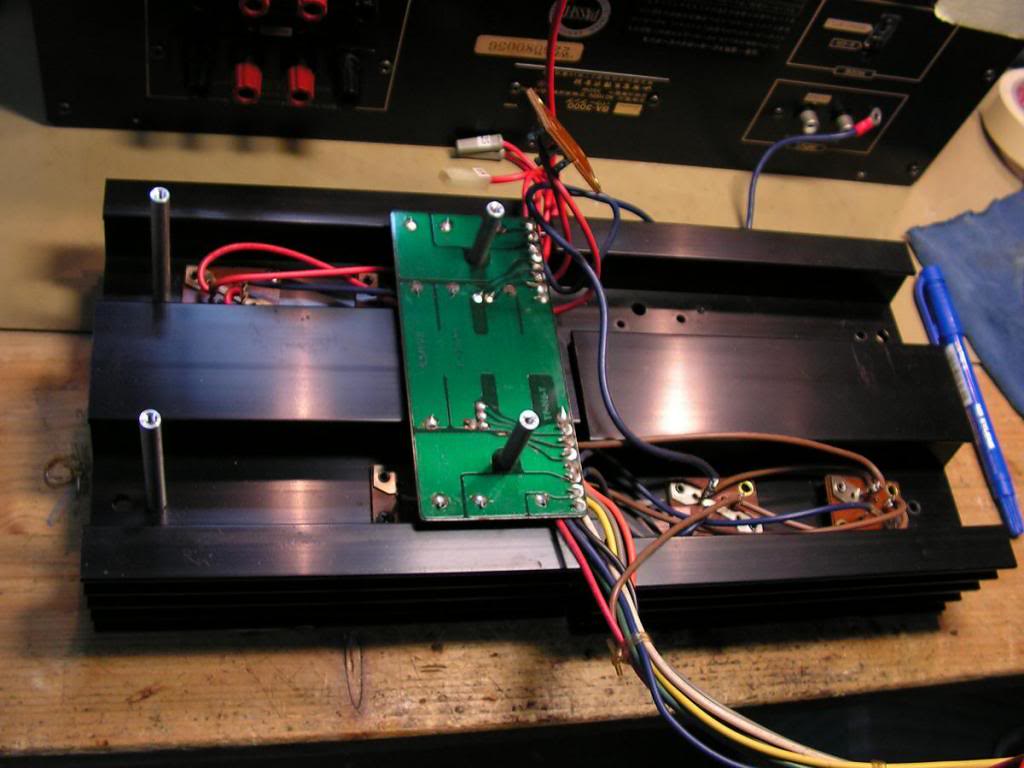
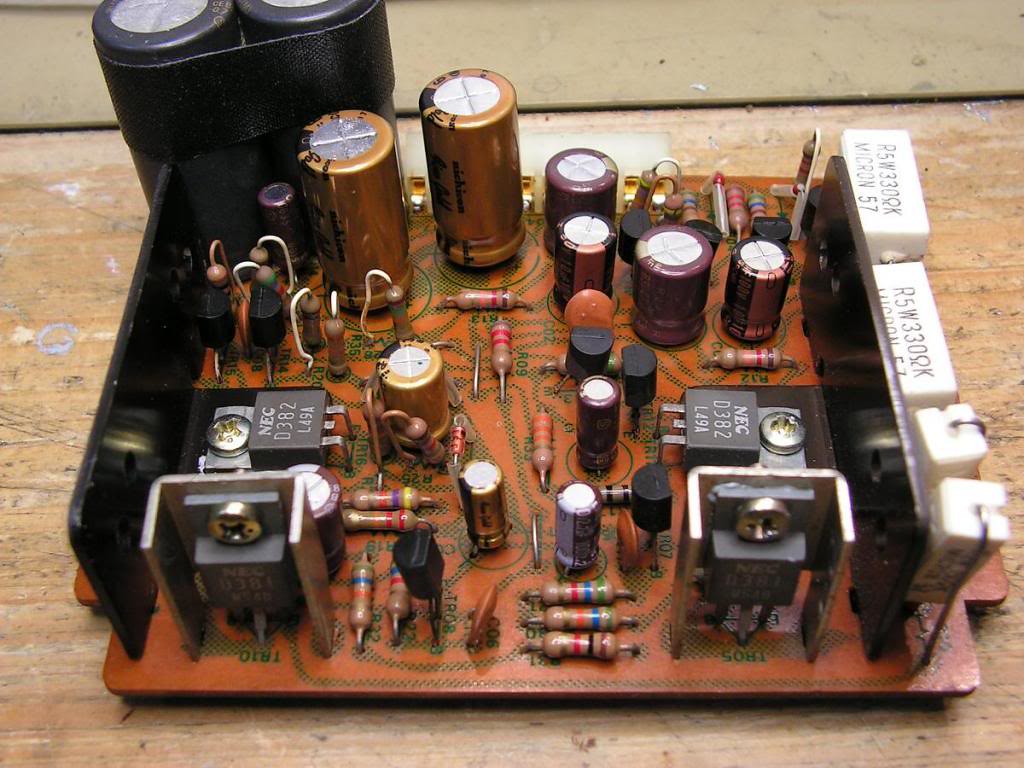
Output modules were cleaned, every solder point soldered again, instead of the Toshiba TO3 transistors I installed Sankens as they are on the other channel ..
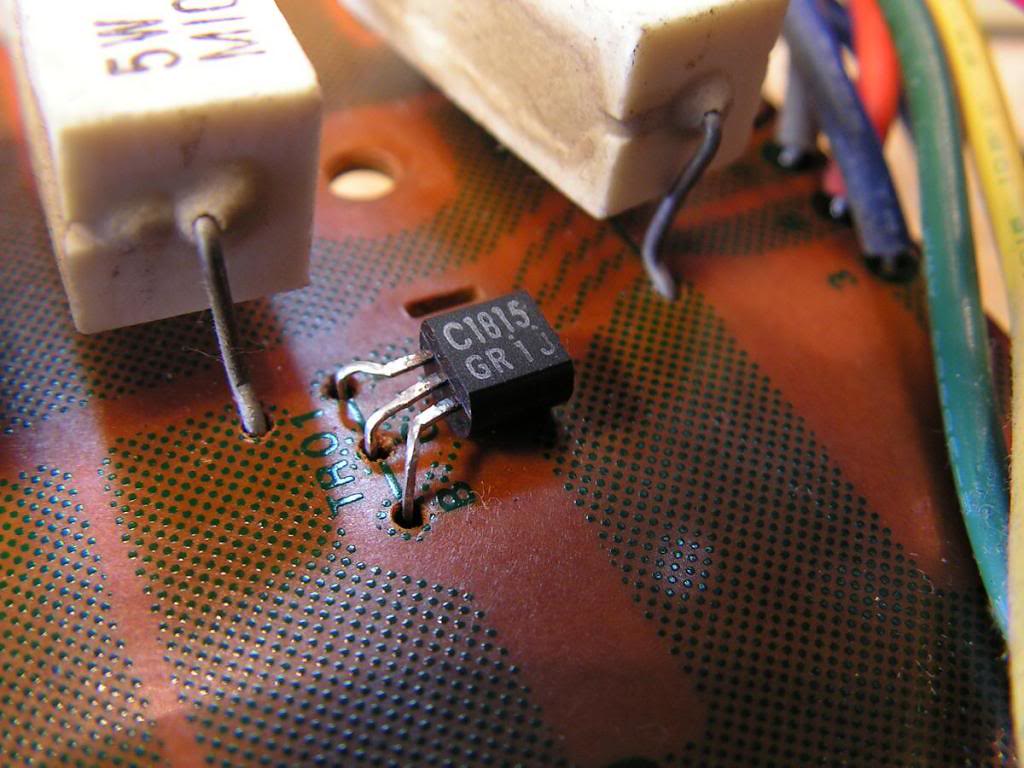
… new BIAS transistor….
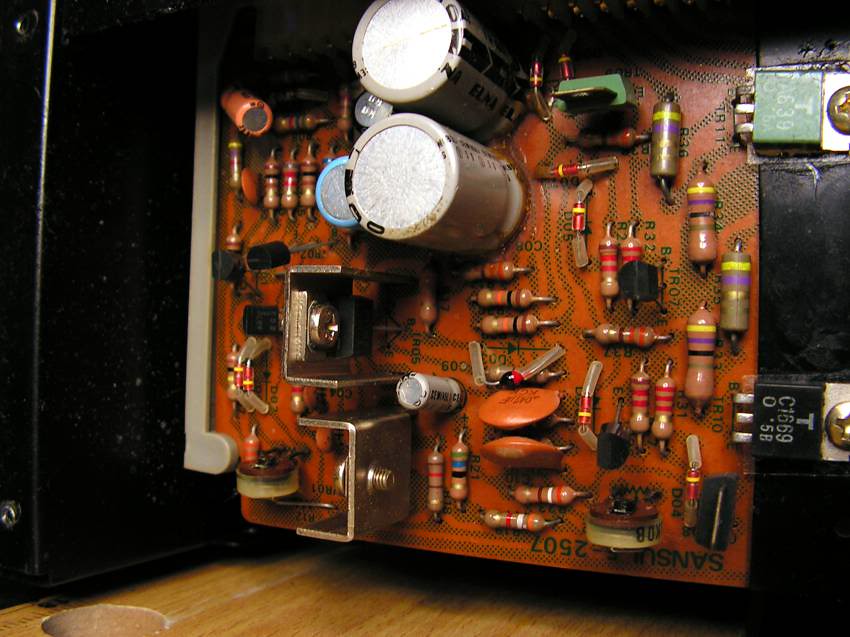
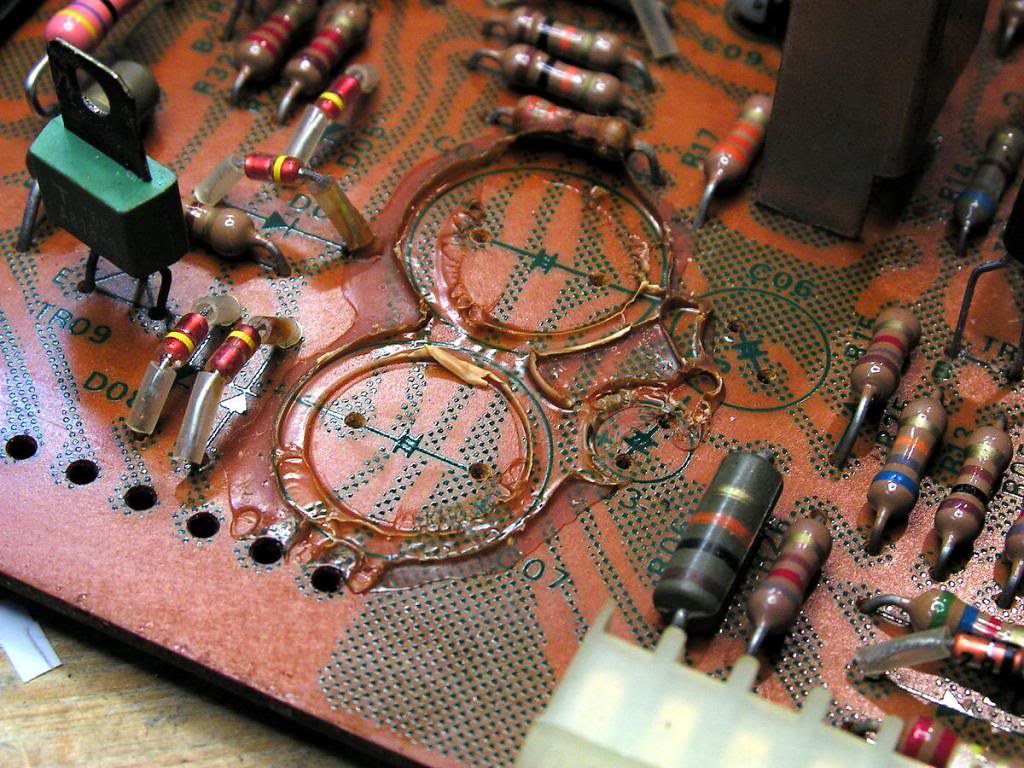
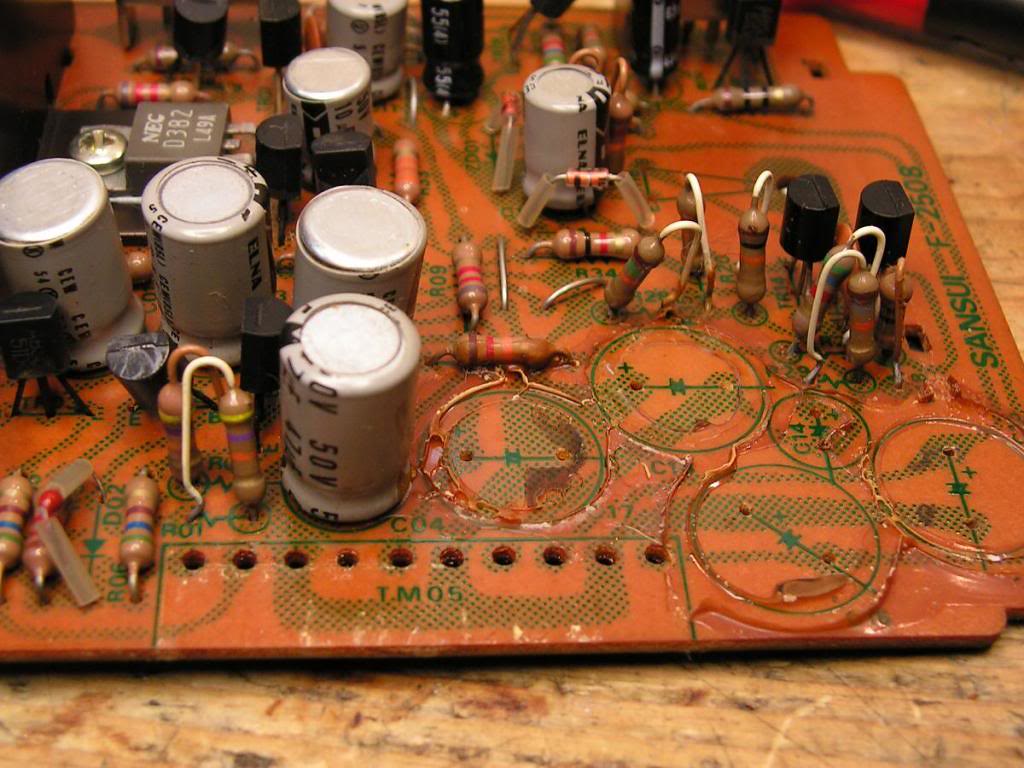
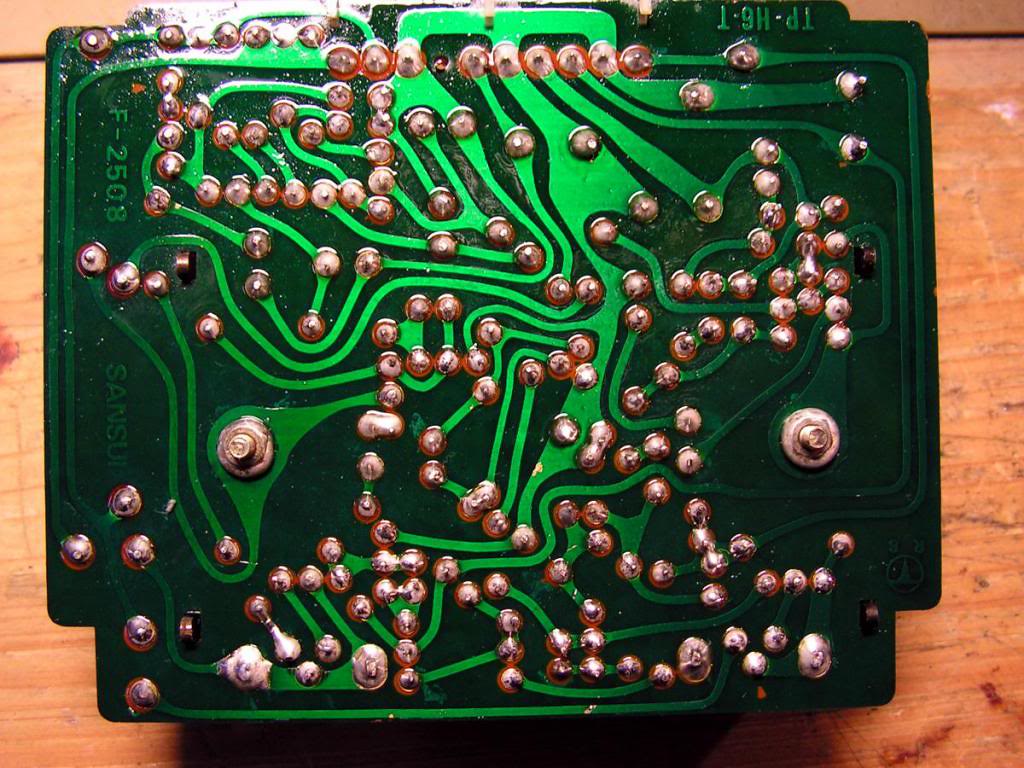
Classic problems during restoration Sansuies… glue… (on Driver Board)
… finished…
Maybe you have not noticed, on that board I did not replace VD1212 diodes. Since the device have a low working hours (which I concluded in that the adhesive is not dark and still it is elastic, and by the fact that all the boards are like new, no trace of overheating Pertinax) I decided to leave them at board, just because two diodes 1N4148 are not perfect replacement for VD1212, and because those diodes are with low hours of working.
But again, that I am doing just only at units with low working hours.
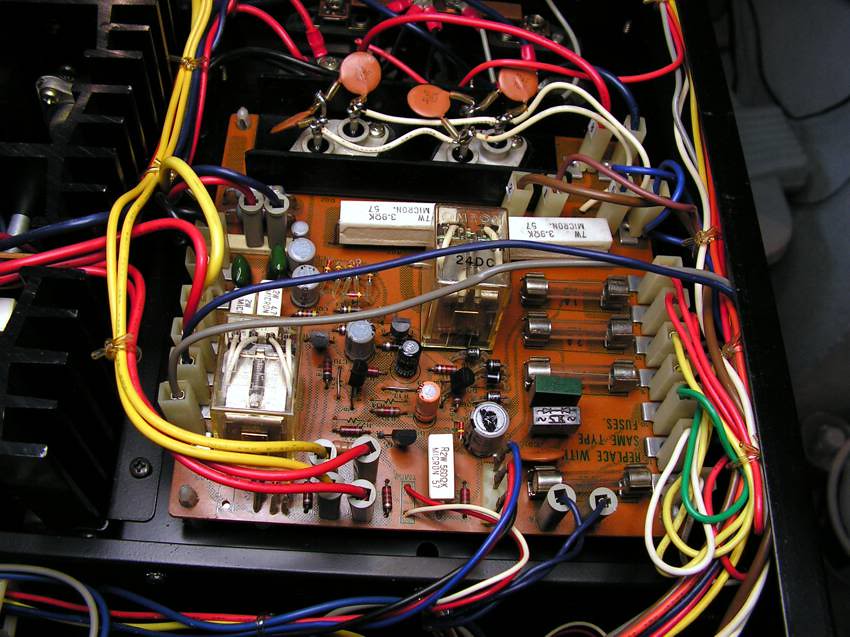
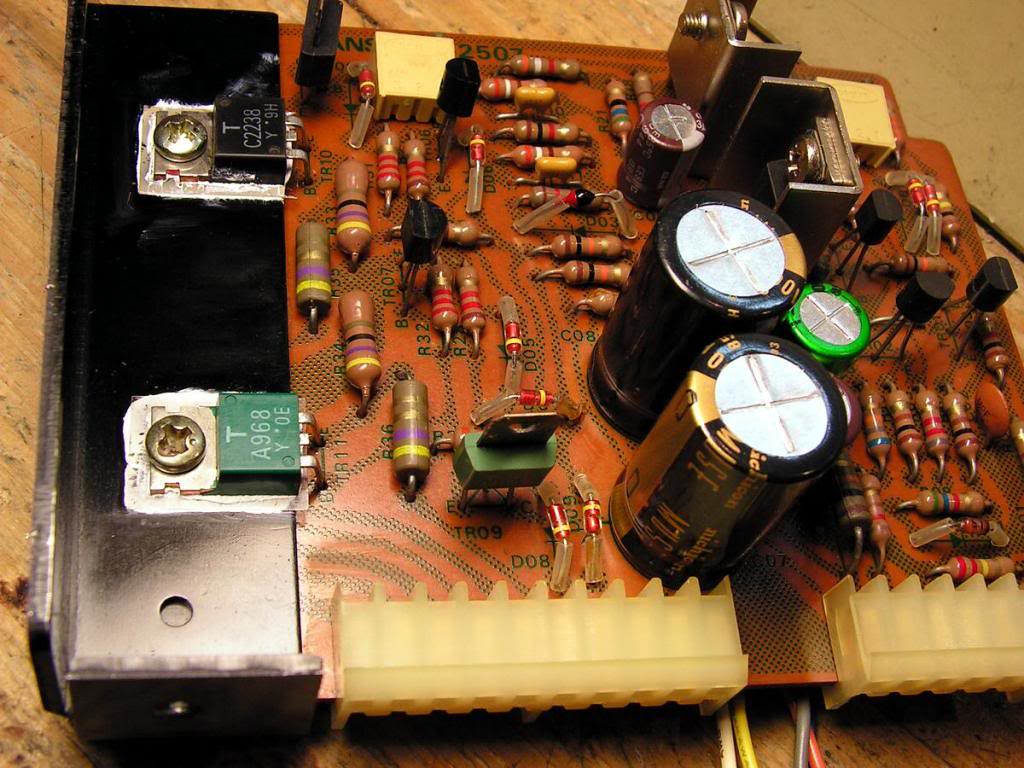
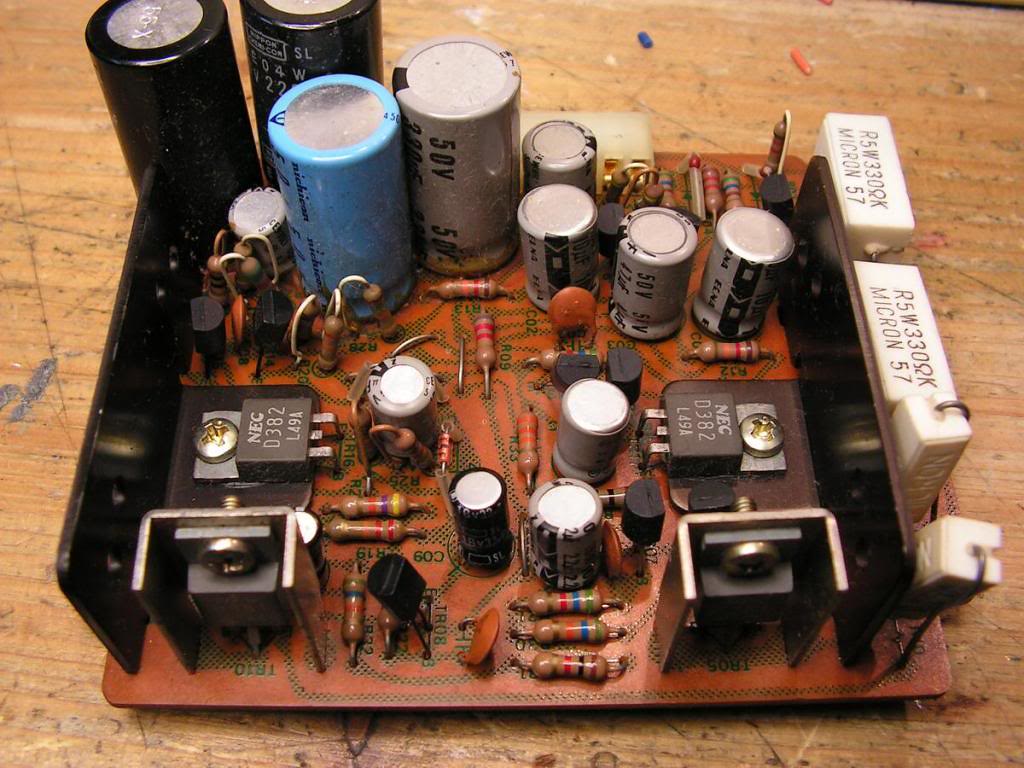
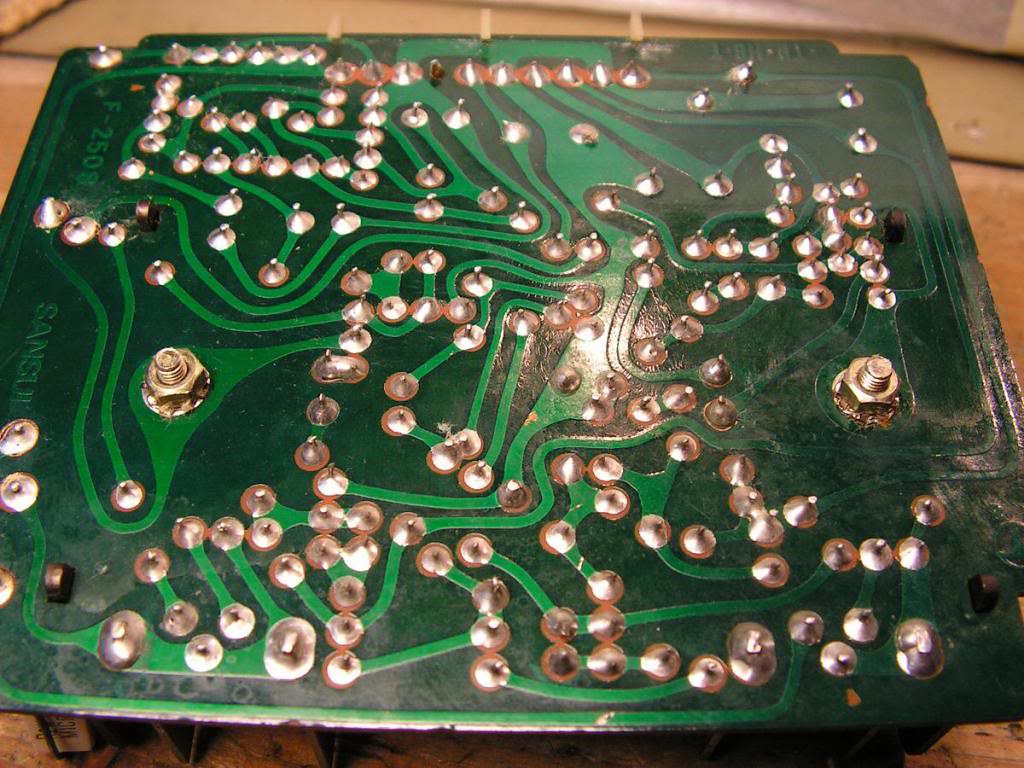
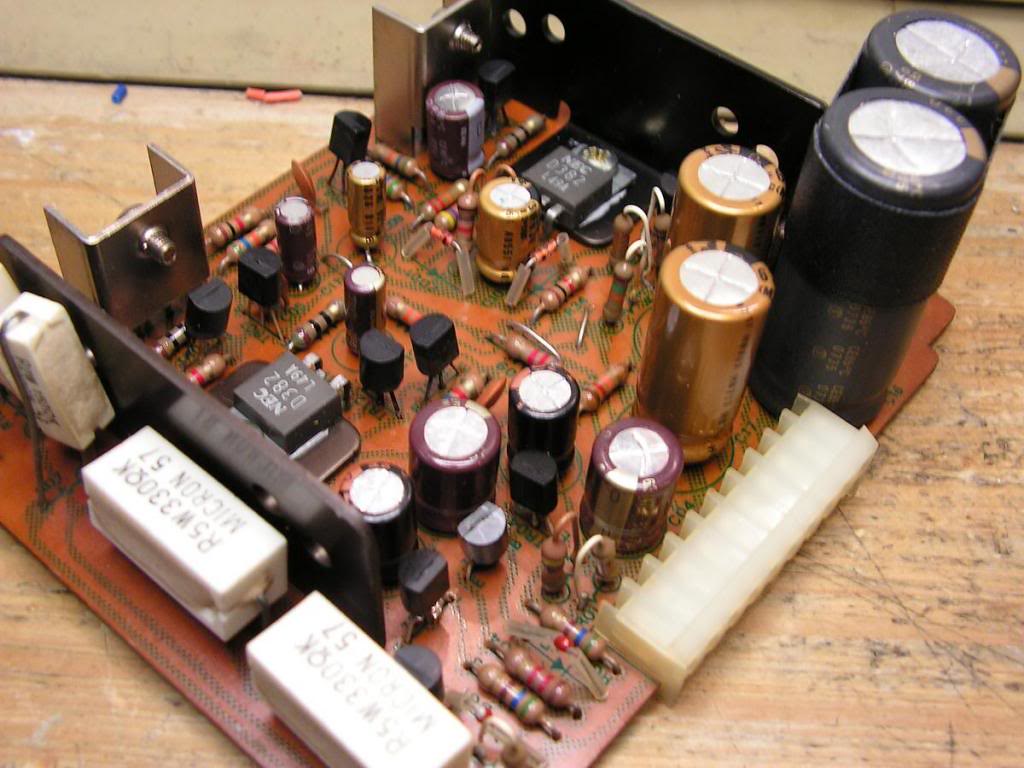
Next, Stabilized Power supply Board…
Replaced all electrolyte capacitors, I even changed the small signal transistors, replaced thermal grease, cleaning connectors, resoldered all solder points…
How it was….
and how it is now….
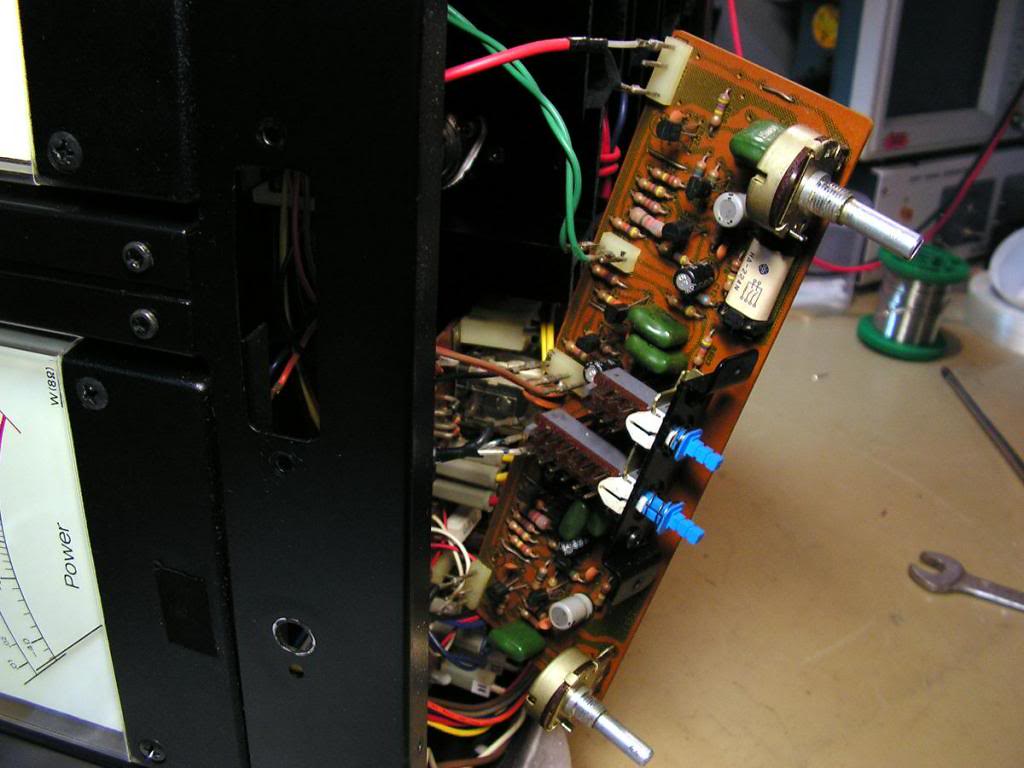
And now we are moving to the front of the amplifier…
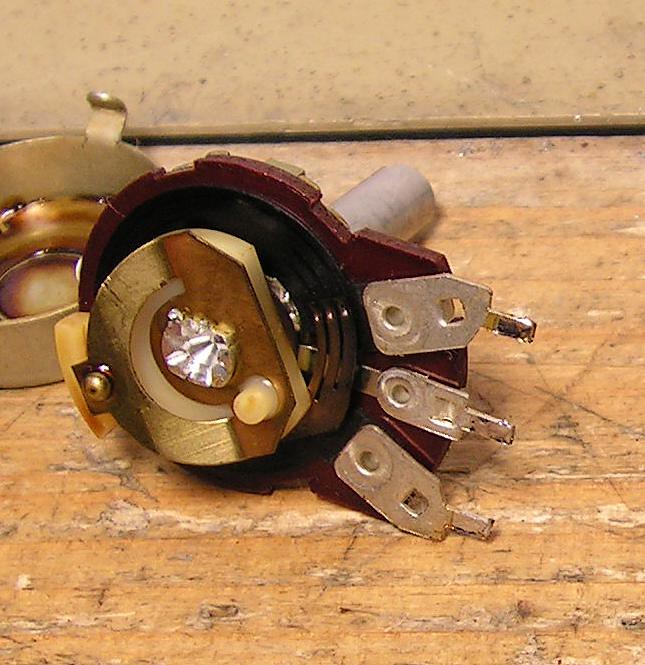
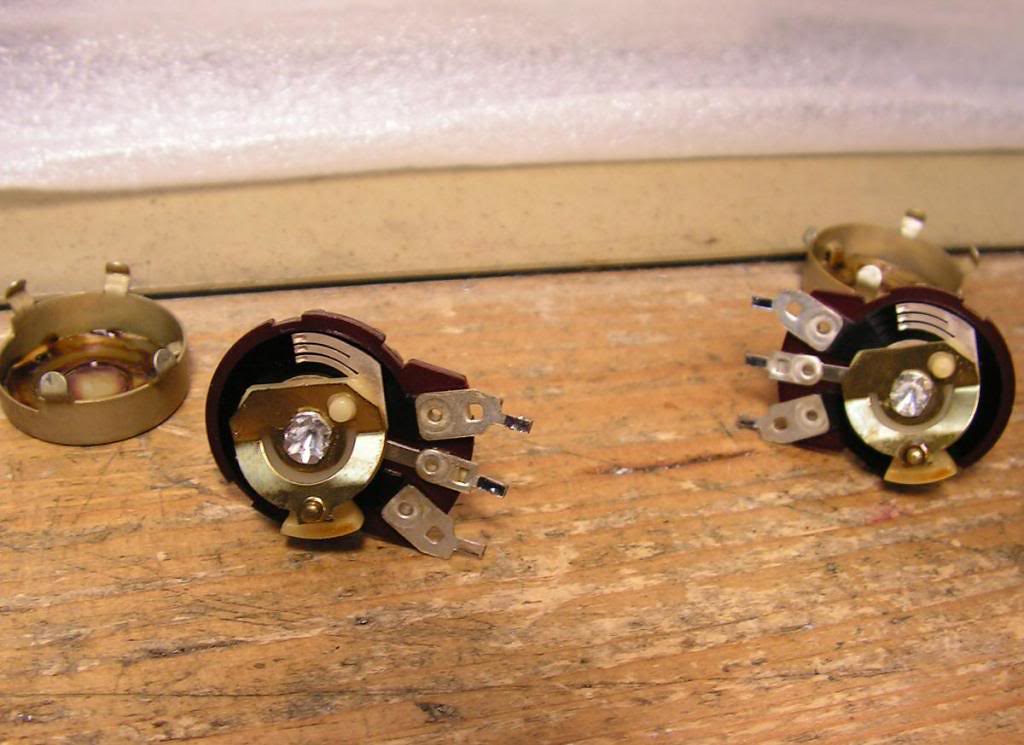
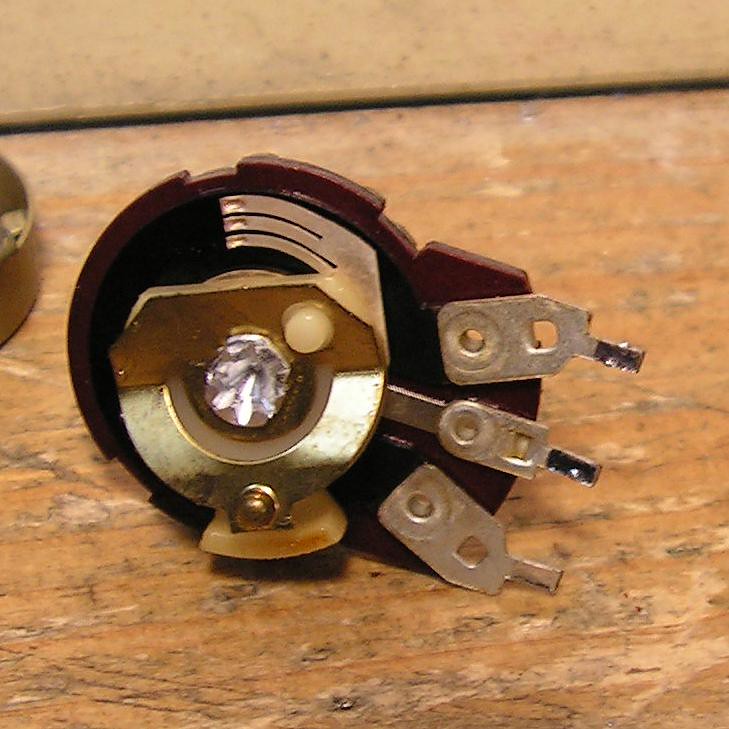
… cleaning potentiometers…
… enlarged image
… after cleaning…
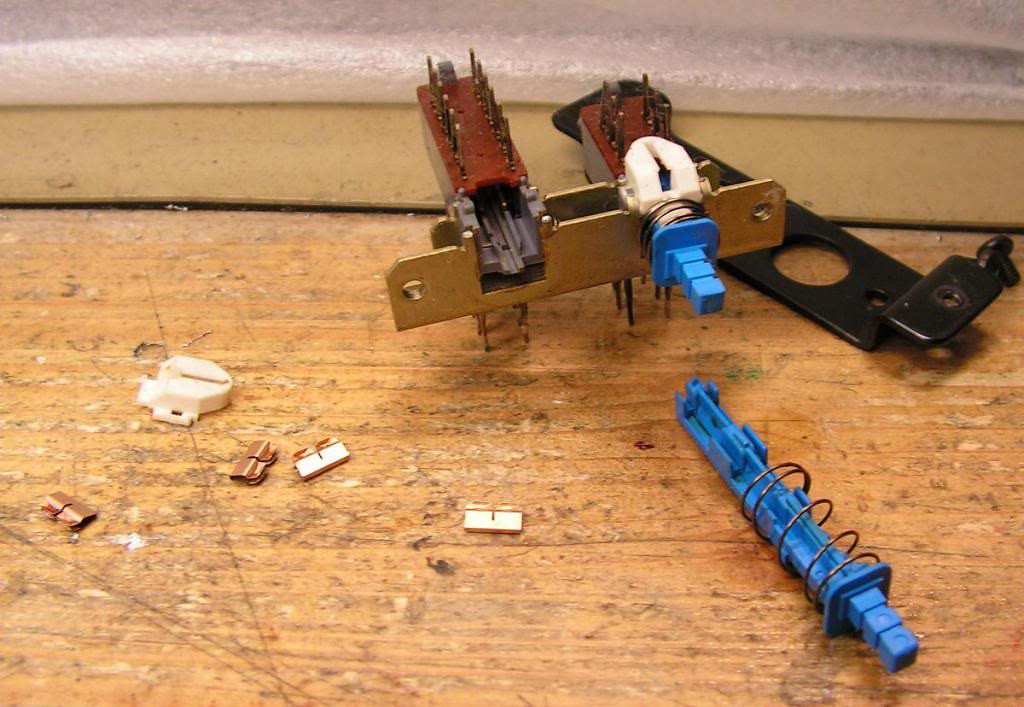
… cleaning switches…
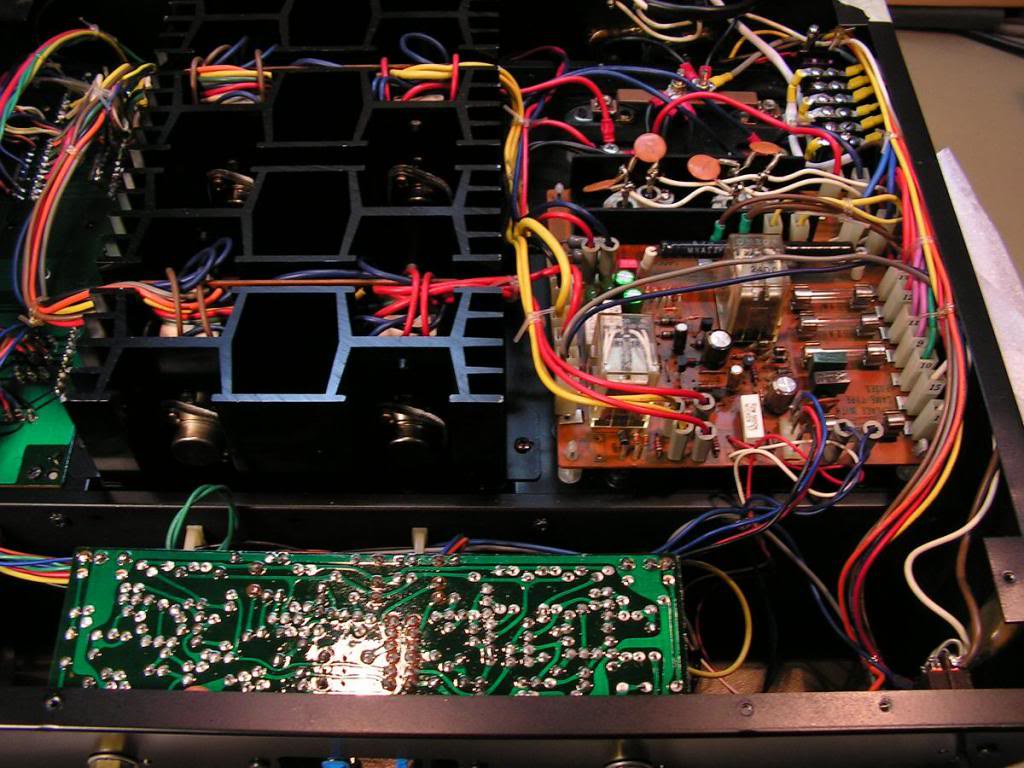
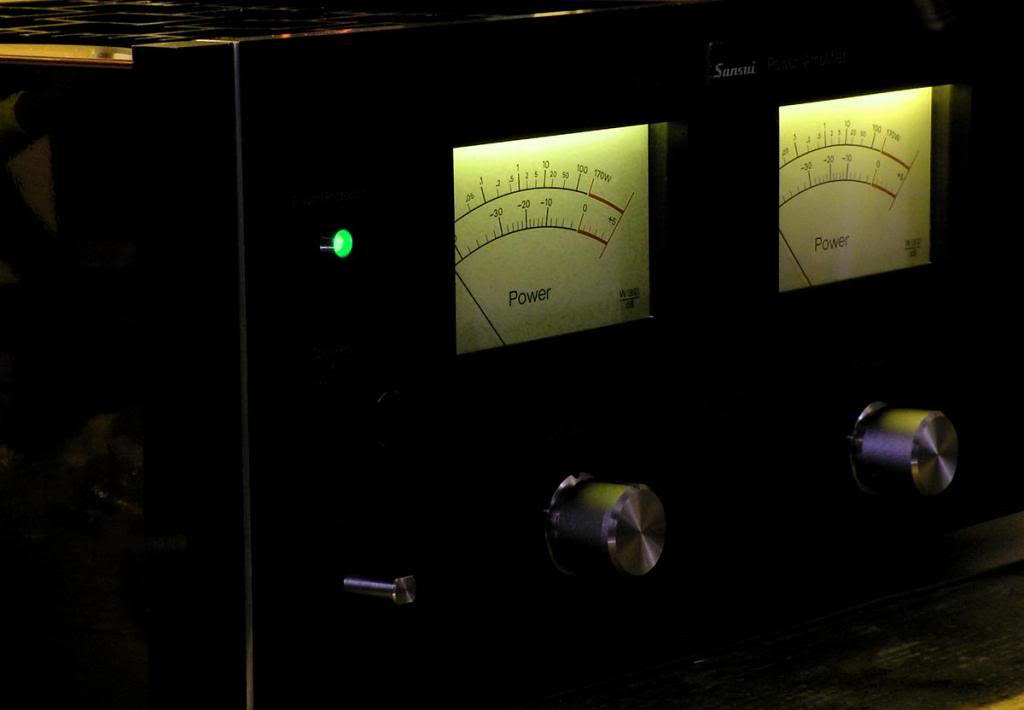
Ok, the final pictures…
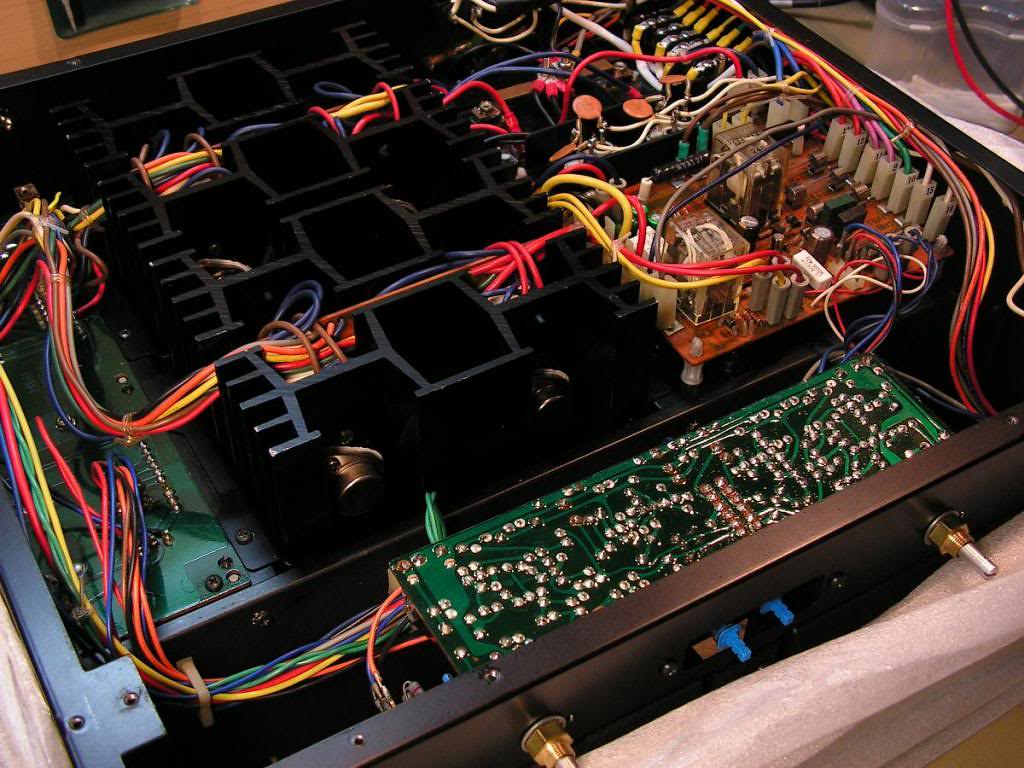
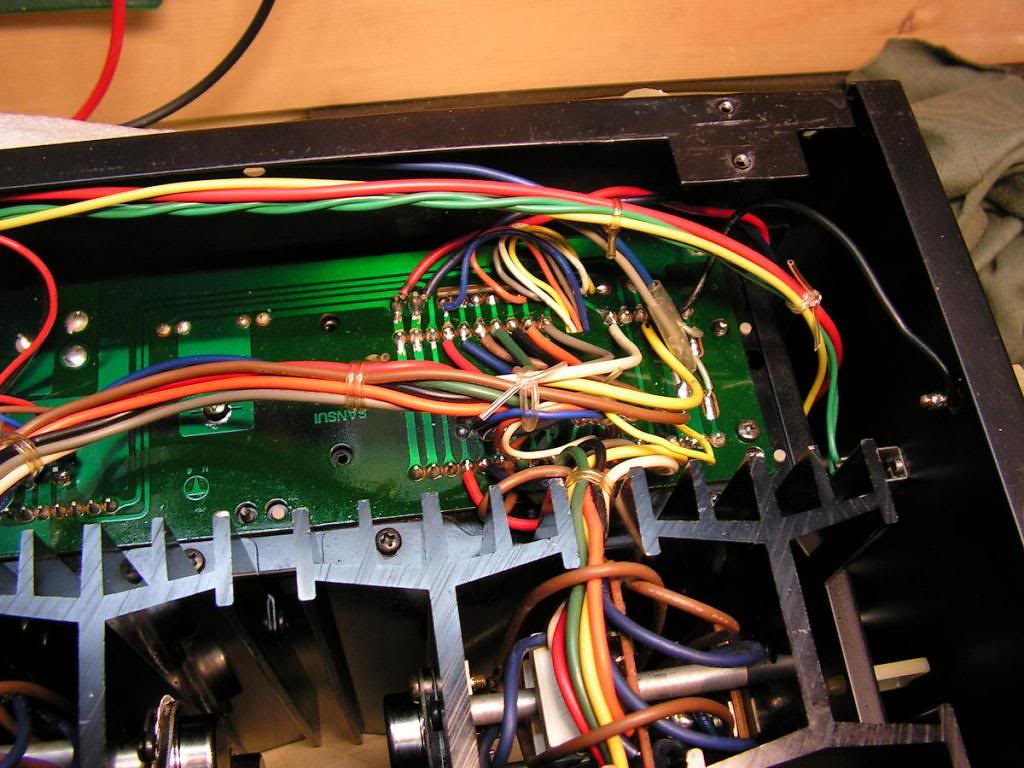
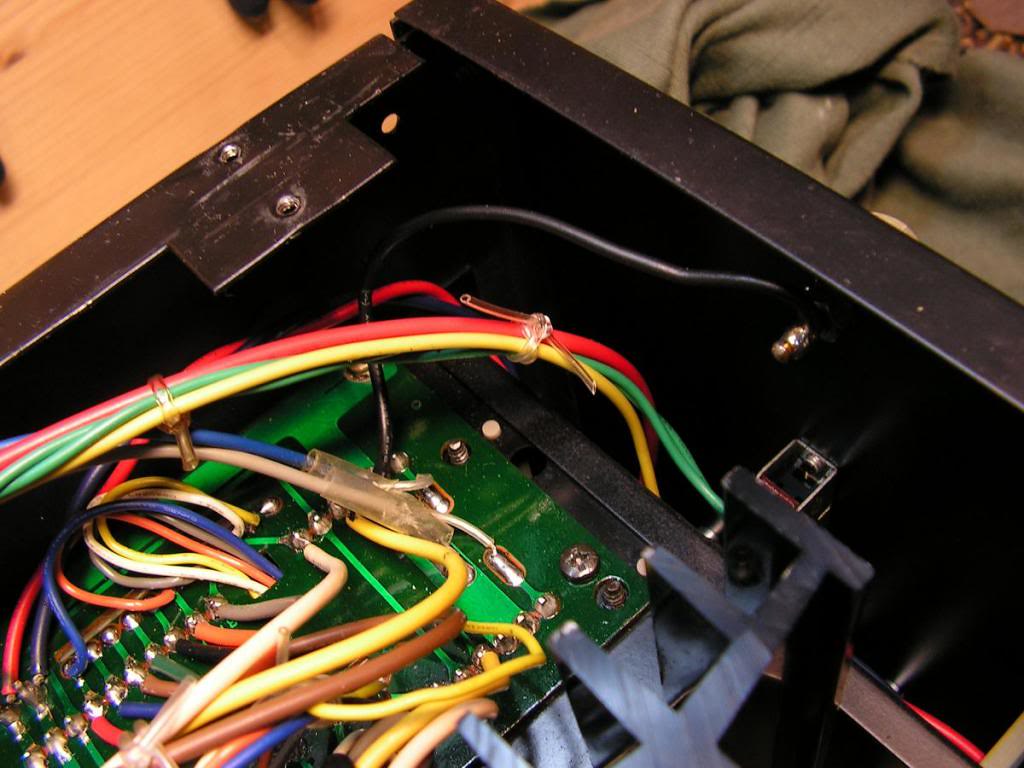
… you see, I have the same flexible nylon hose for fixing internal wiring as Sansui had…
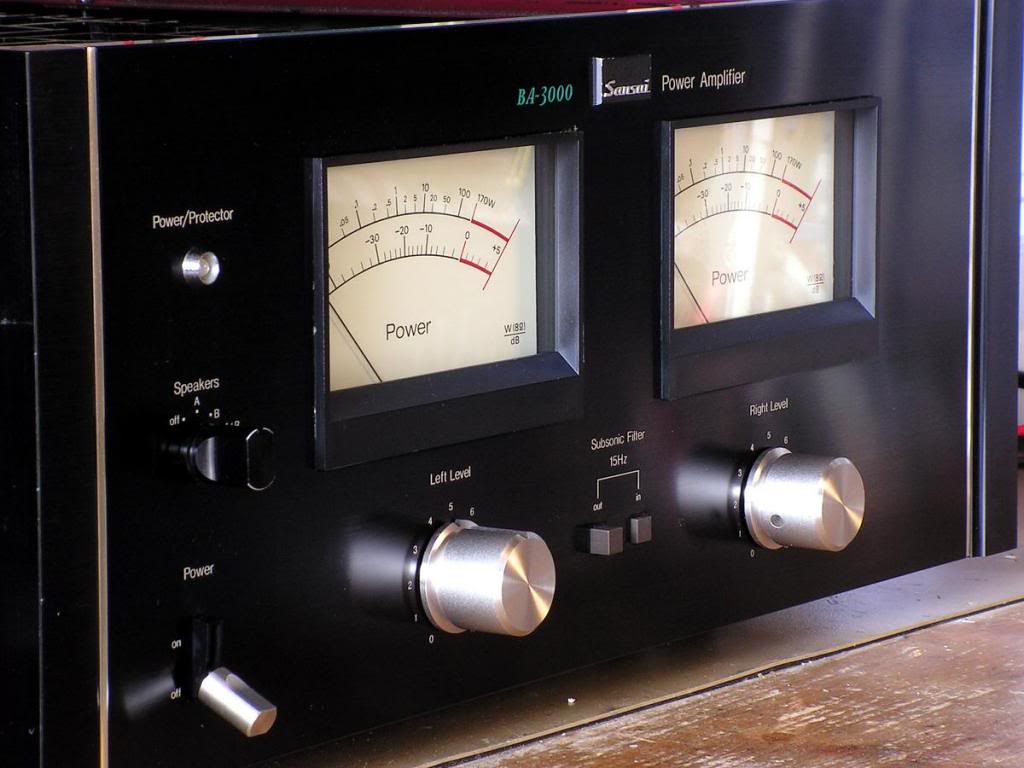
… and front panel…
But… during final testing, I have found some troubles…
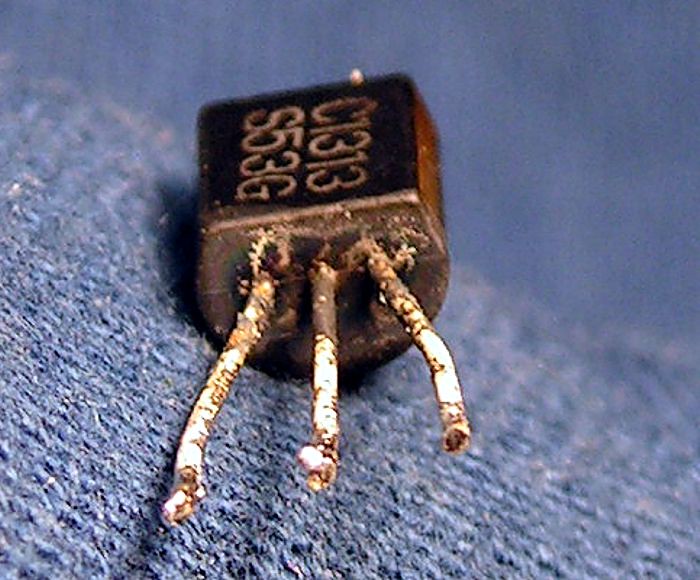
Left power instrument needle started jumping although there is no signal on input ….. cause:
That transistor was good on diode test, probably corrosion entered into plastic house, and caused that malfunction.
