What happens if you connect 110 Volt 9090 receiver to the 230VAC and in case you are lucky!!!
First of all, transformer was OK, and the power stage was OK!!! Unbelievable !
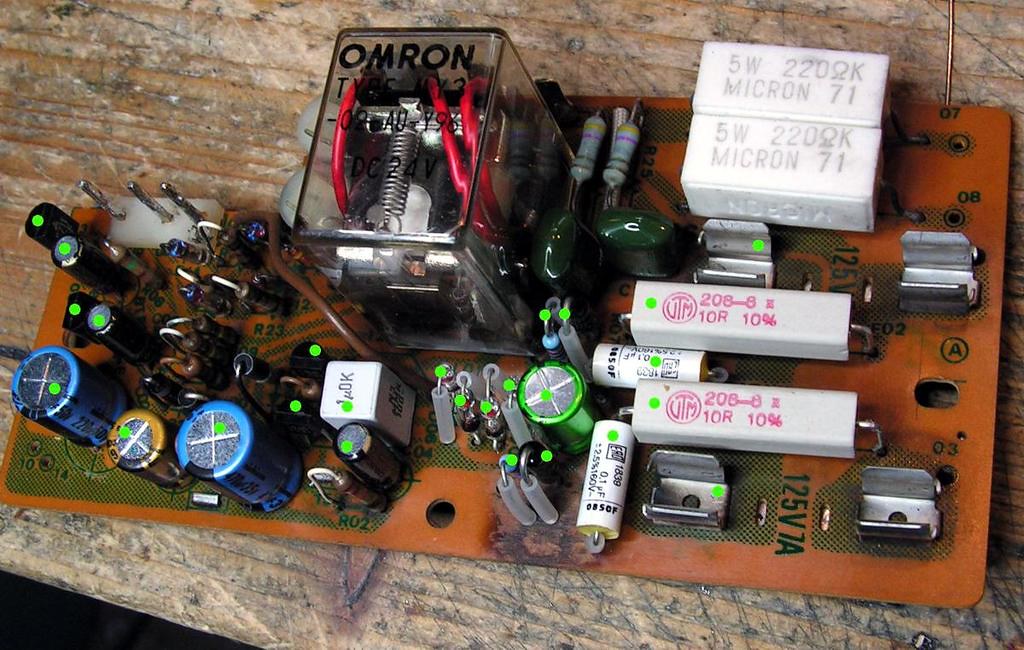
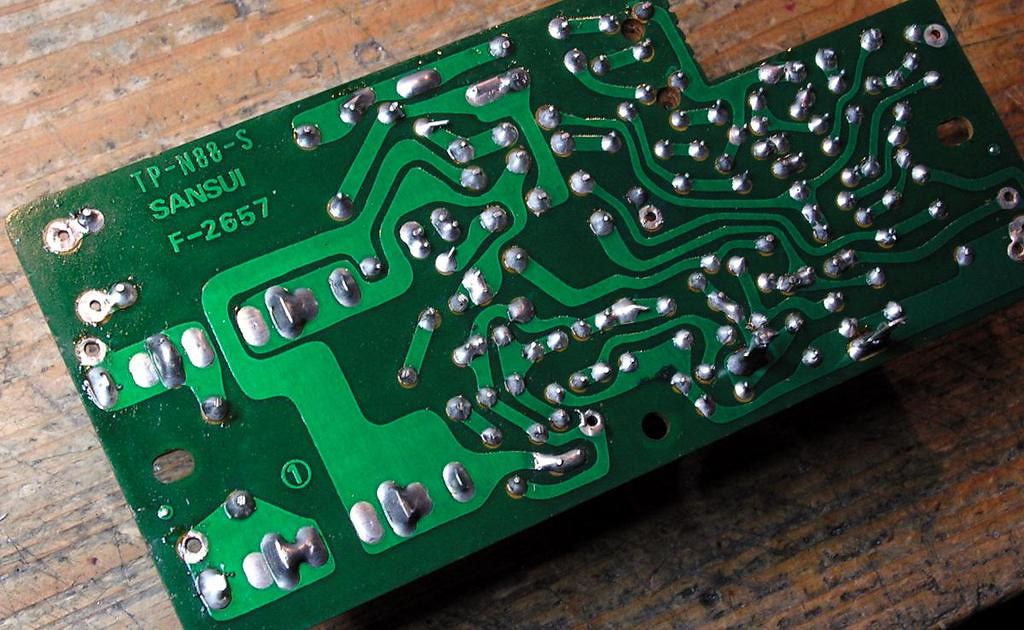
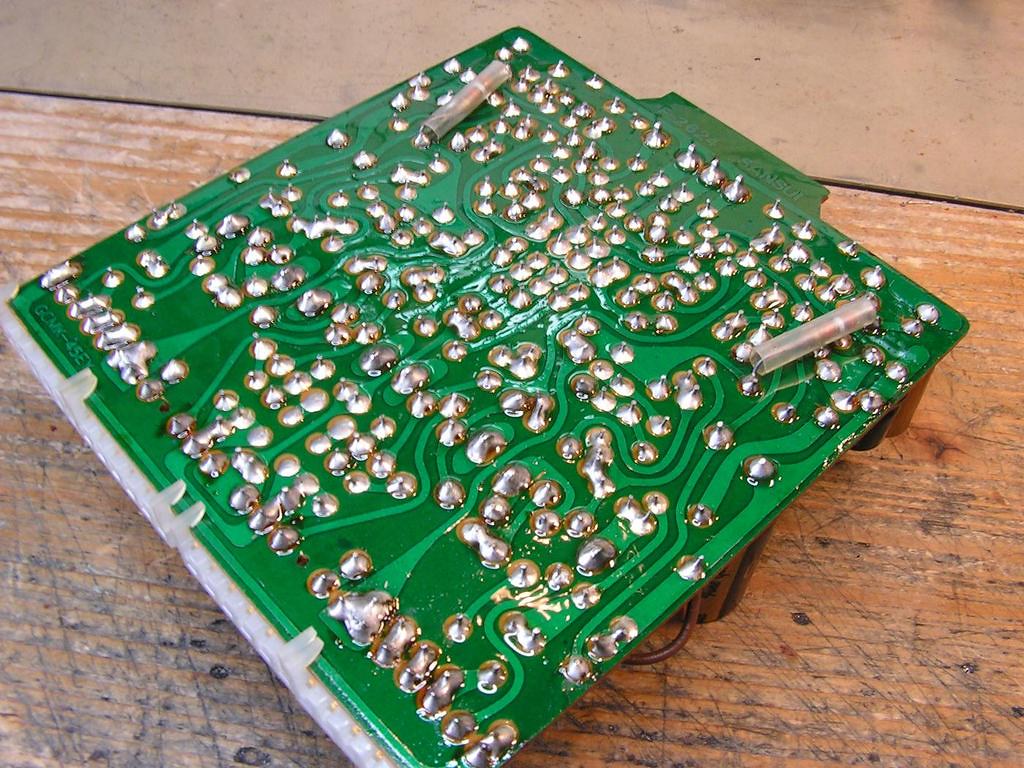
But the main strike got a protection board:

And what I replaced on that board (green dot):
That is the same board, do you recognize it ![]() ?
?
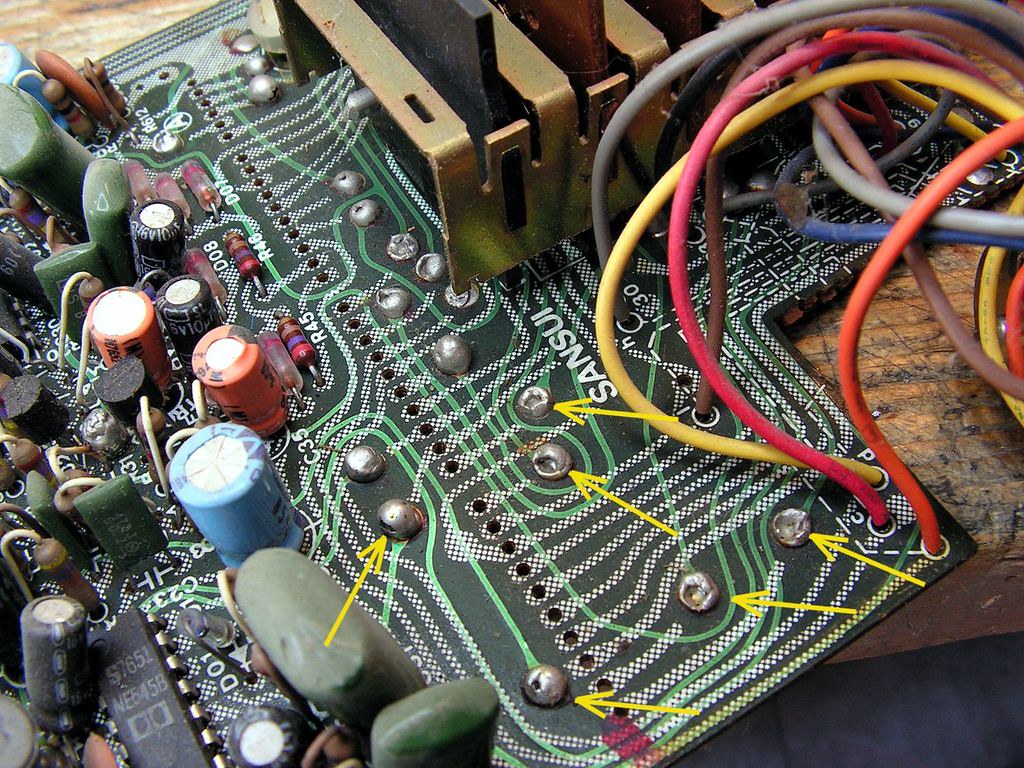
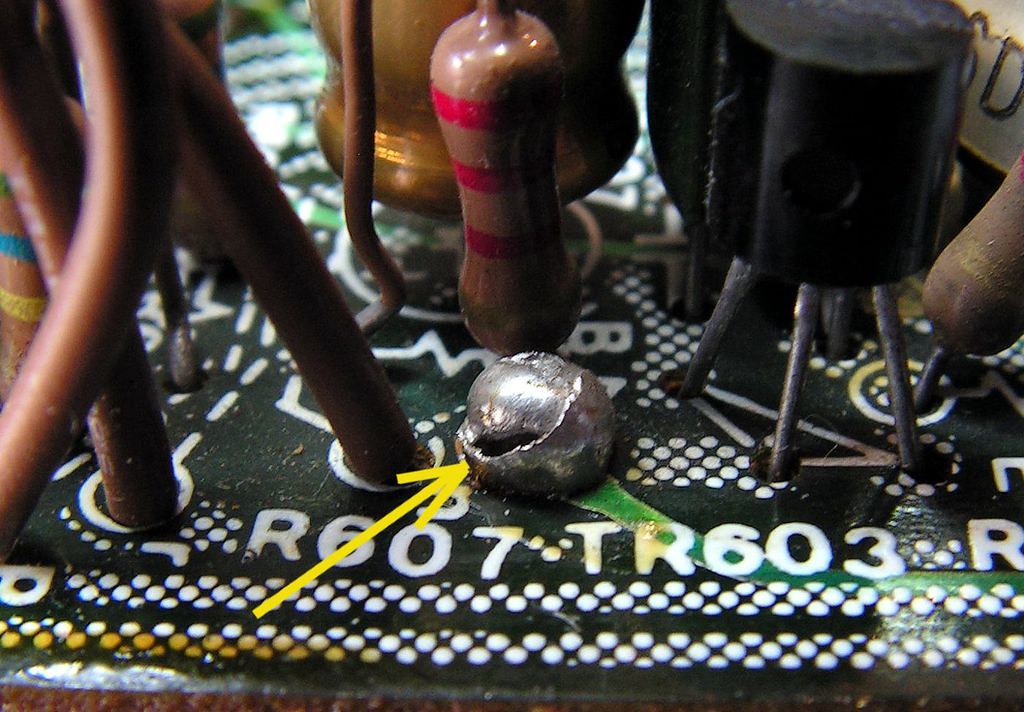
On printed circuit side I had to fix that too:
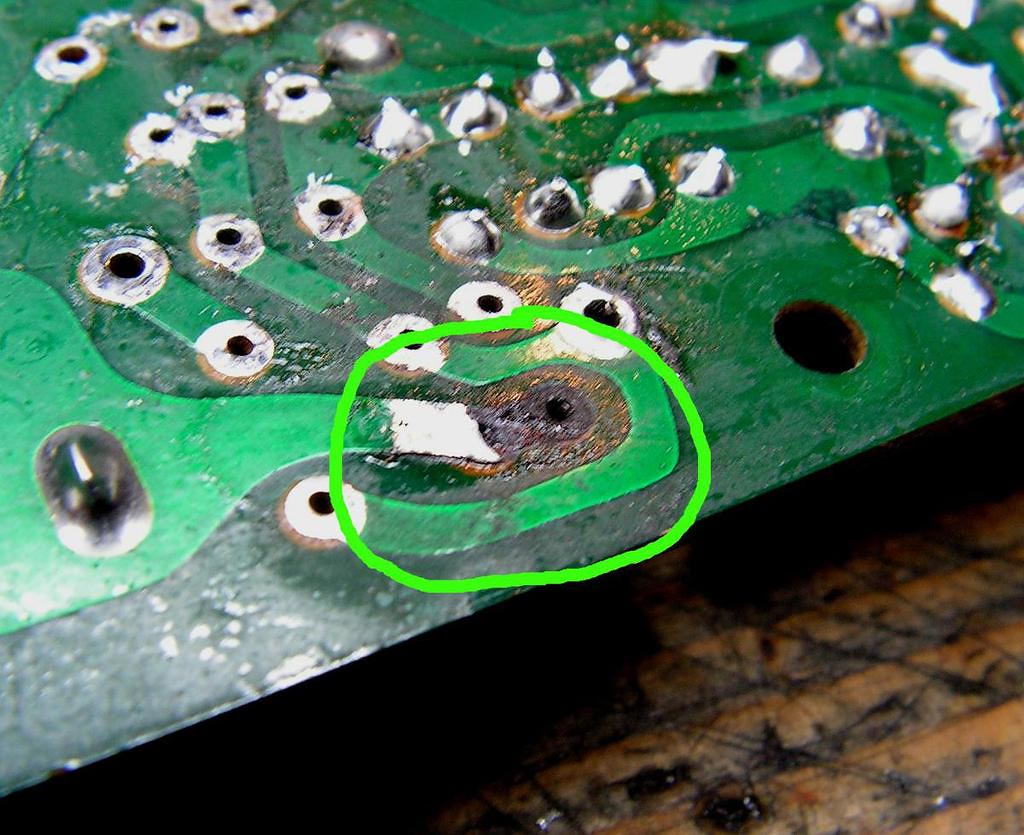
… with new piece of copper foil ….
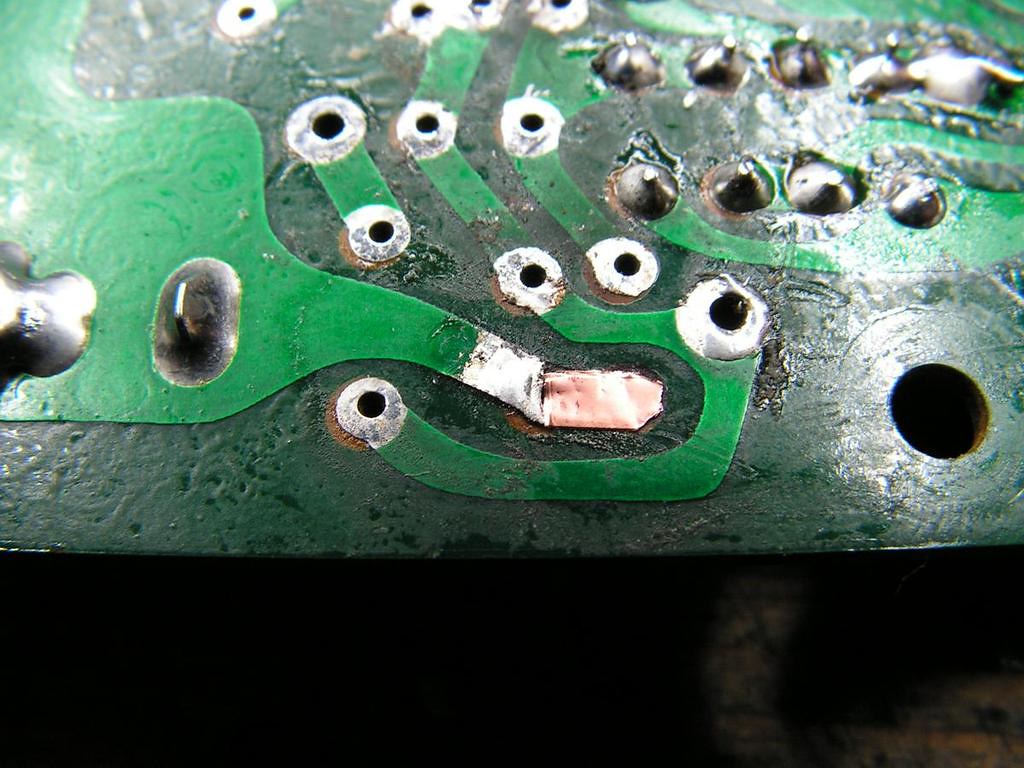
… and now that looks like on the next picture
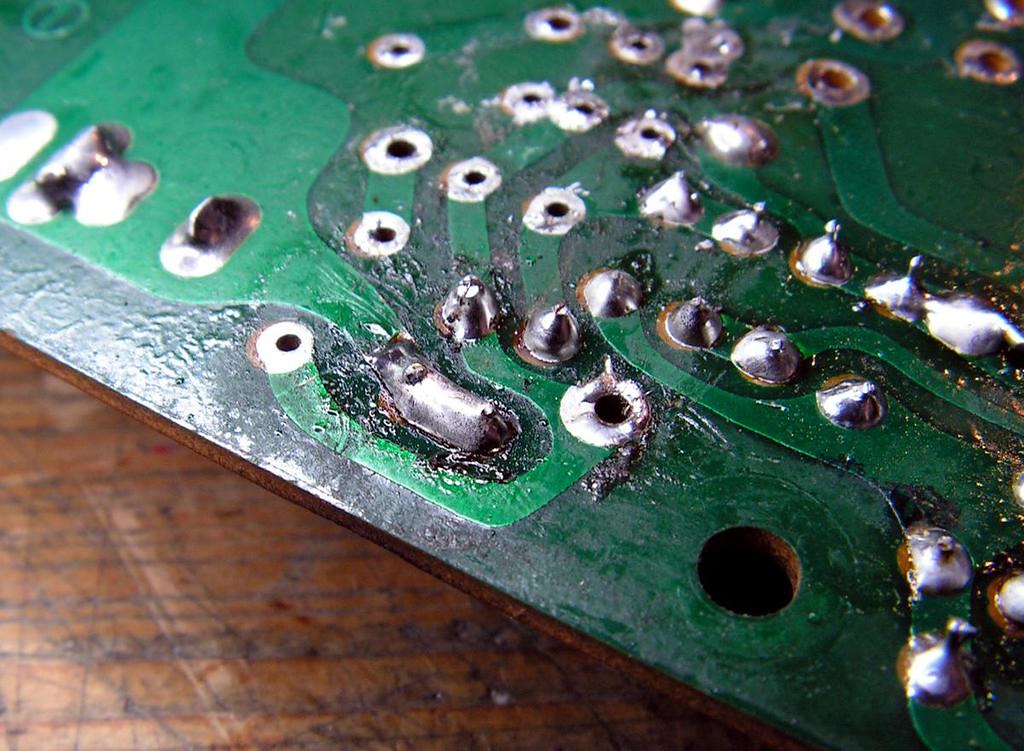
… complete board….
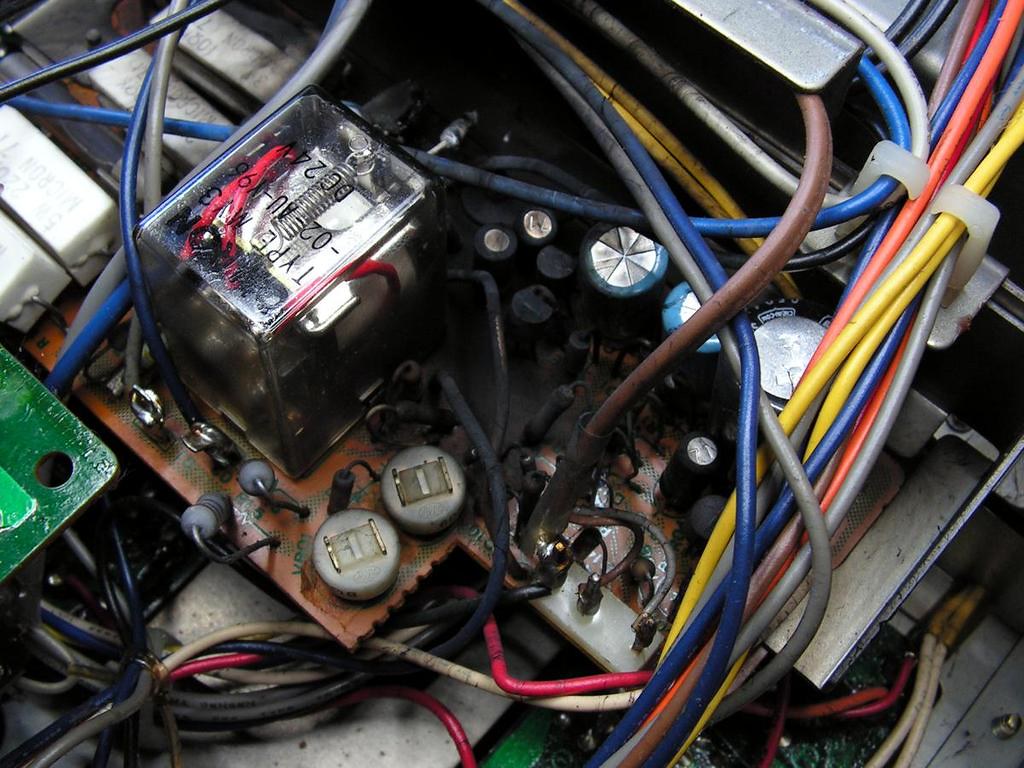
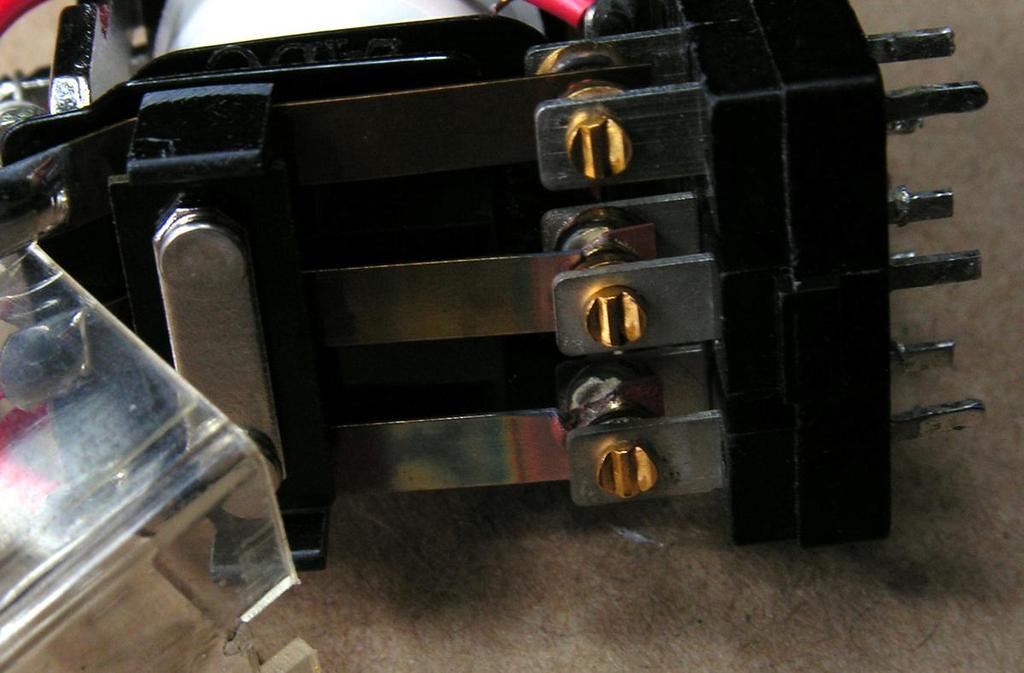
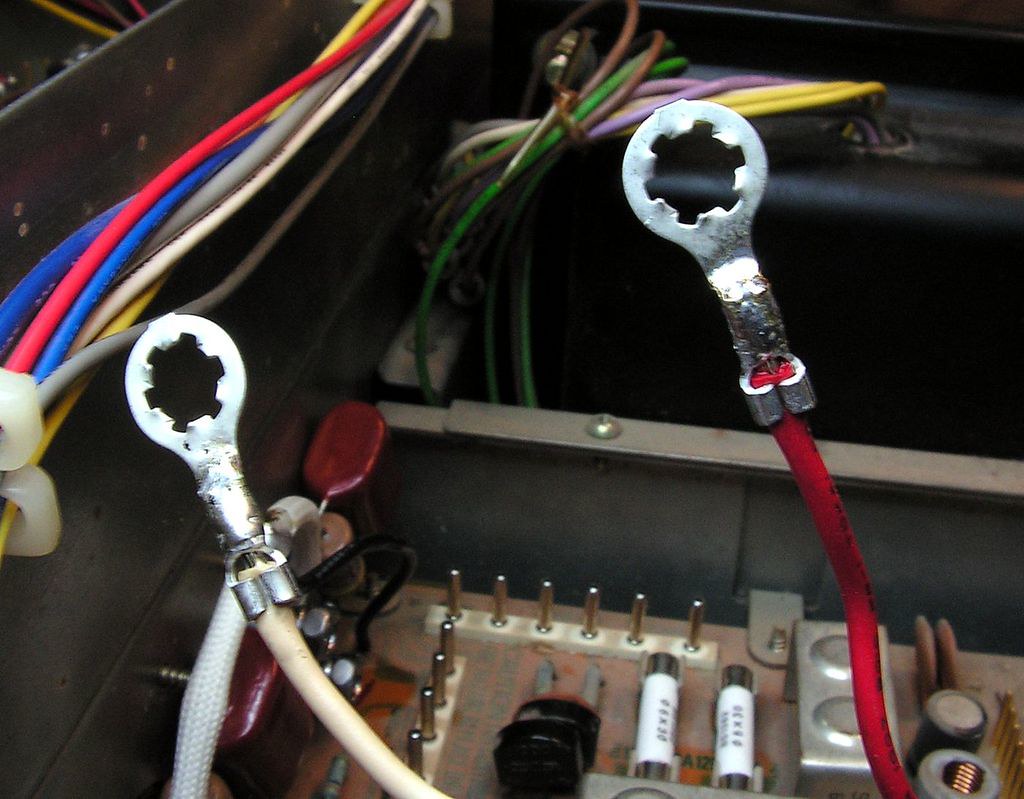
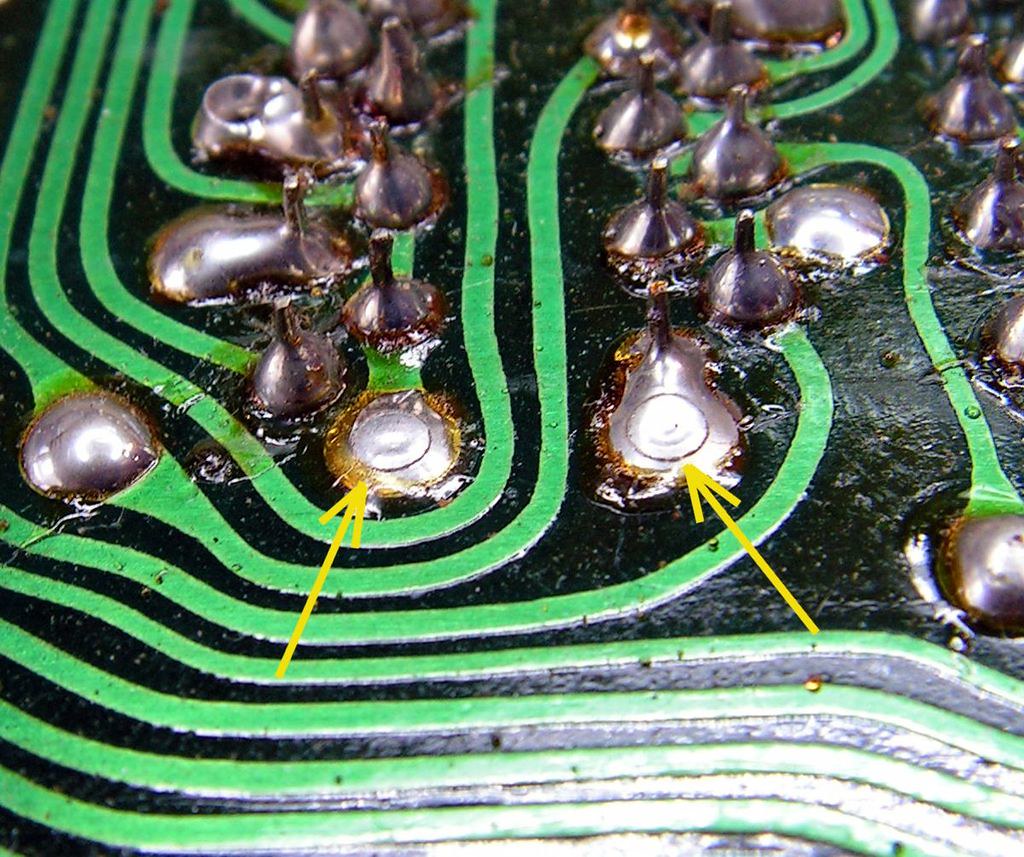
BUT… that is not all… protection relay was looking like on the next picture (look second and third contact):
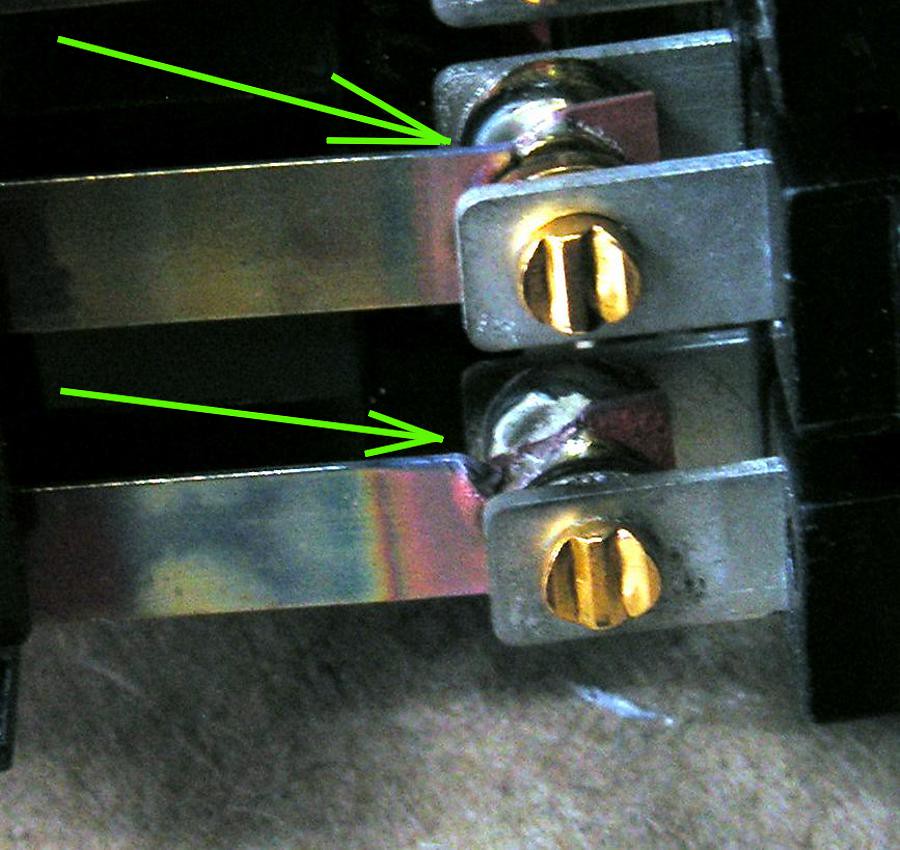
… if you still don't see, look now:
Plus 4 pieces of burned fuses, plus two resistors on Driver board…. and that is all!!!
Really not so bad, if you know that receiver was at 110 VAC position, and connected to the 230VAC
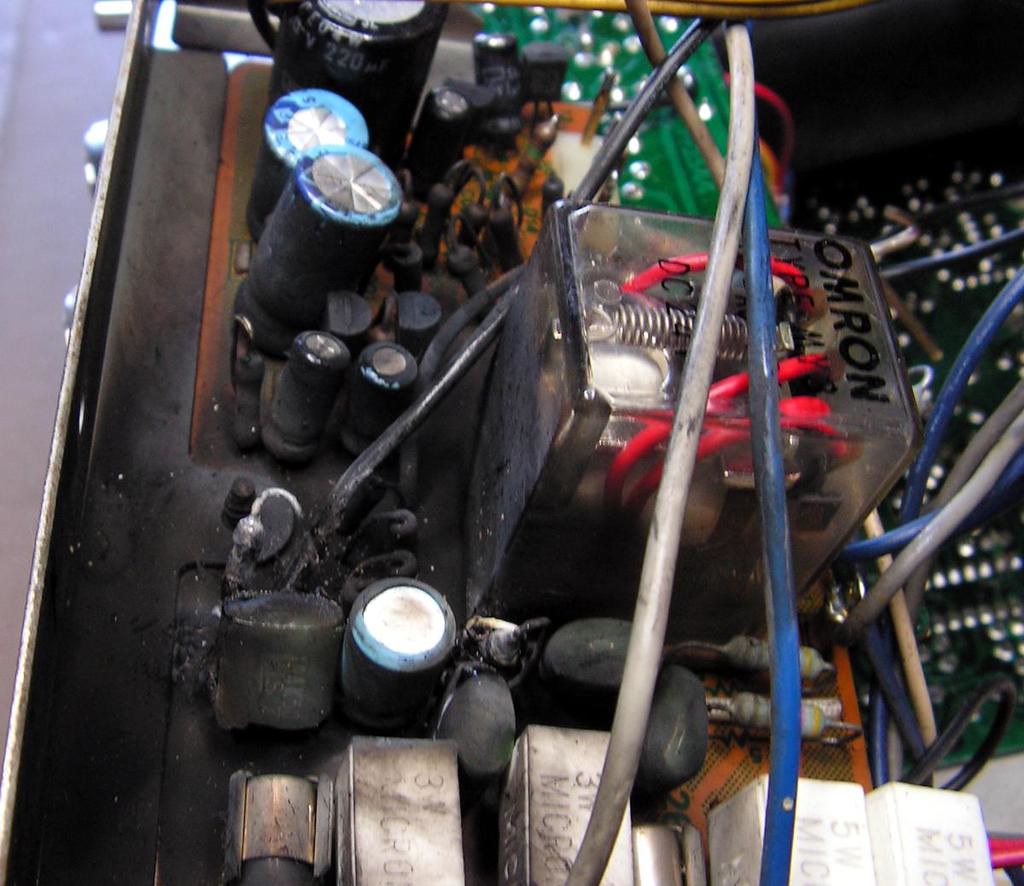
After I finally received a new Omron protection relay, the story is continuing…
First, here I wish to say that it would not be a total restoration, but it would be close to total…
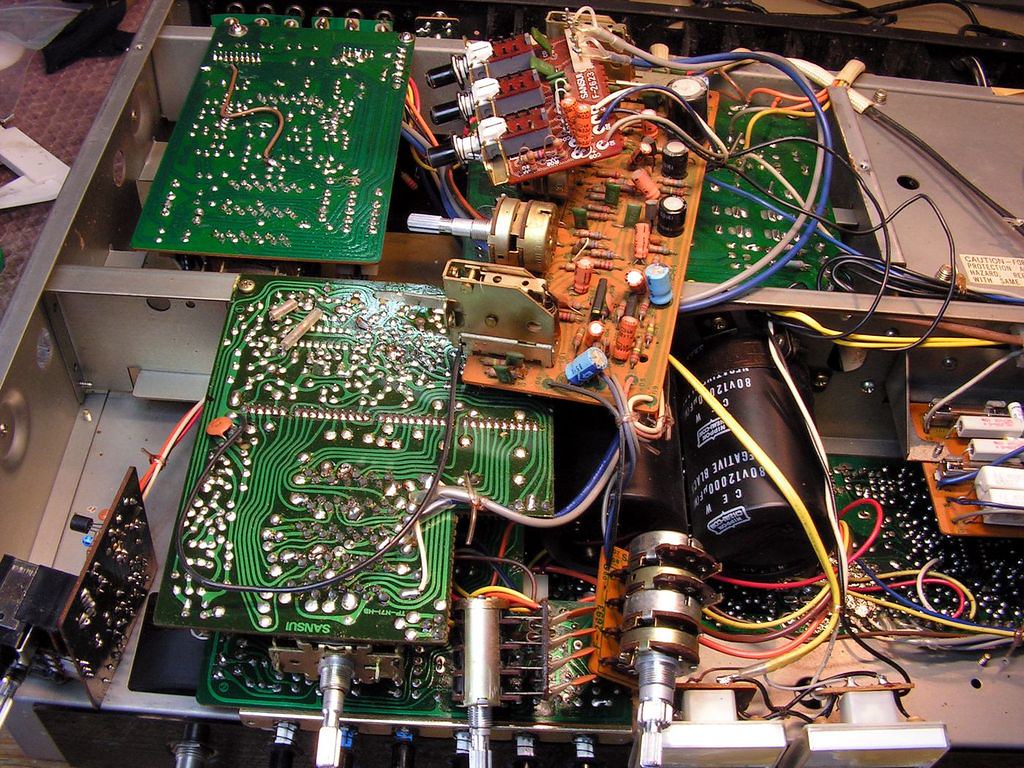
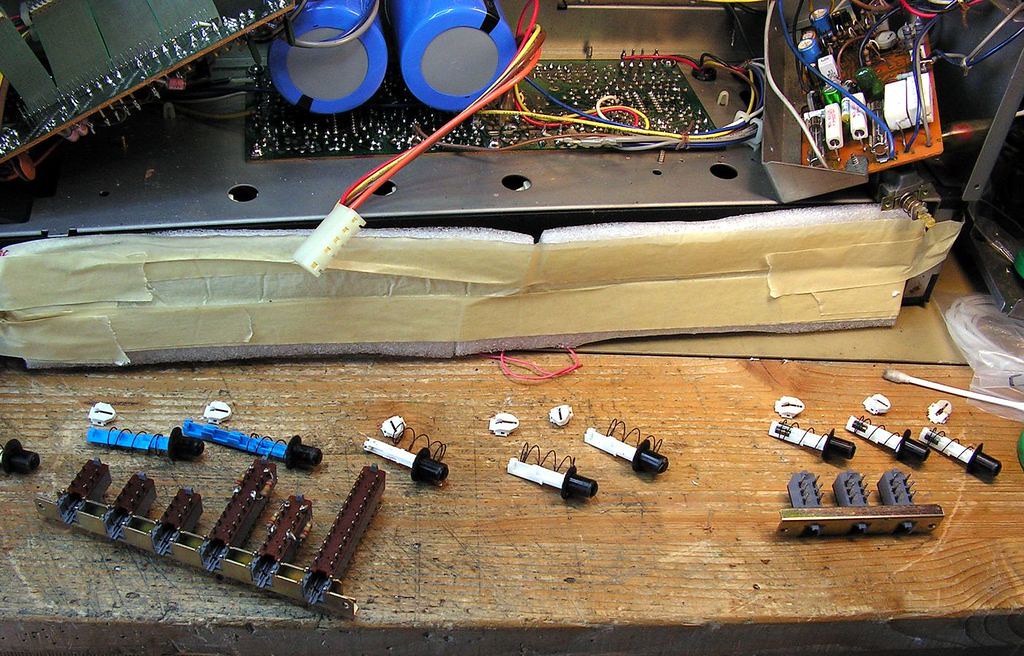
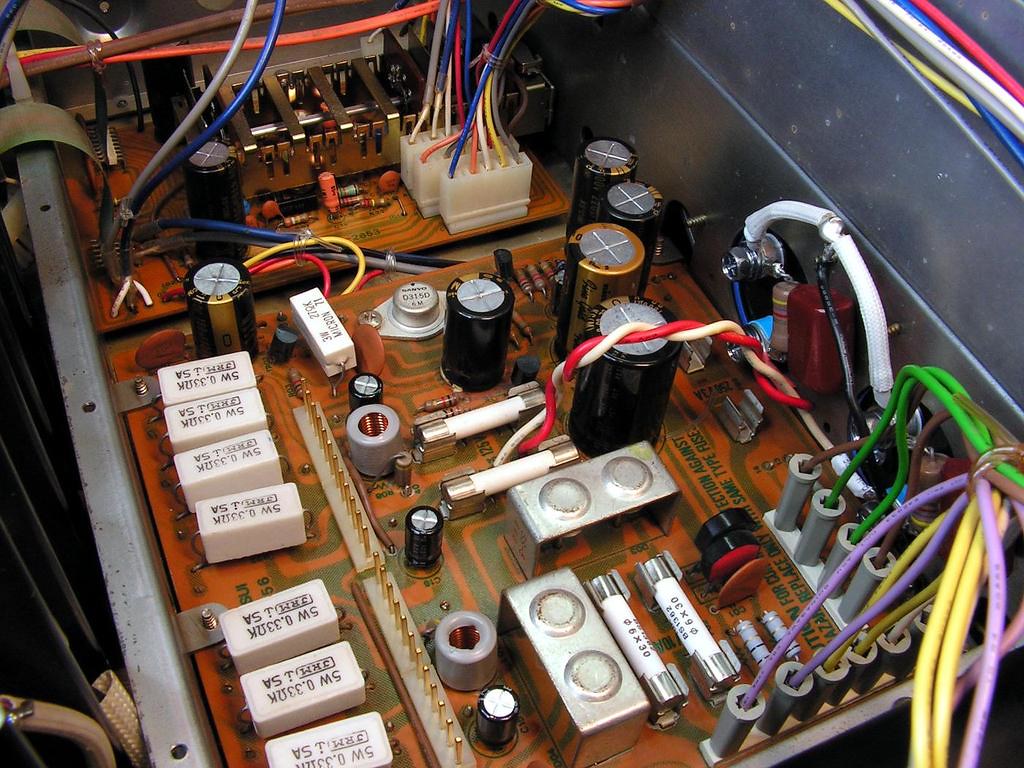
So, first step is to dismount receiver
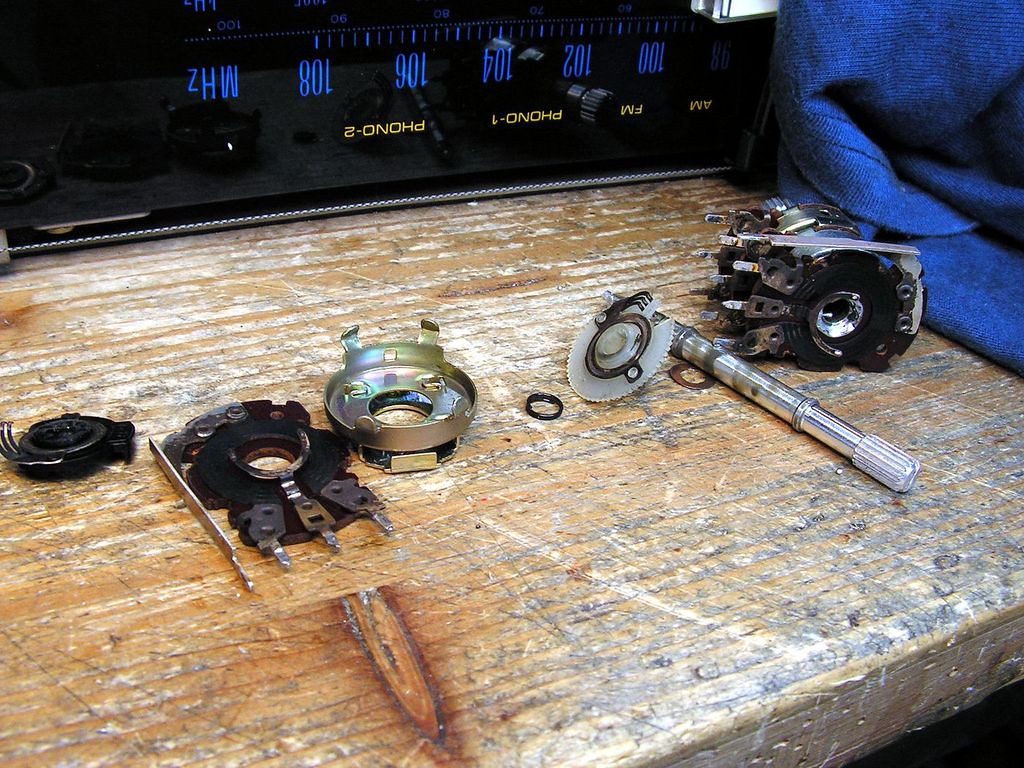
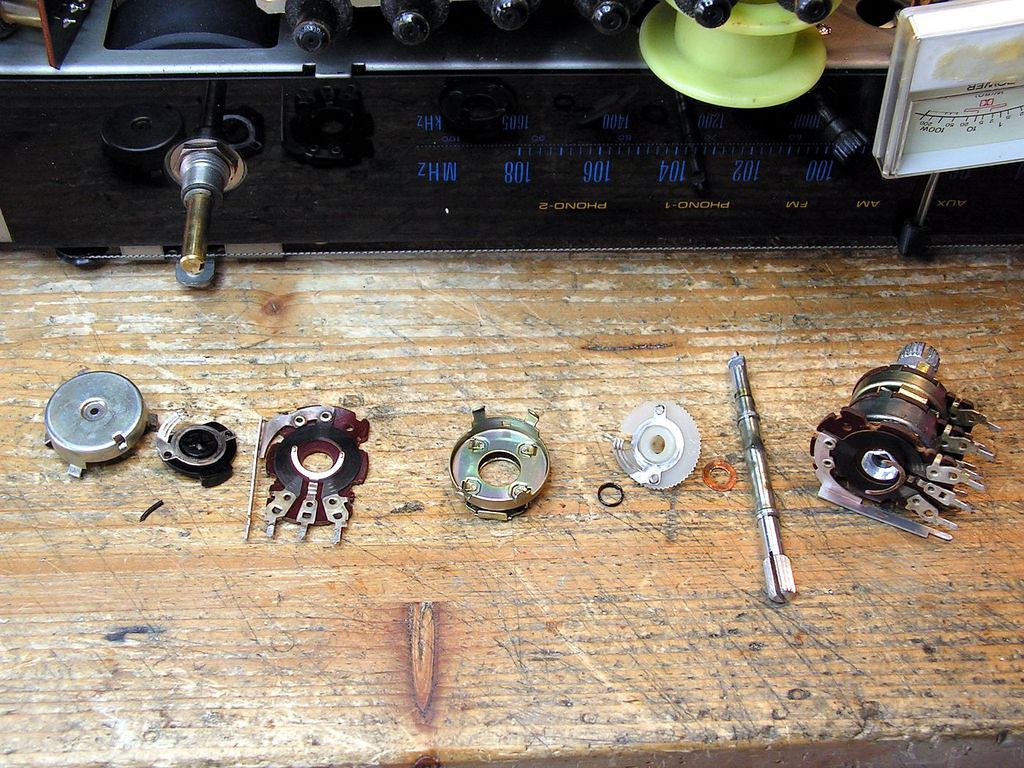
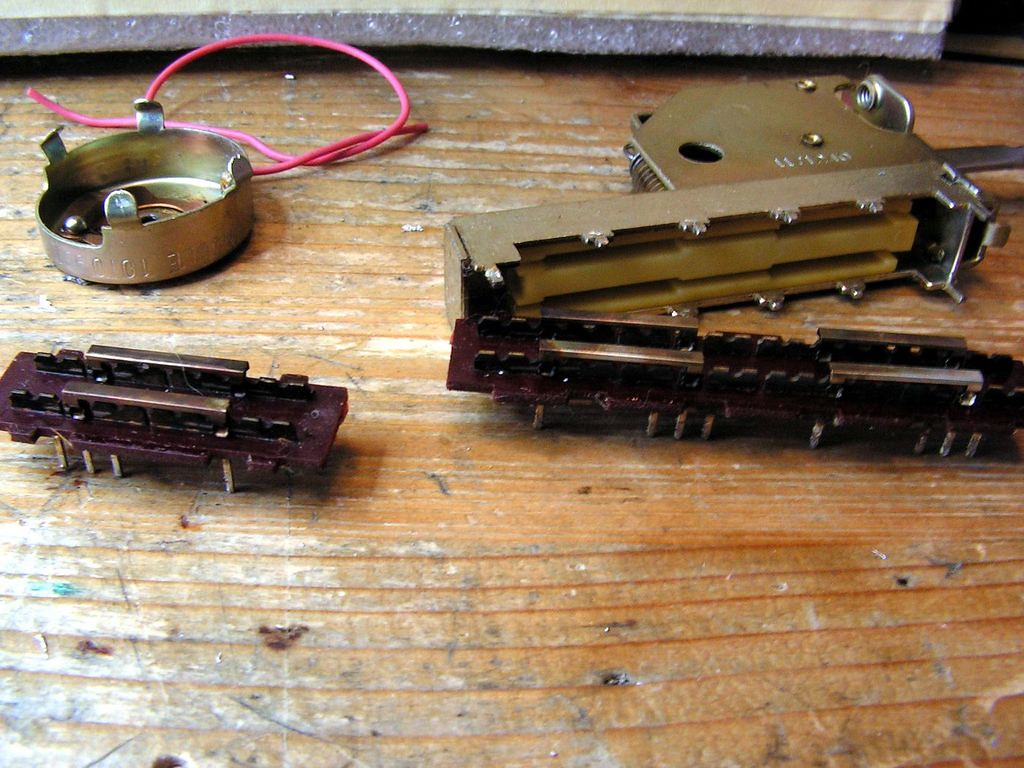
then classic procedure, cleaning potentiometers
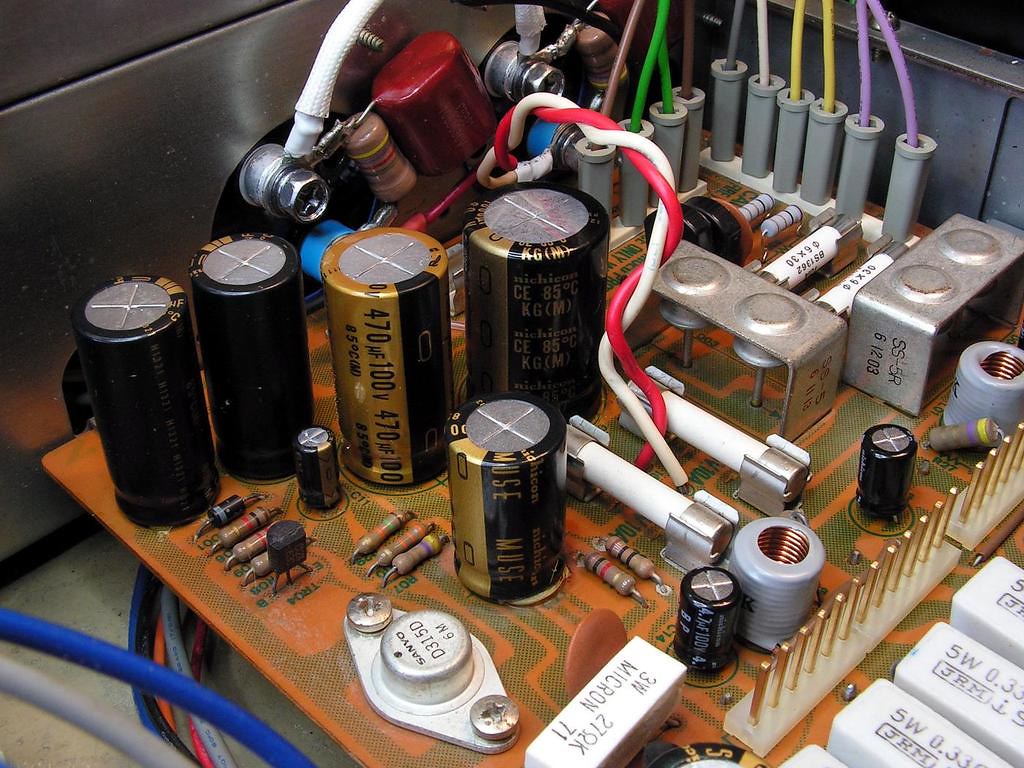
I decided to change the main power capacitors, but here it could be a problem, because of not so much space where the main capacitors are installed, the new ones should be exactly the same dimensions, and I found it… Nichicon 15000uF/100V with screws terminals…
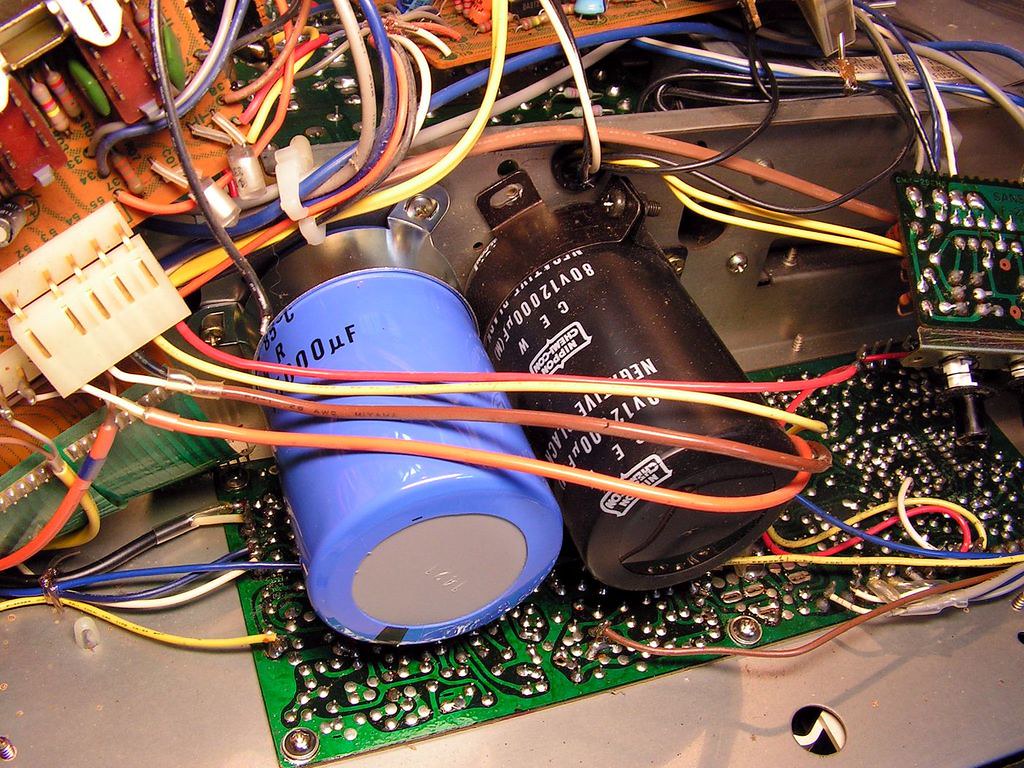
the blue ones is a new….
but the old ones were with solder lug terminals
so I have to adopt wiring to screw terminal…
And, this is the final result….
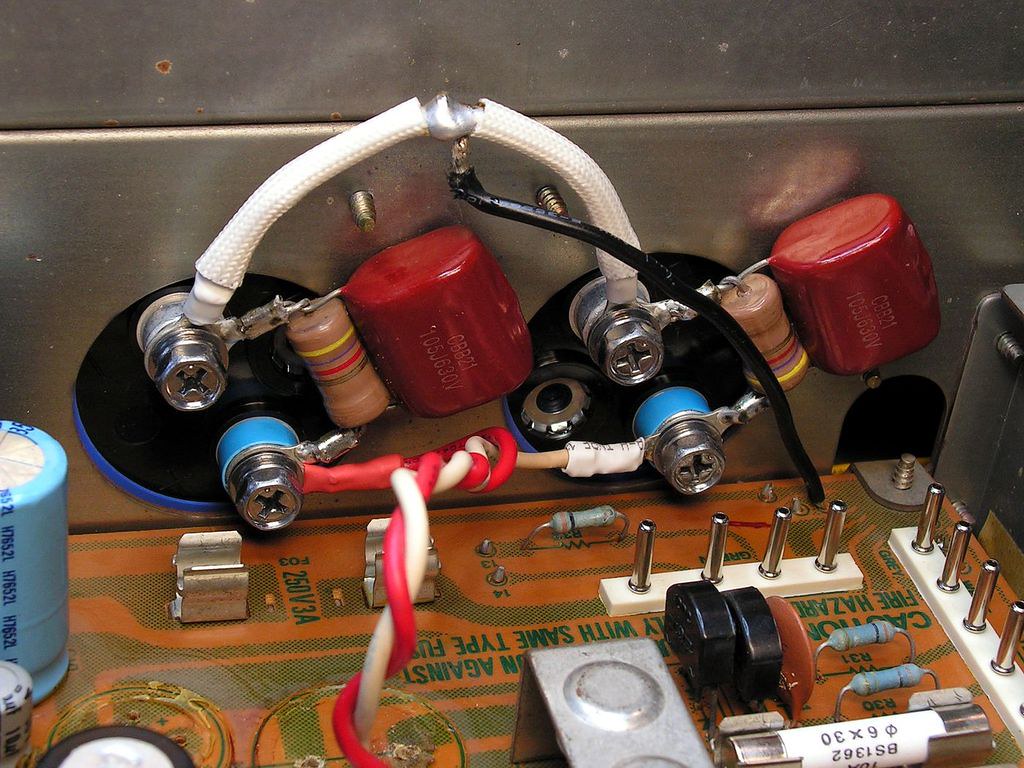
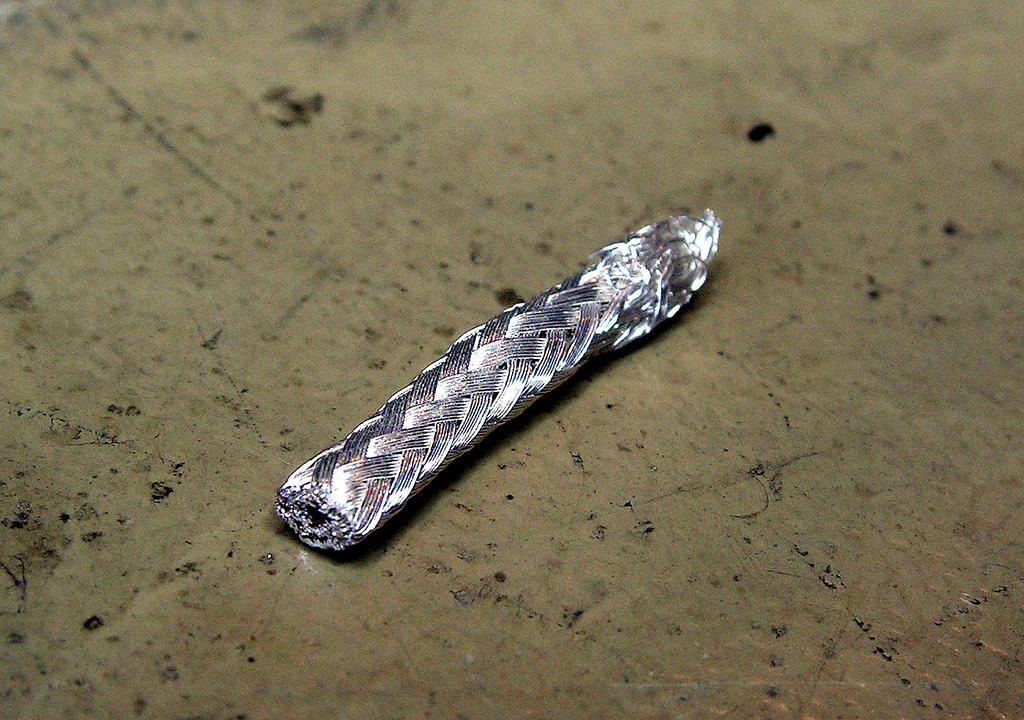
… that ground wire is like on the next picture…
And now about pass-through connections on the Dobly Board…
Look how it was situation on that board:
and now, the situation is like on the next pictures…
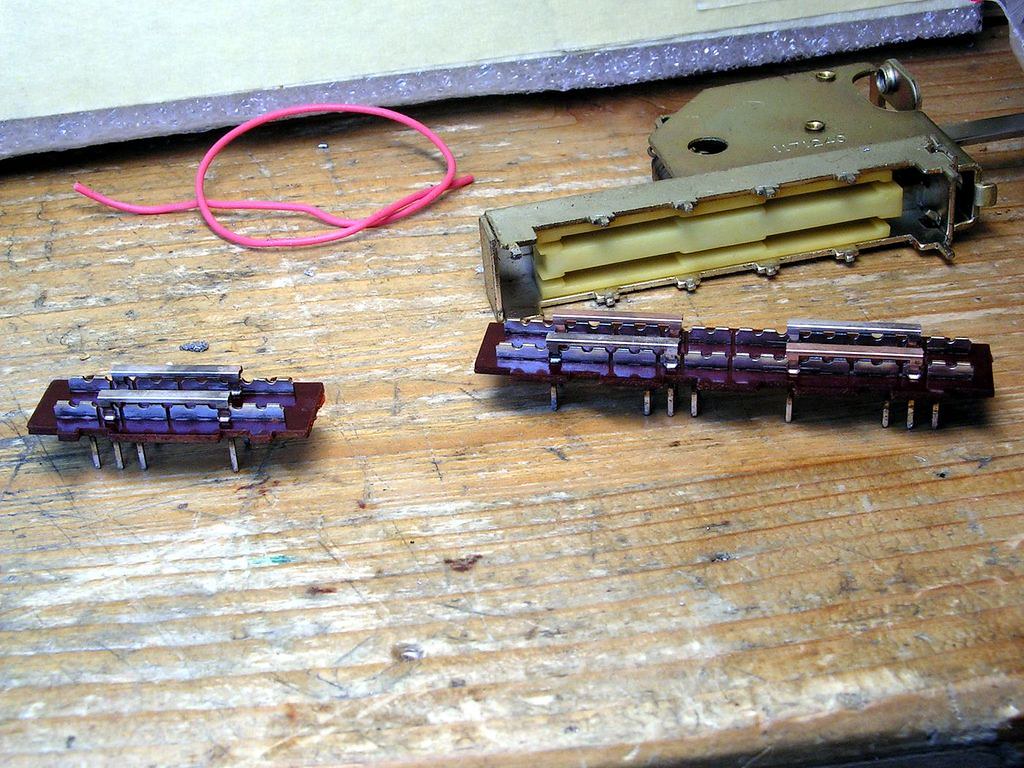
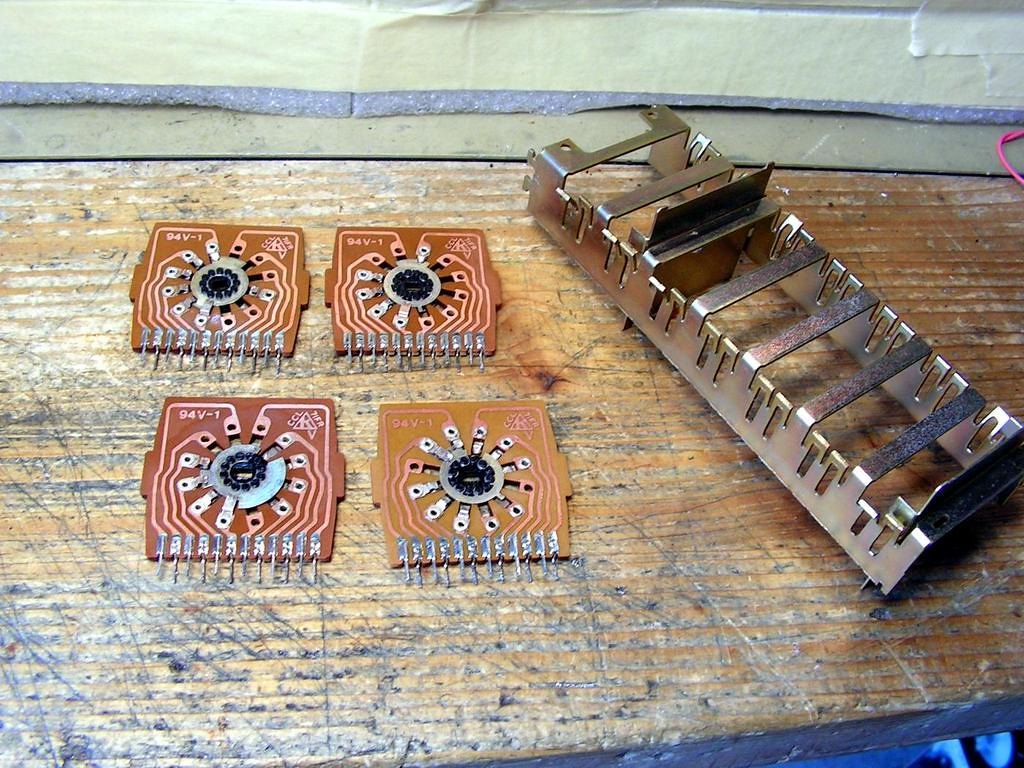
normally Dolby Selector should be cleaned too
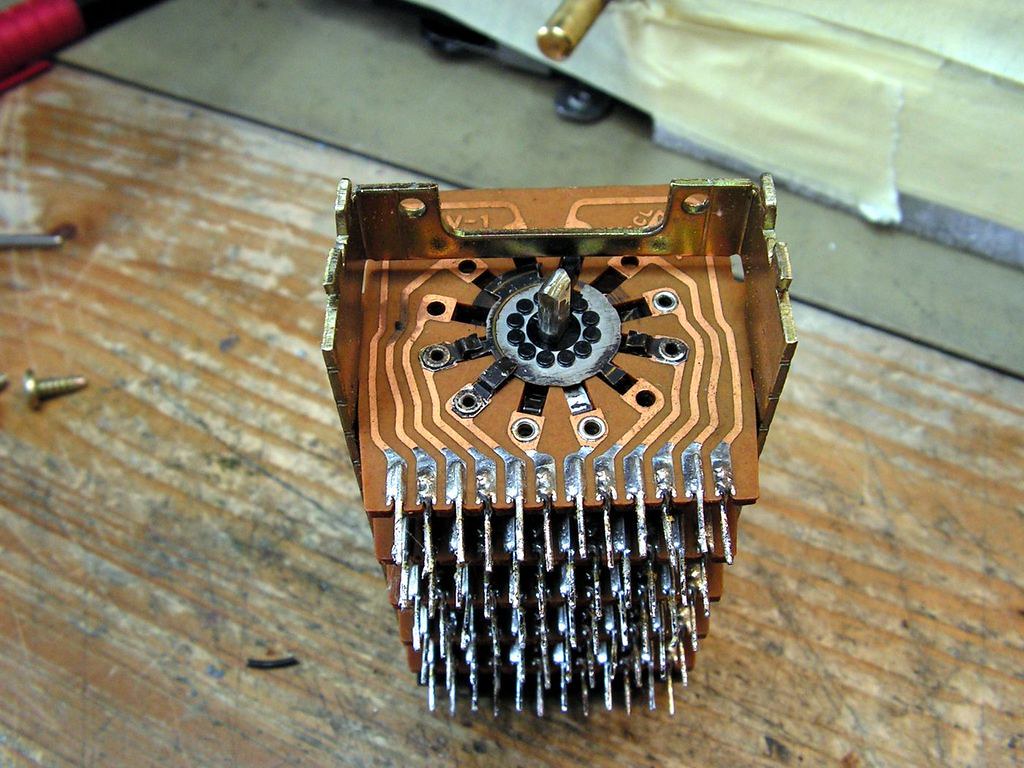
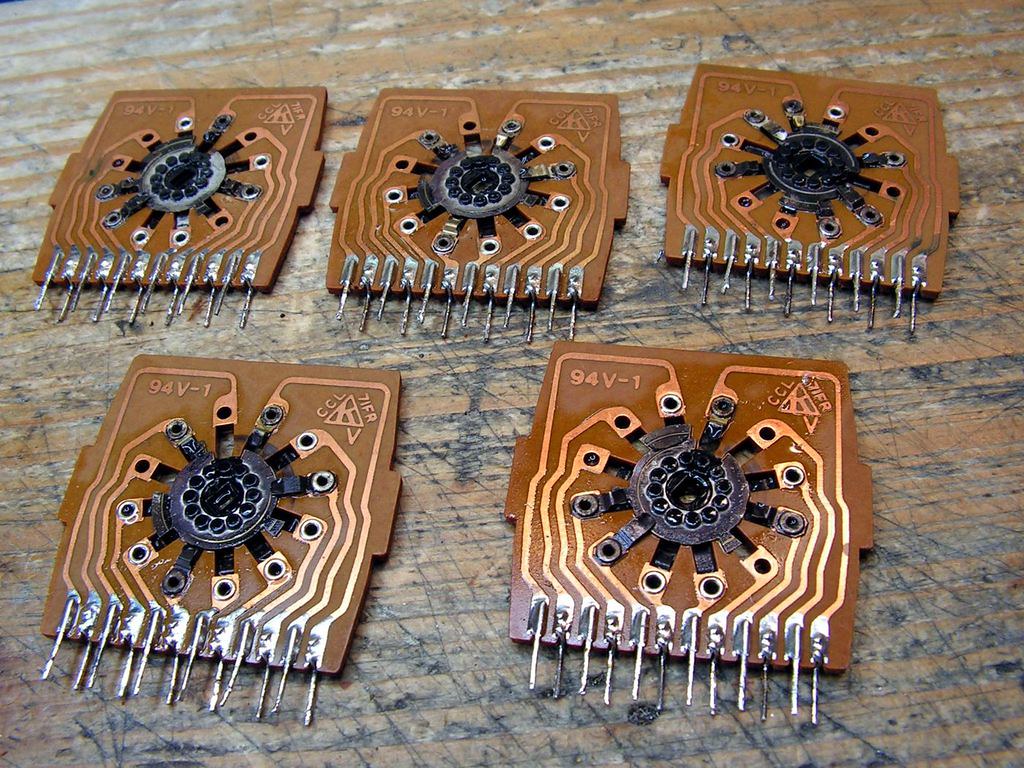
… and cleaned wafers…
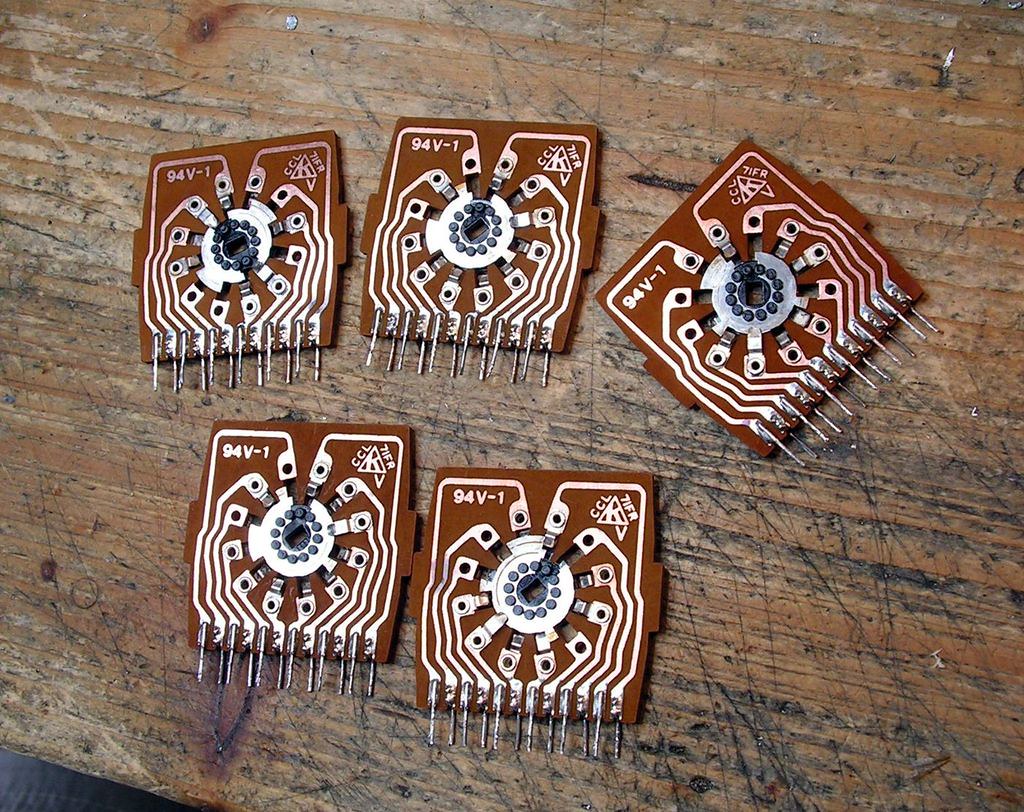
again cleaning….
and finally assembled…
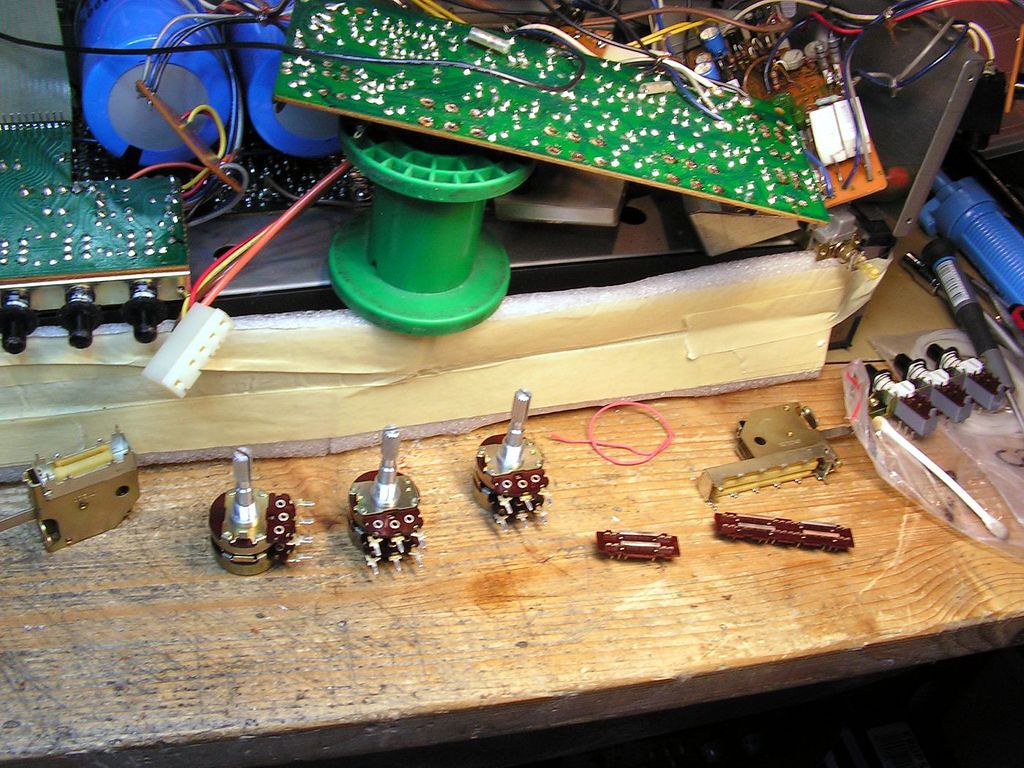
Here it is the Input Selector
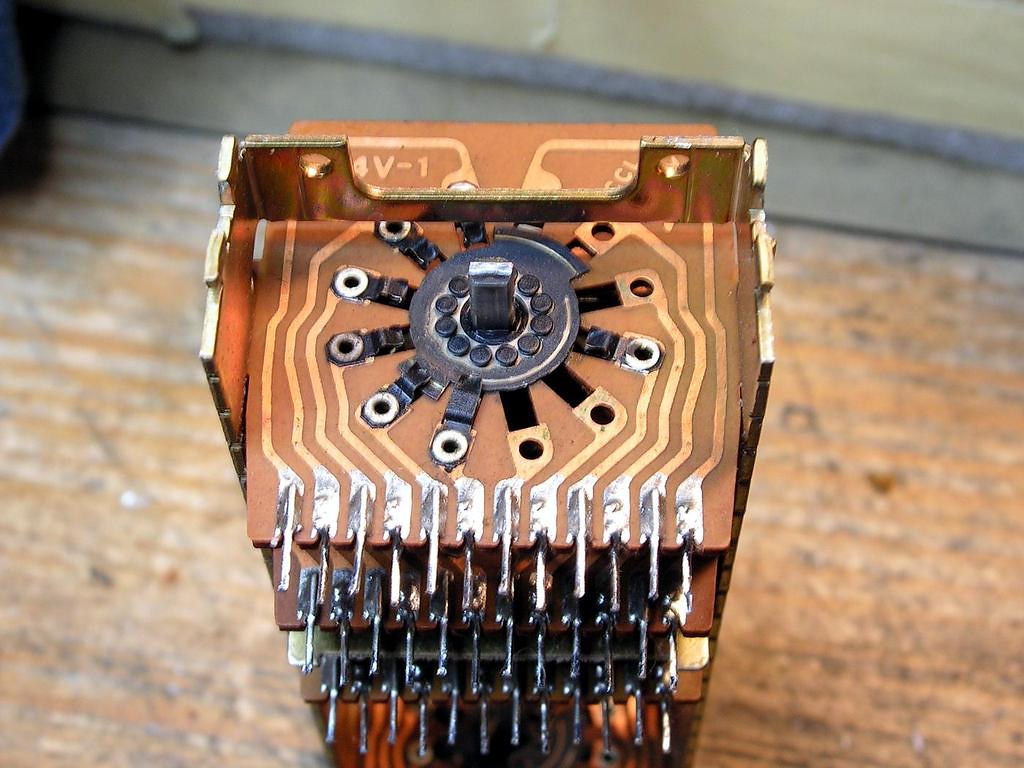
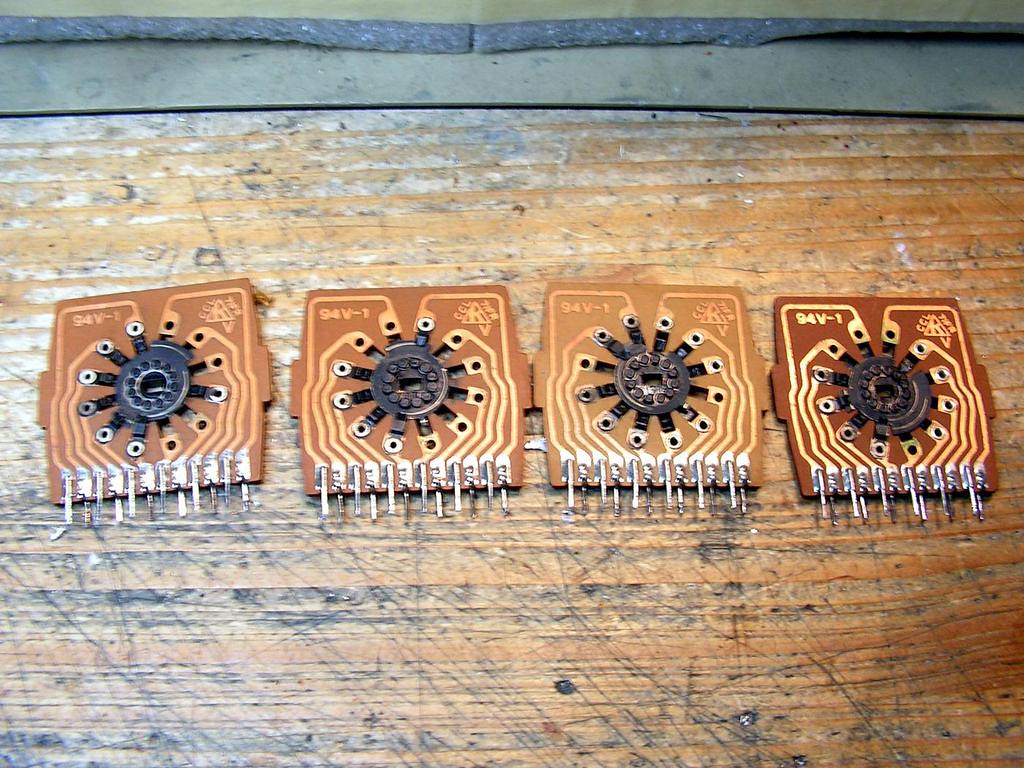
and cleaned….
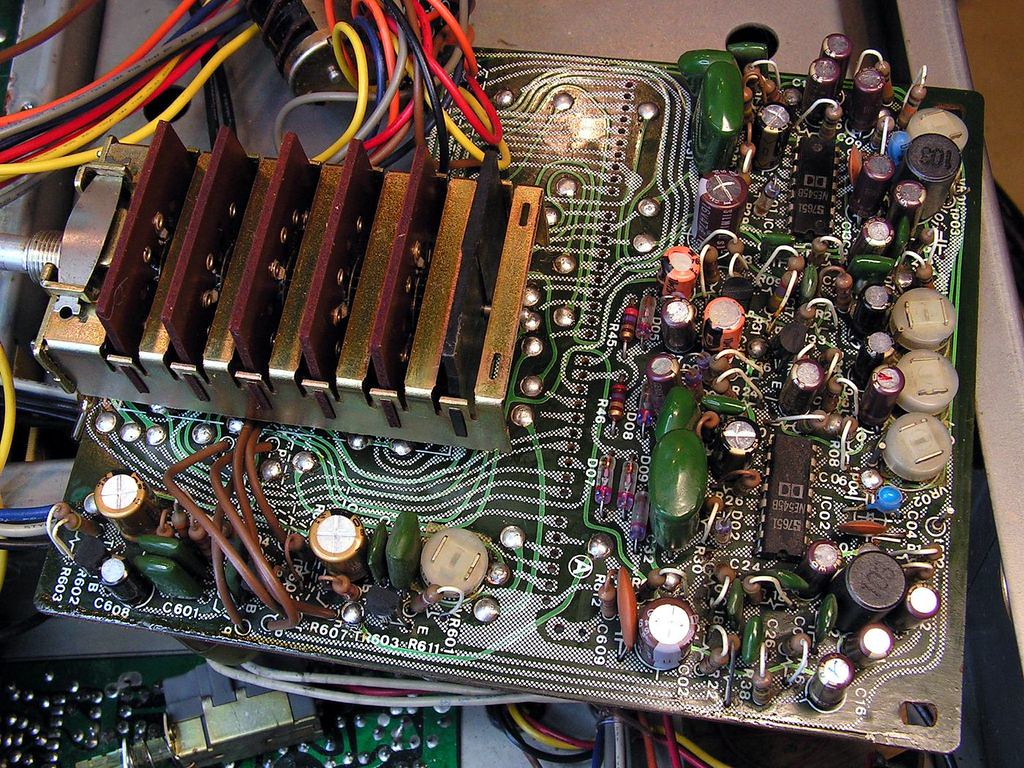
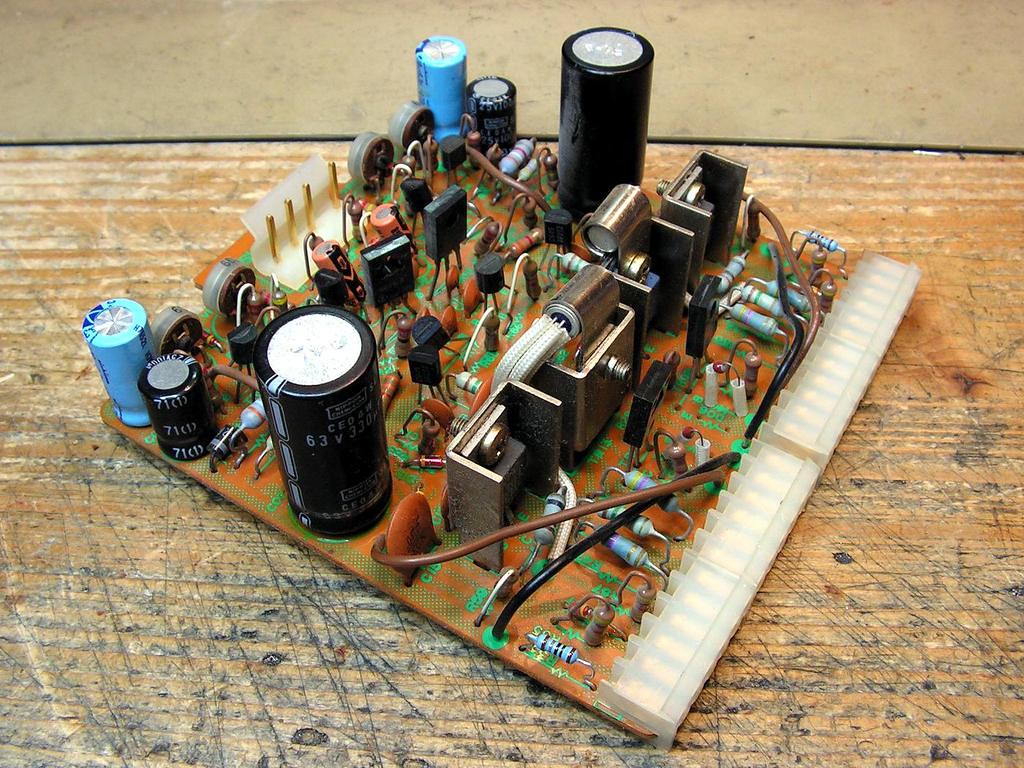
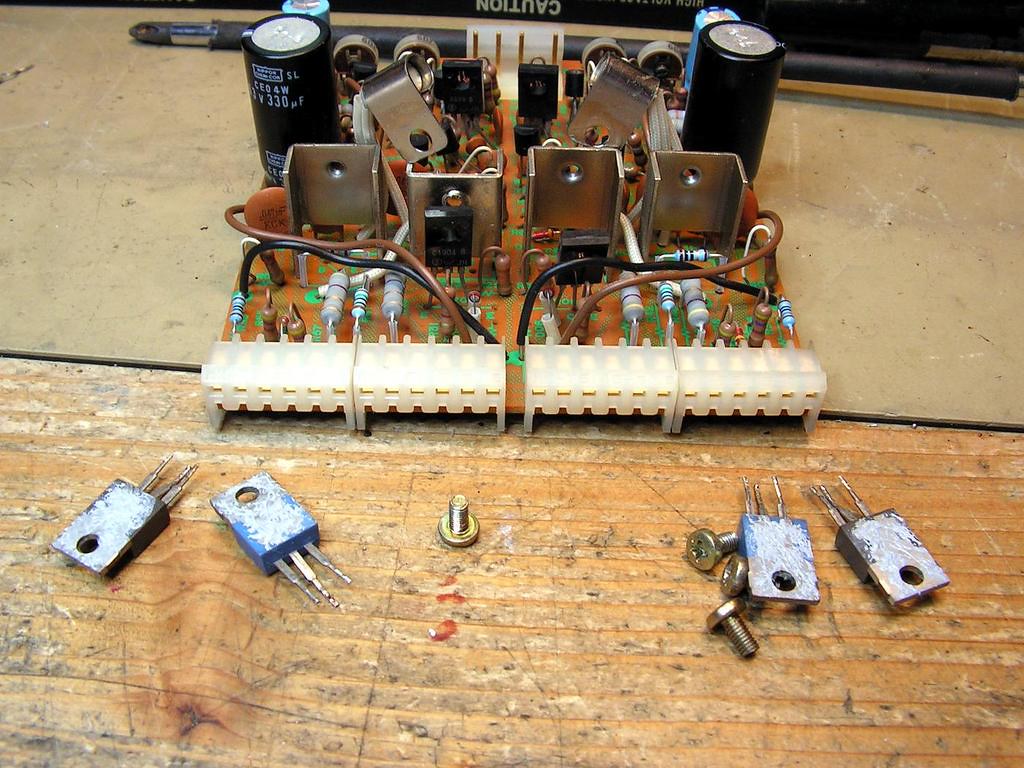
The Driver Board…
changing thermal grease on the driver transistors
and the final result…

… other side…
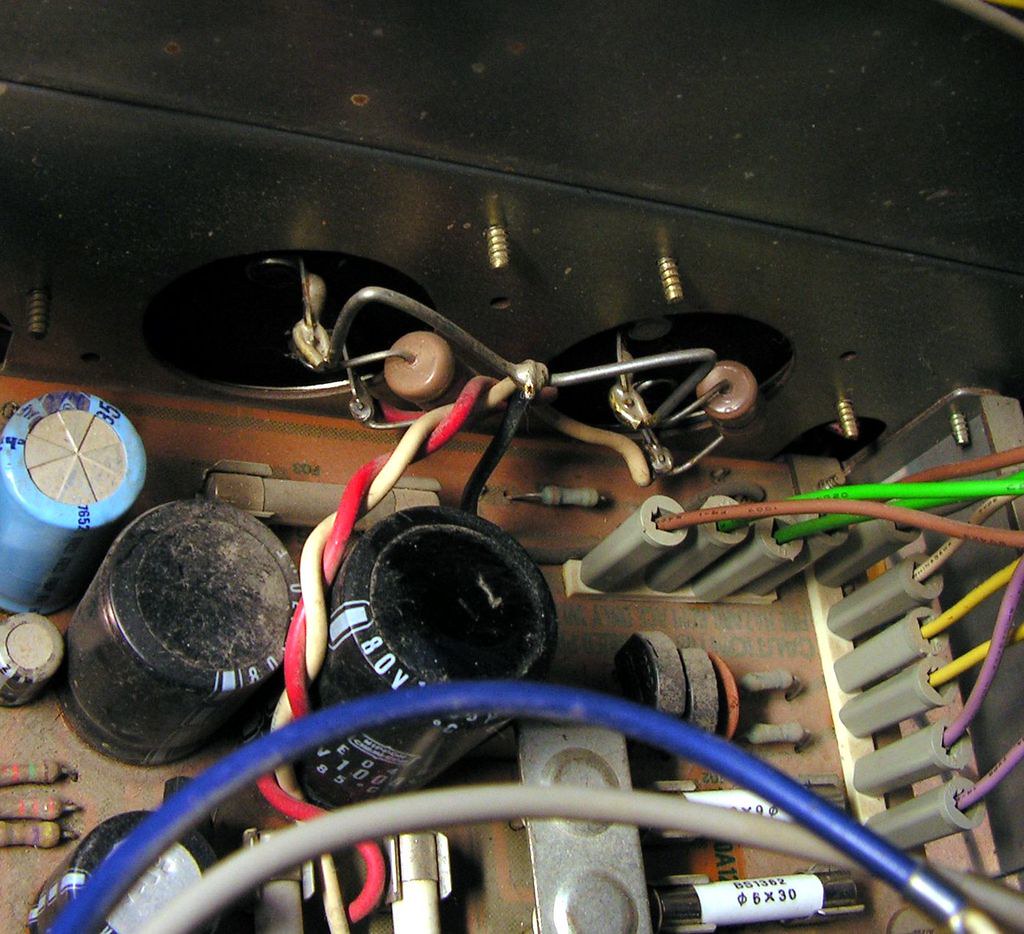
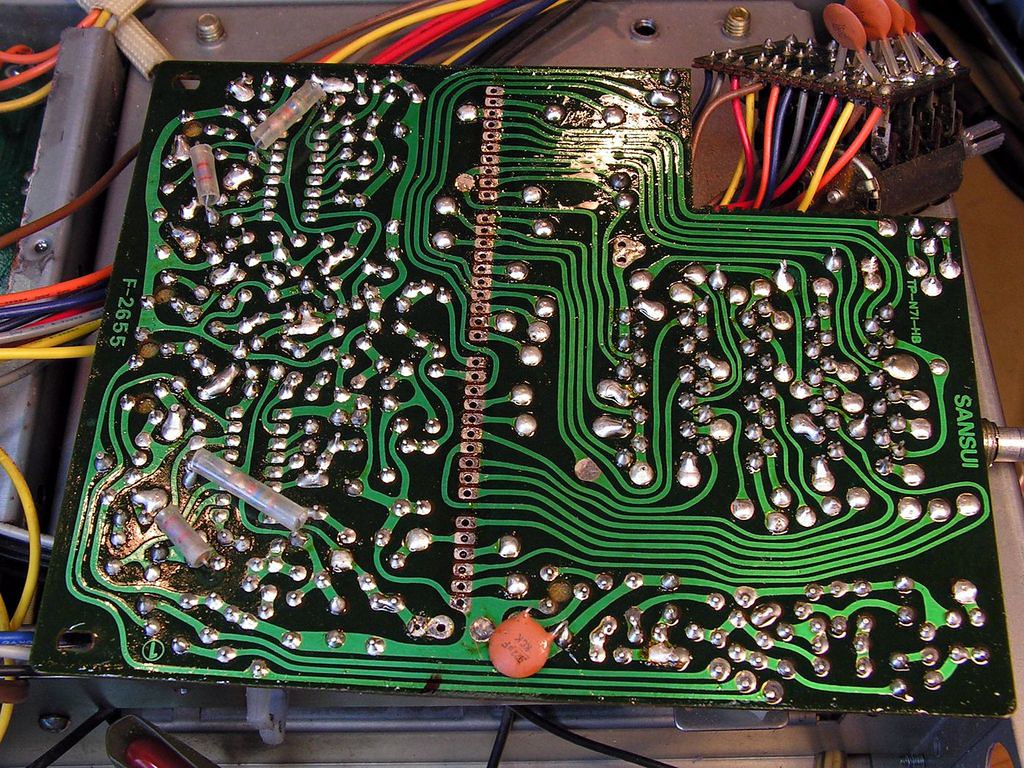
Bottom side of receiver completed… Sorted wiring how it was before… boards resoldered, a new layer of colophony…
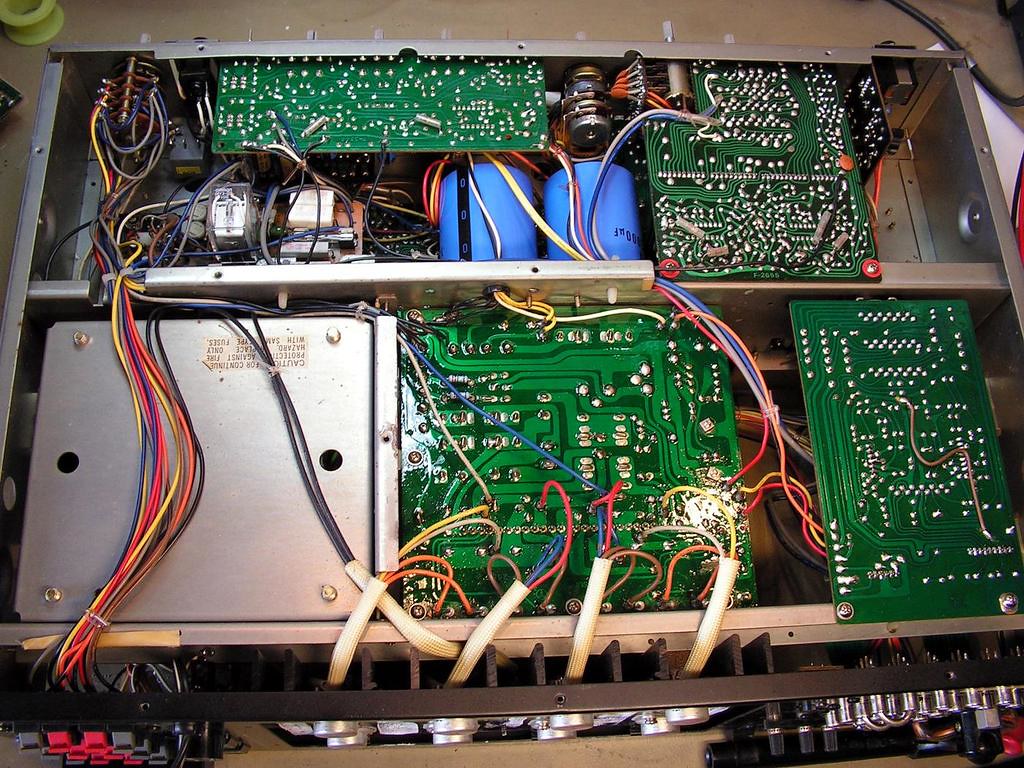
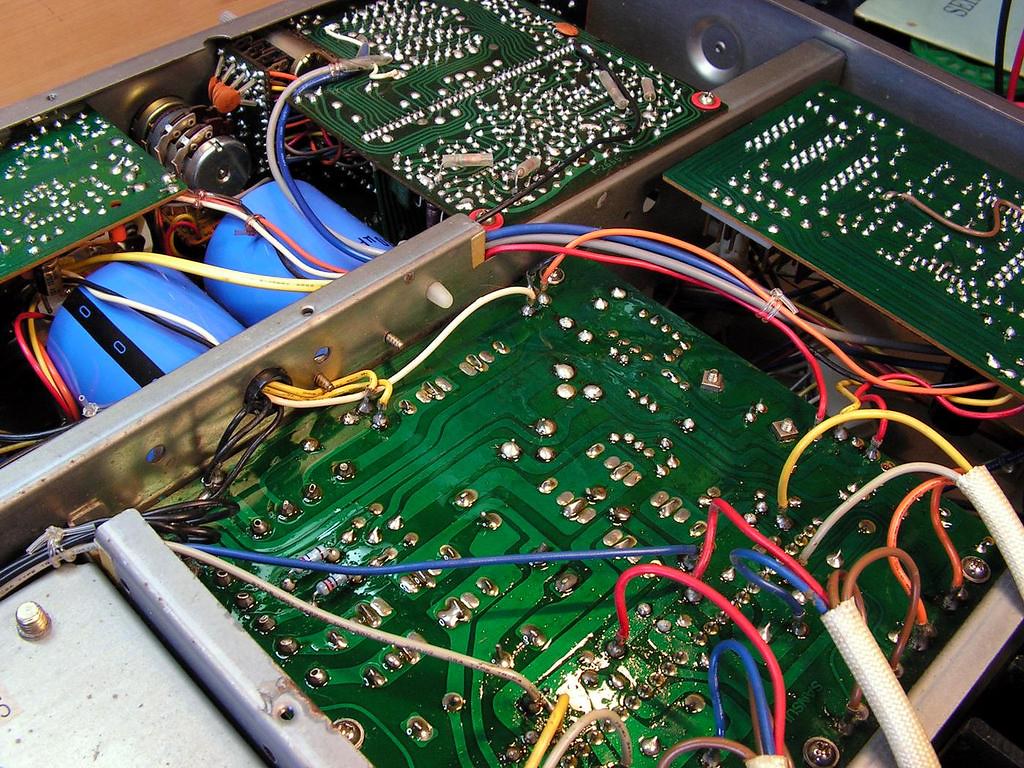
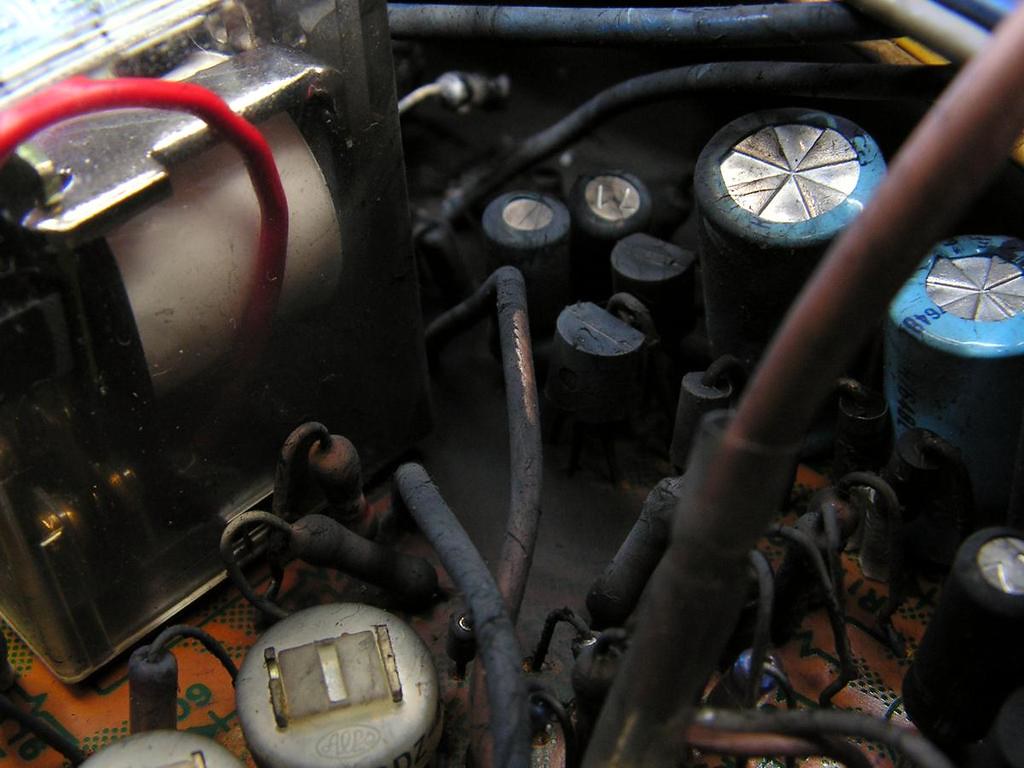
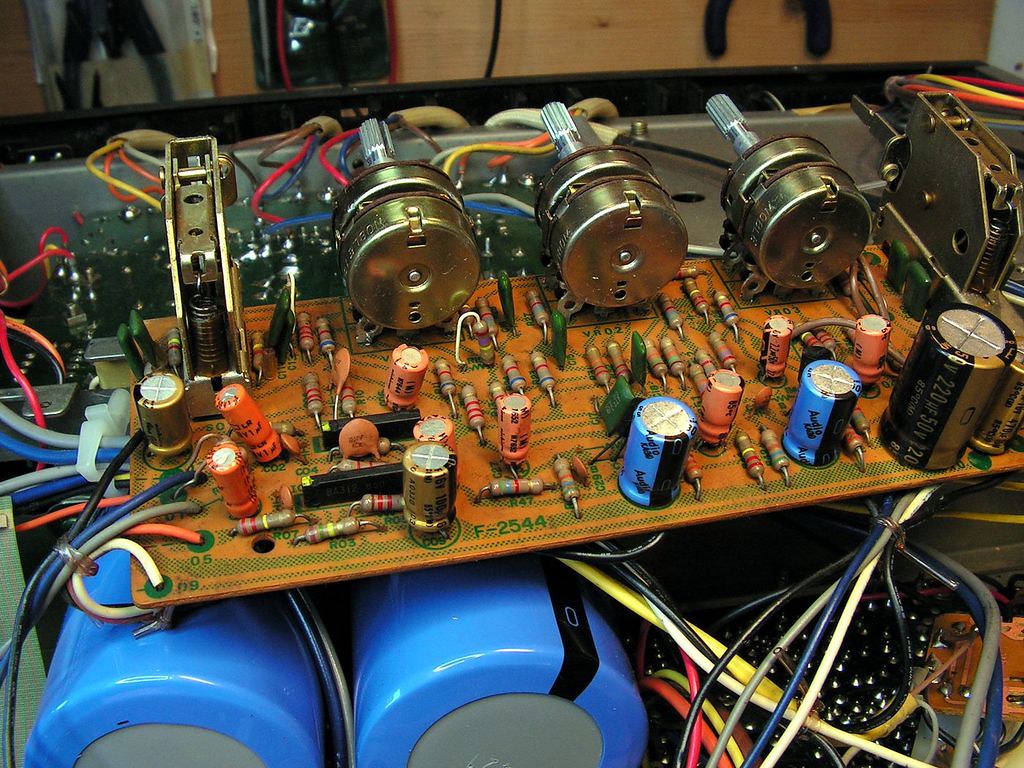
… power supply board now…
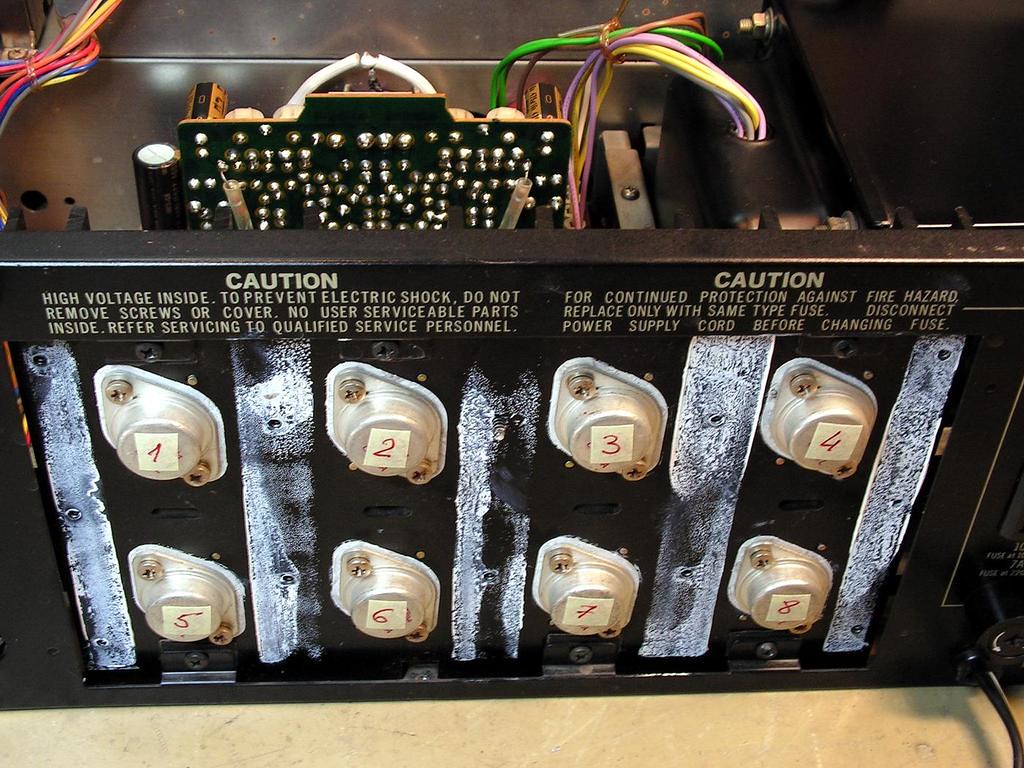
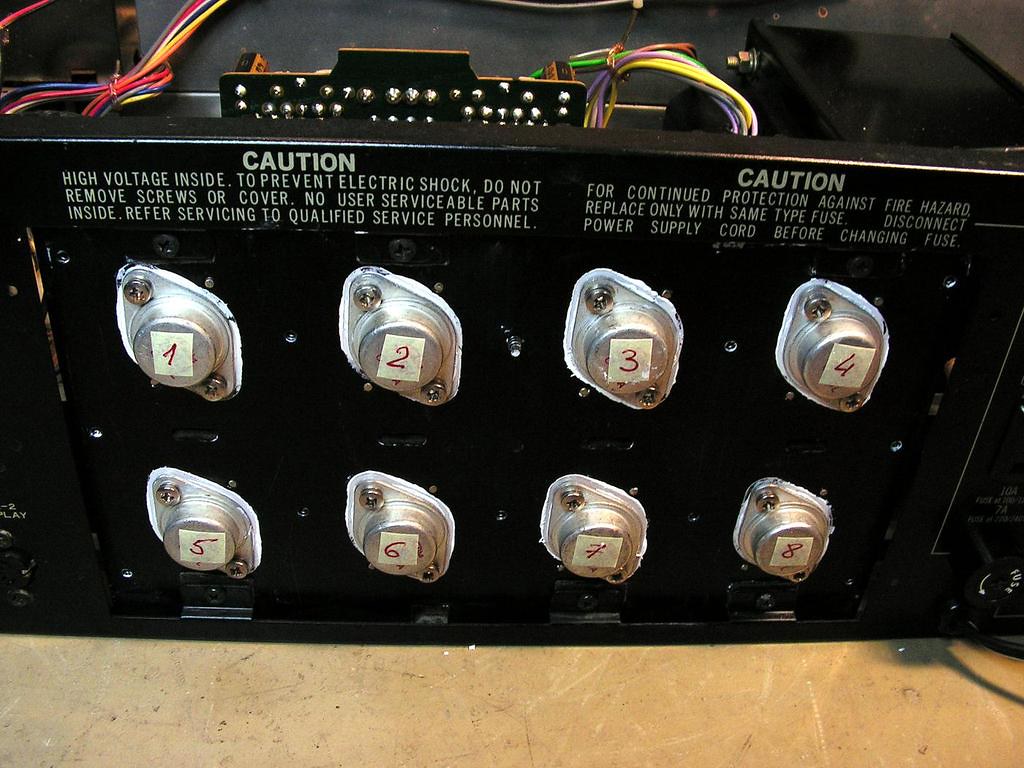
Just one small update… Cleaning power transistors…
First what I did, I marked every transistor with number, so that I can put it back just on the same position…
then removed old thermal grease, plus (very important) cleaned Base and Emitter legs with contact liquid
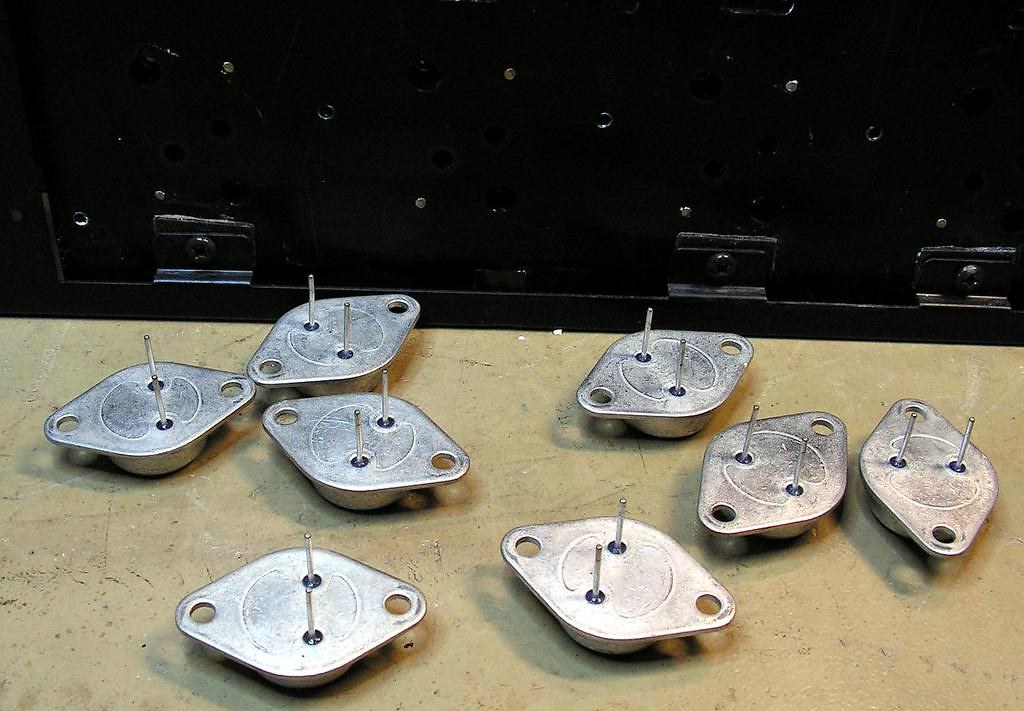
and finally back them to the heat-sink
Someone made deep scratches, like he was trying to clean up the Plexiglas, but on inadequate way…
I spent an hour to polish these scratches… it is now hard to catch them by photo, the scratches are still here but very soft…
I have to say one more thing…. Japanese masters were fantastic in the machining of metal parts, so really I cant understand why that part of heat sink is so imprecisely machined… I used sandpaper 600 to get flat that part
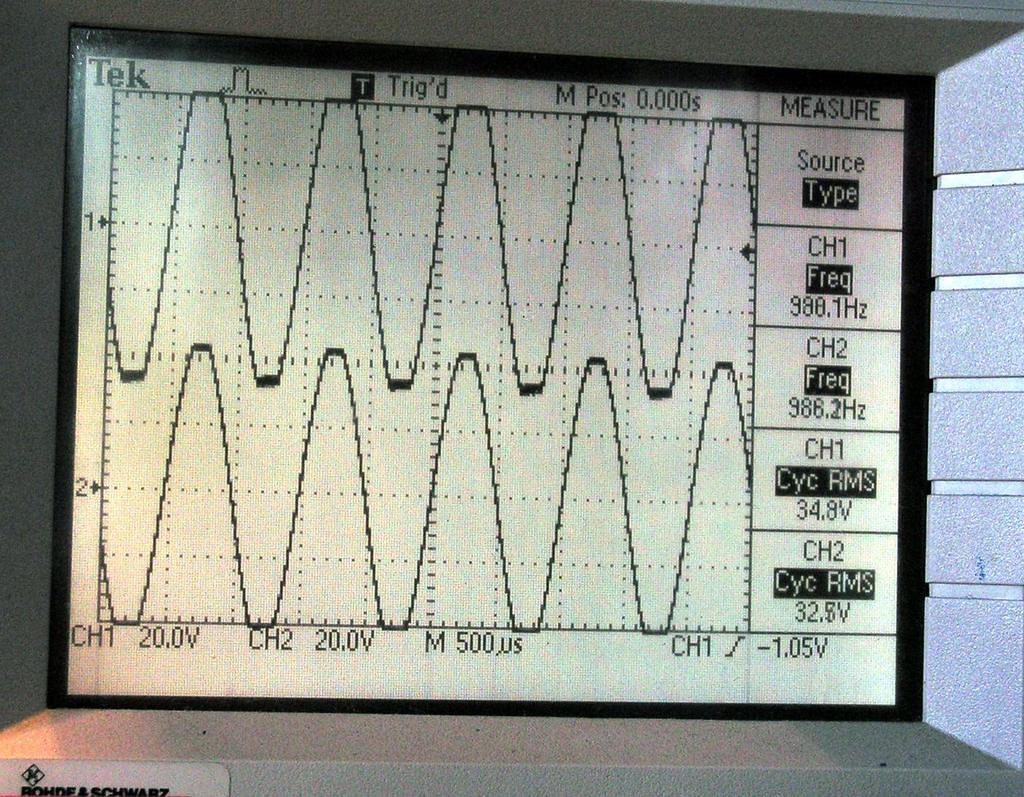
Clipping started at 130 W (the left channel shows about 150 watts, but if you look closer at the scope, it is deeper into clipping…)
… and finally at the end, again some artistic photos
And finally about volume potentiometer channel disbalance… please look volume disbalance between left and right channel at different output levels. It seems to me that Alps potentiometers from that time doesn't has precisely resistance… That is not something what you really can notice during listening, but….